What You’ll Need:
Four Short 8 oz. Bail Jars
Rose Clay Face Mask Template – Free PDF
21.4 oz. Distilled Water
1 oz. Rose Clay
3.5 oz. Kaolin Clay
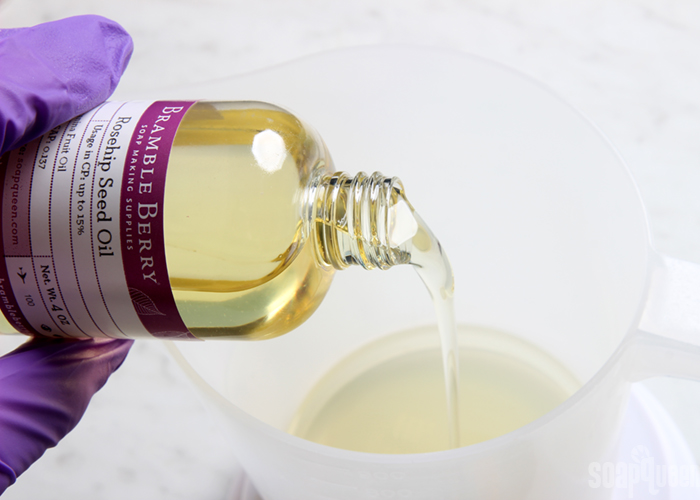
1 oz. Rosehip Seed Oil
1.3 oz. Avocado Oil
0.8 oz. BTMS-50 Conditioning Emulsifier
1 oz. Polawax Emulsifying Wax
0.5 oz. Chamomile Extract
0.2 oz. Optiphen (preservative)
1 mL Rose Absolute
Dropper
EQUIPMENT PREP: Disinfect your utensils by dipping them in a 5% bleach water solution and allowing to dry. This includes mixing containers, your stick blender, and any spoons or spatulas that may come in contact with your mask. Your products must be as free of germs, bacteria, and microbes as possible. To be safe, bleach water all your utensils.
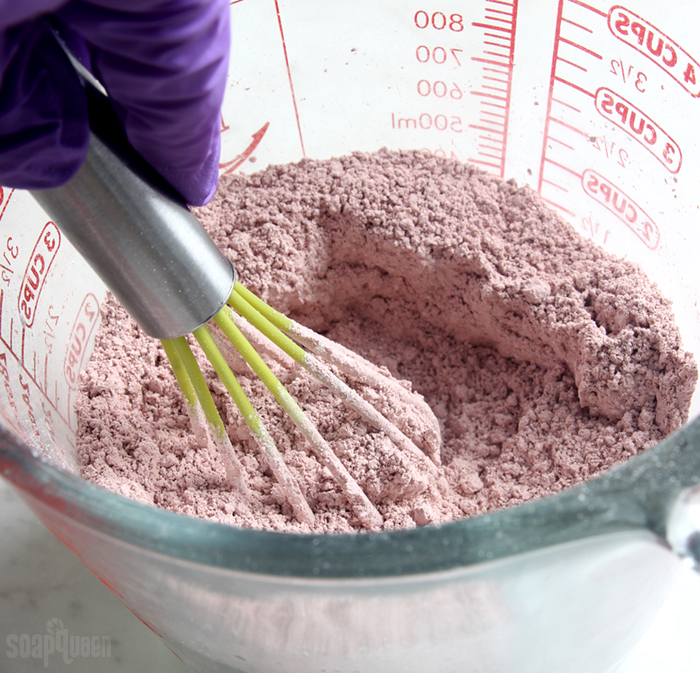
CLAY PREP: In a small separate container, measure 3.5 ounces of kaolin clay and 1 ounce of rose clay. If you like, you can add them to the same container.
 ONE: In a heat-safe container, combine the avocado oil, rosehip seed oil, BTMS-50 and Polawax. Heat the container in the microwave using 30-60 second bursts until the waxes have fully melted. Be careful when removing the container, as it will be quite hot. Set aside.
 TWO: In a separate large container, heat the distilled water in the microwave (or on the stove top) until it reaches about 160-170 ° F. Once the water reaches the correct temperature, some of it may evaporate. Remeasure and add more distilled water if necessary until you have 21.4 ounces of hot water.
THREE: Check the temperatures of both containers. Each container should be about 160°-180° F. If the oil and wax mixture has cooled, place back into the microwave until fully melted. Place the stick blender into the water and burp it to help get rid of bubbles. Pour the oil and wax mixture into the water and use a spatula to make sure every little bit is added. Begin pulsing the stick blender. The mixture will take on a “milky” appearance once the water, oil and waxes have begun to emulsify. Continue to pulse and stir for about a minute.
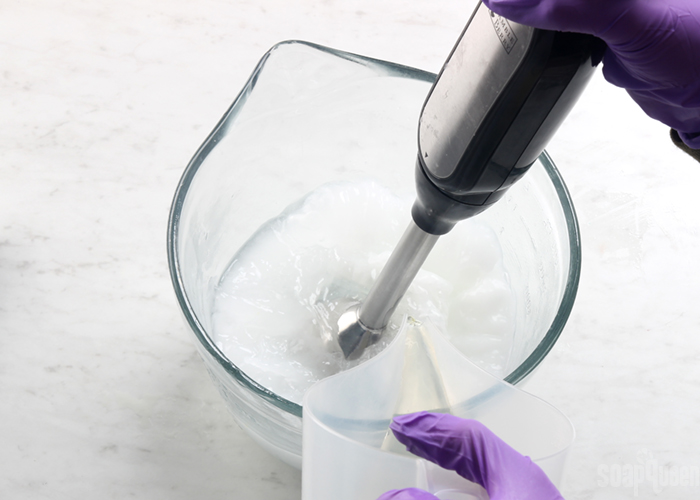
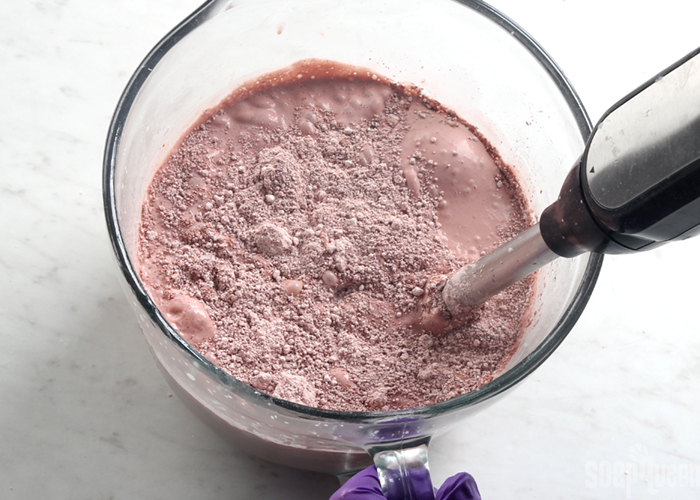
 FOUR: Begin adding heaping spoonfuls of the clay mixture and pulsing the stick blender until combined. Continue adding the clay to the mixture and blending in small amounts until all the clay is added.
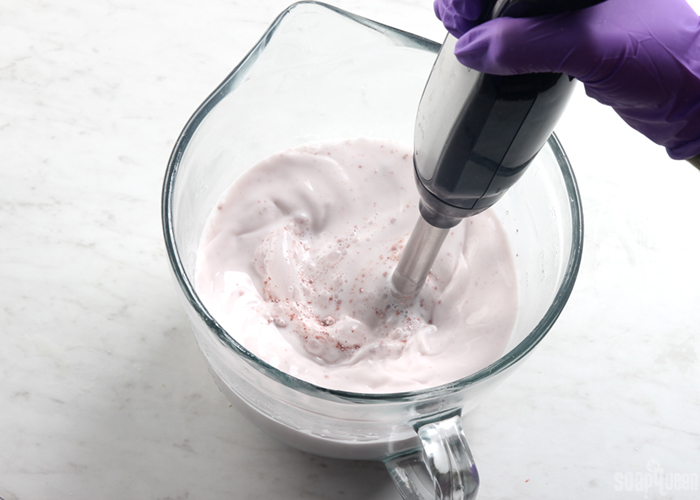
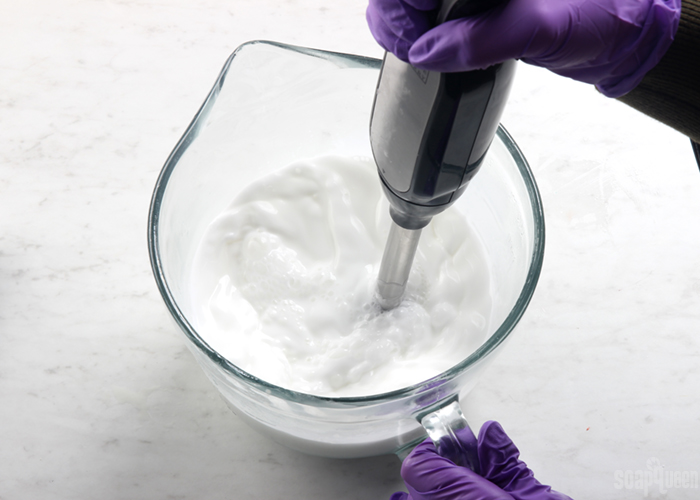
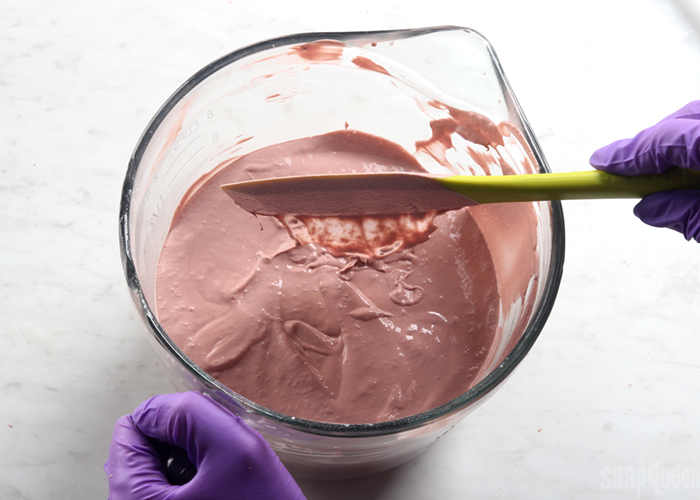
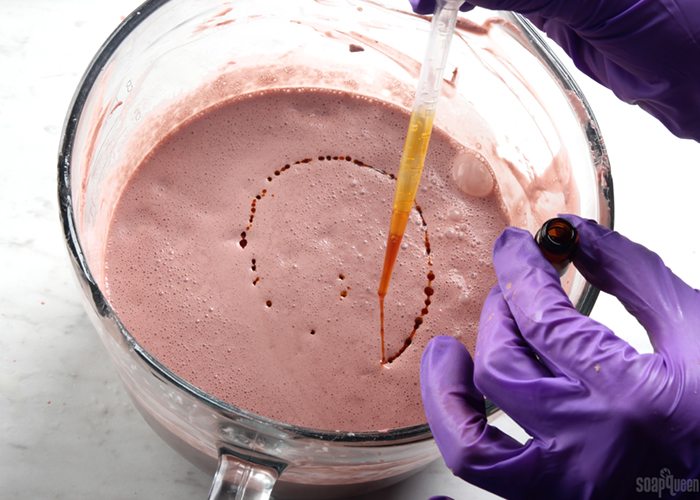
 FIVE: Continue stick blending for about 1-2 minutes. Use a spatula to scrape down any clay that may be on the sides of the bowl. Check the temperature of the mixture. Once the mixture is about 130-140°F, add the Optiphen, rose absolute and chamomile extract. Stick blend (don’t forget to burp the stick blender!) the ingredients in until fully mixed.
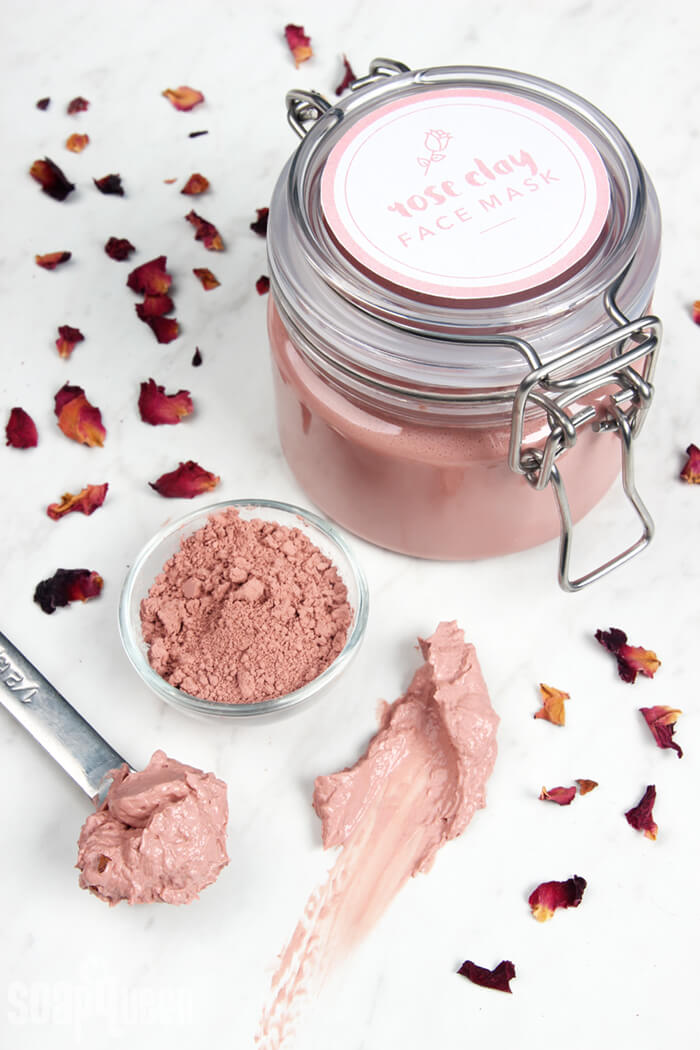
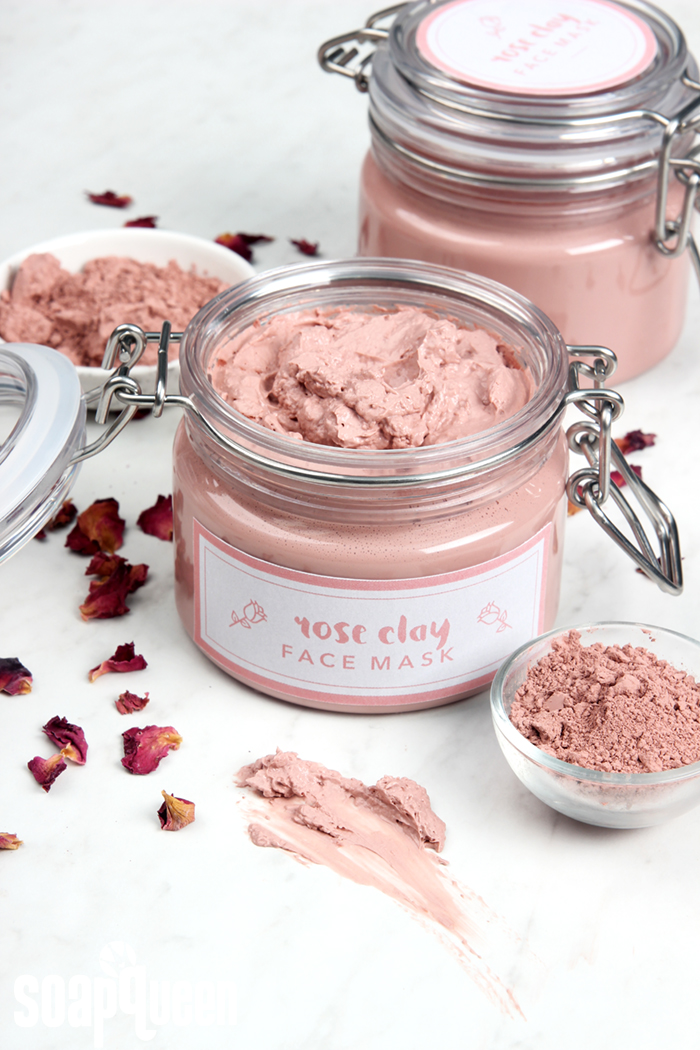
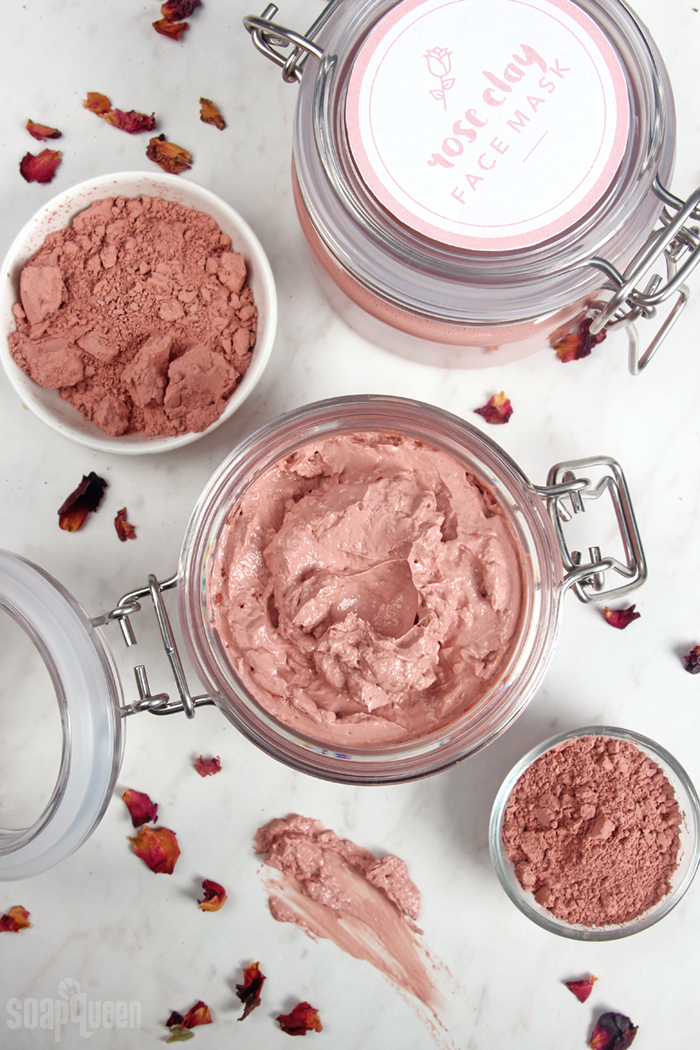
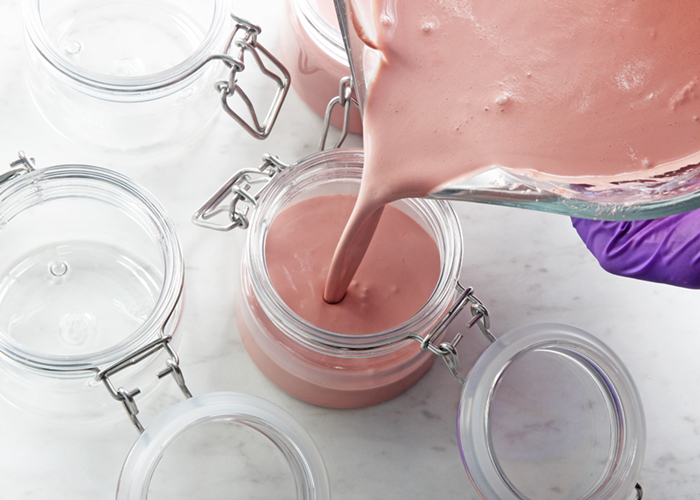
 SIX: Pour the mixture into the bail jars. If you find you have a lot of bubbles on the top, you can spritz the top of the containers with 99% isopropyl alcohol to help get rid of some of them. Allow the containers to cool for several hours with the lid open to avoid condensation. Once fully cooled, the mixture will have become a thick, lotion-like texture. We found that the top of the mask does form a bit of a skin as it dries.
To use, apply a medium layer to dry, clean skin. Avoid the immediate eye area. Allow the mask to sit on the skin for about 10-15 minutes. Use warm water to rinse off. There is no need to wash the skin after, but you can if you prefer. If you have dry skin, do no use more than one time per week.