What You’ll Need:
Pineapple Mat
Flexy Fast Molding Putty
Whole Pineapple
10″ Silicone Loaf Mold
33 oz. Swirl Quick Mix
4.6 oz. Sodium Hydroxide Lye
10.8 oz. Distilled Water
2 oz. Pineapple Cilantro Fragrance Oil
Yellow Mica
Titanium Dioxide
Green Chrome Oxide Pigment
Sunset Orange Mica
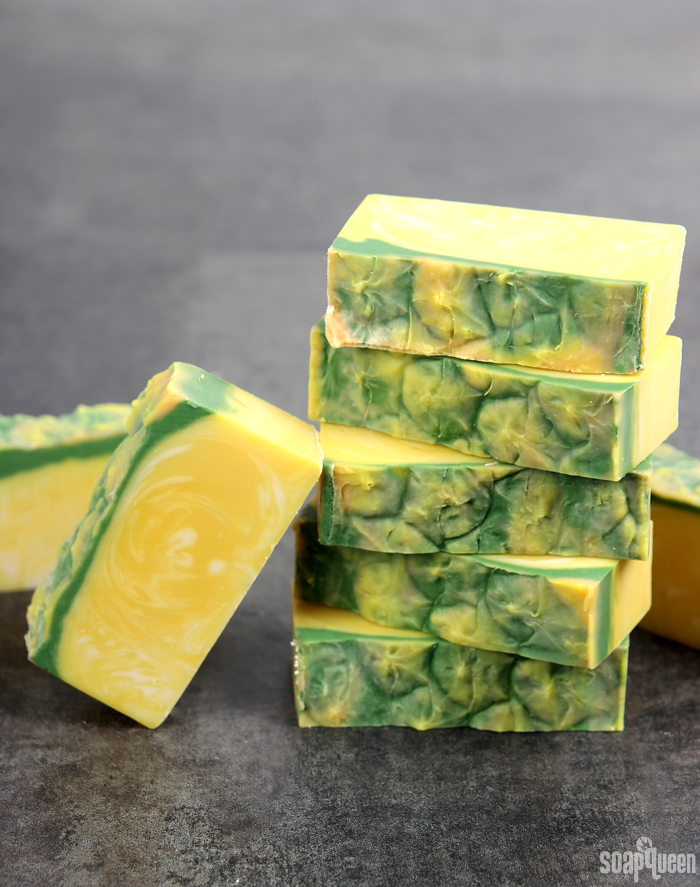
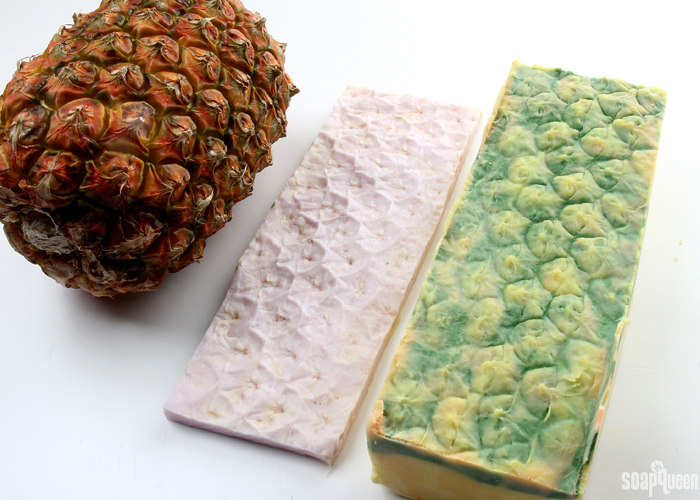
Make the Pineapple Impression Mat
The first step in this project is to make a silicone impression mat using a real pineapple. Flexy Fast Molding Putty is spread out on parchment paper and the pineapple is rolled on top. When the pineapple is rolled on the putty, it leaves behind an imprint. The mat will harden overnight and can then be cut to fit in the bottom of the 10″ Silicone Loaf Mold. If you’ve never used Flexy Fast Molding Putty before, you can see it in action in this Soap Queen TV video.
ONE: Prepare your work space by placing a piece of parchment or freezer paper on the counter with the shiny side up. Wash and dry your pineapple and have it nearby.
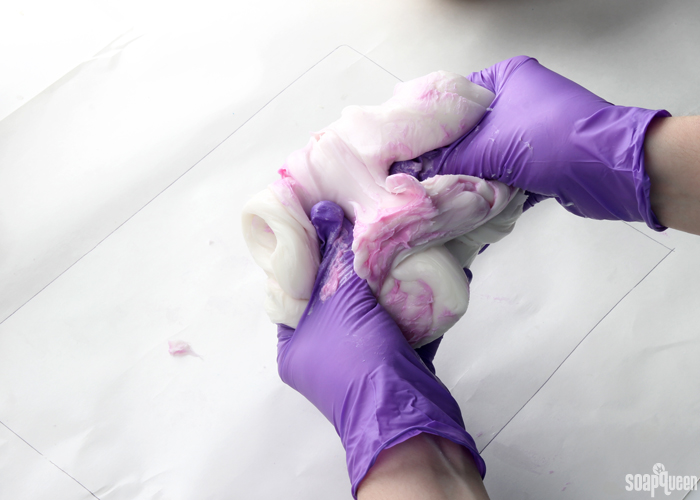
TWO: Flexy Fast Molding Putty comes as 2 parts, Part A and Part B. The two parts are mixed together and once combined, the putty will begin to harden. Exactly how much you use will depend on how thick you’d like the mat to be. The putty can be measured by either weight or volume. The usage rate is 20A:1B by volume, which is roughly a golf ball amount of A and a marble amount of B. If measuring in weight, the ratio is or 100A:6B. This is a little bit of a tricky ratio to figure out, so volume may be easier if math isn’t your strong suit. For reference, I used about 500 grams of part A and 30 grams of part B. I did end up cutting off quite a bit of my silicone mold at the end, so you can use less. With vinyl (latex gloves will stick to the putty) gloves on, knead the two components together until fully incorporated. You’re done when you have a nice bubblegum color with no pink streaks, which will take about 1 minute. Work quickly. The putty will begin to harden once Part A and Part B are incorporated.
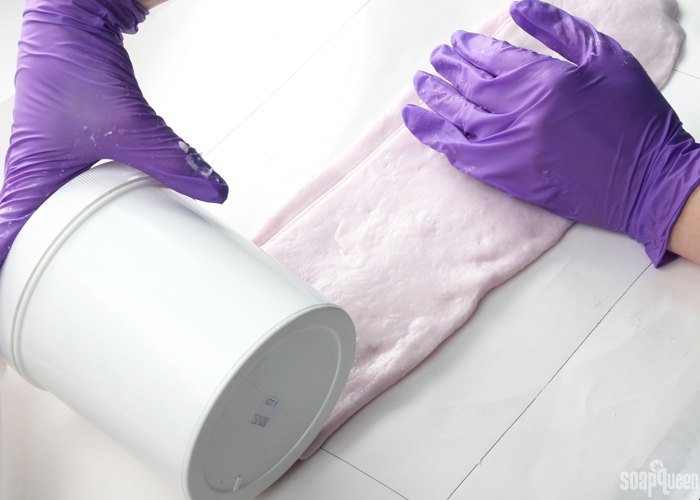
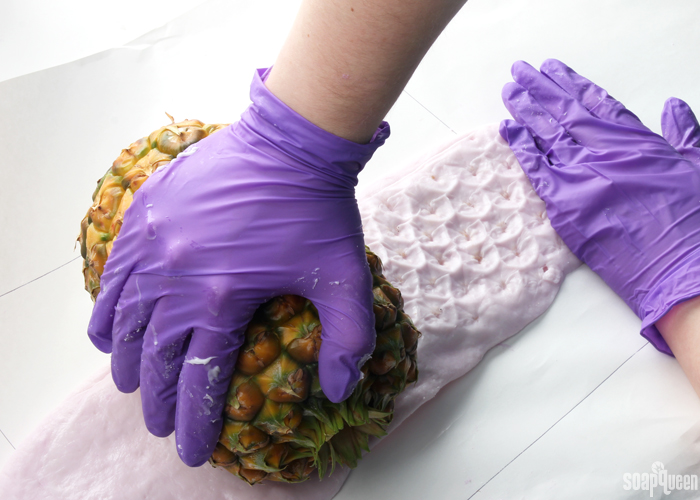
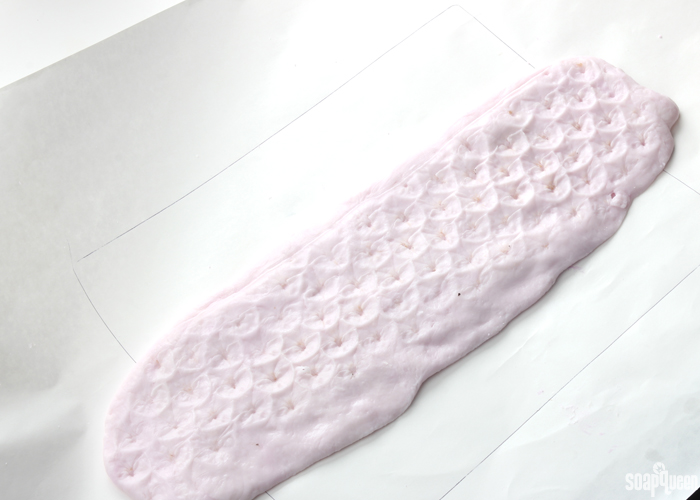
THREE: Quickly spread out the putty on the parchment/freezer paper in the general shape of the 10″ Silicone Loaf Mold. The putty will begin to harden fast, so be ready to move very quickly and use your muscles! Very firmly press the pineapple into the putty, and roll it to press the pattern of the skin in. Roll the pineapple several times if necessary. Allow the putty to harden overnight.
NOTE: You can see in the photos below that I traced the shape of the 18″ Birchwood Mold onto the freezer paper. Originally, I had planned on making this recipe in this mold but the putty started to harden too quickly, so I wasn’t able to continue to spread it that large. Instead, I pivoted and made this project in the 10″ Silicone Loaf Mold. =)
FOUR: Once the putty has hardened, peel it away from the parchment paper. Trace the silicone mold on the back of the mat and cut. Continue to trim the mat until it fits in the bottom of the mold. Now we are ready to soap!
If you’ve never made Cold Process soap before, stop here! I highly recommend checking out our FREE four part SoapQueen.tv series on Cold Process Soapmaking, especially the episode on lye safety. And if you’d rather do some reading, Bramble Berry carries a wide range of books on the topic, including my newest book, Pure Soapmaking. You can also checkout the digital downloads for that instant gratification factor.
SAFETY FIRST: Suit up for safe handling practices! That means goggles, gloves and long sleeves. Make sure kids, pets, and other distractions and tripping hazards are out of the house or don’t have access to your soaping space. Always soap in a well-ventilated area.
COLOR PREP: To ensure that the Titanium Dioxide blends smoothly into the soap batter, we recommend micronizing it before dispersing it in oil. Please note this is an optional tip but it does help with the titanium dioxide clumping in the soap. =) To micronize colorant, simply use a coffee grinder to blend the colorant to break up any clumps of color and prevent streaks of white from showing in the final soap. We like to use a coffee grinder that has a removable, stainless steel mixing area for easy cleaning. Then, disperse 1 teaspoon of the colorant into 1 tablespoon of sunflower or sweet almond oil (or any other liquid oil). In separate containers, disperse 1 teaspoon Yellow Mica, Sunset Orange Mica and Green Chrome Oxide Pigment into 1 tablespoon lightweight liquid oil. Use a mini mixer to help work out any clumps.
FRAGRANCE PREP: In a glass, fragrance safe container, measure out 2 ounces of Pineapple Cilantro Fragrance Oil. Set aside.
MOLD PREP: Place the pineapple mat in the bottom of the 10″ Silicone Loaf Mold.
ONE: Slowly and carefully add the lye to the water and gently stir until the lye has fully dissolved and the liquid is clear. Set aside to cool.
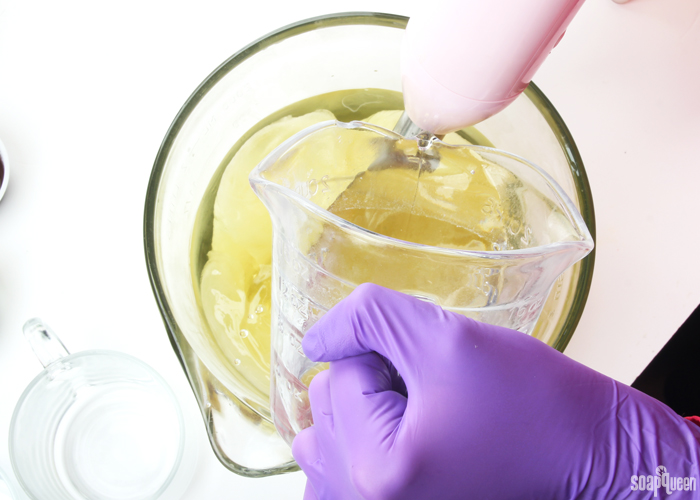
TWO: Fully melt the entire bag of the Swirl Recipe Quick Mix until there is no cloudiness. Shake to mix and measure out 33 oz. Once the lye water and the oils have cooled to 130 degrees F or below (and are ideally within 10 degrees of each other), add the lye water to the oils and stick blend until thin trace. If you’d like a harder bar of soap that releases faster from the mold, you can add sodium lactate to the cooled lye water. Use 1 teaspoon of sodium lactate per pound of oils in the recipe. For this recipe, you’d add about 2 teaspoons sodium lactate.
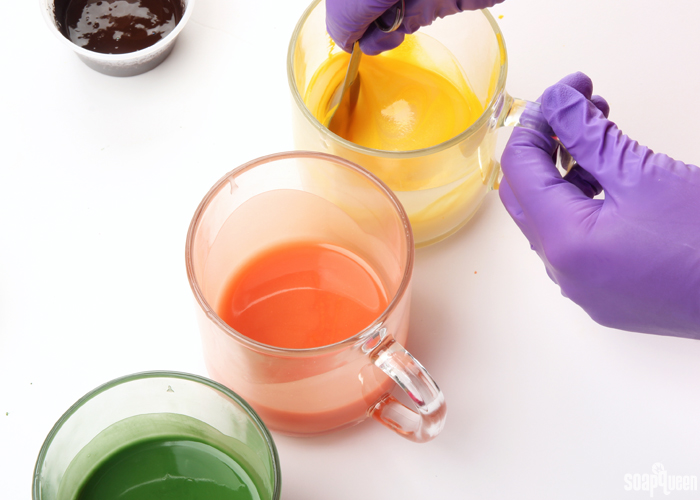
 THREE: Once you’ve reached a thin trace, split off about 1-2 ounces of soap into three separate containers. Add the following amount of dispersed colorants into each individual container and use a spoon to fully mix in:
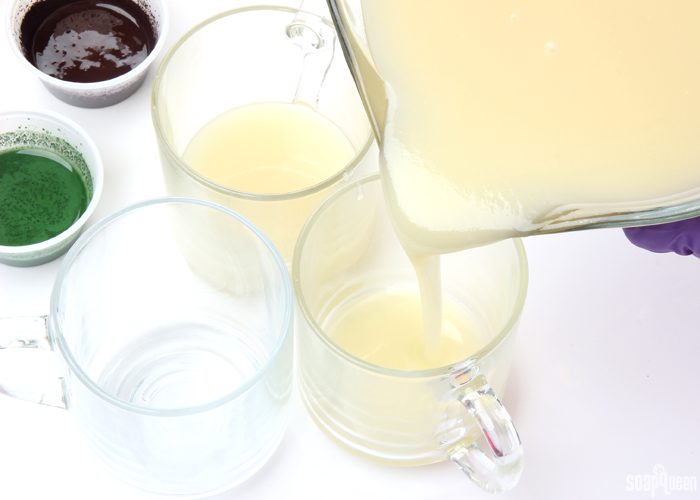
- CONTAINER A: 1/8 tsp. dispersed Yellow Mica
- CONTAINER B: 1/8 tsp. dispersed Sunset Orange Mica
- CONTAINER C: 1/4 tsp. Green Chrome Oxide Pigment
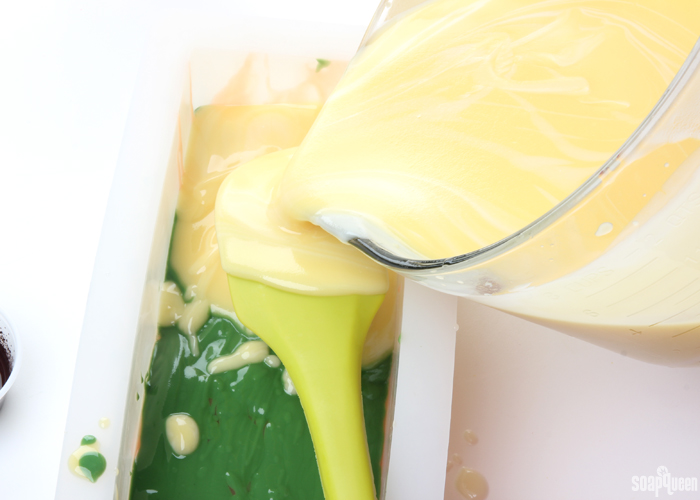
 FOUR: Pour a small amount of the yellow soap on top of the pineapple impression mat. Use a spoon or spatula to spread the soap into pineapple pattern. Scrape away the excess.

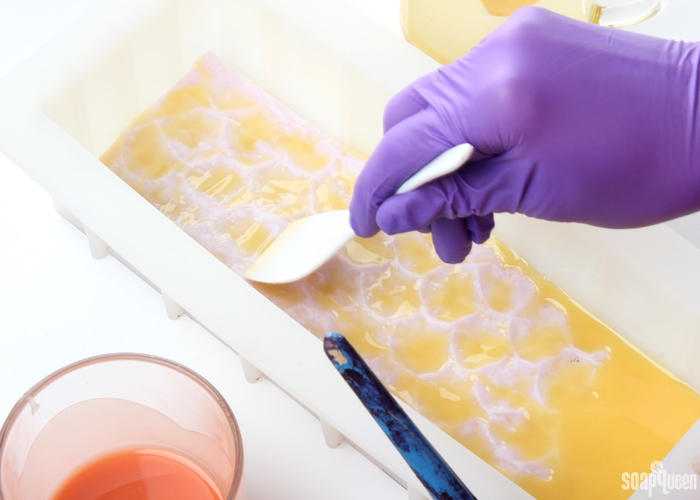
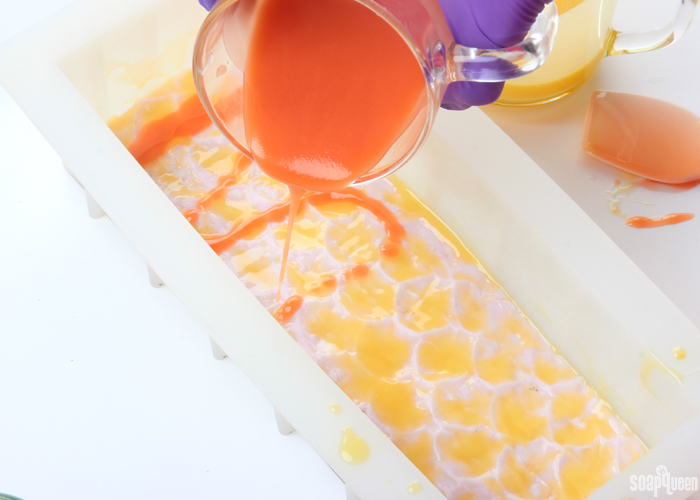
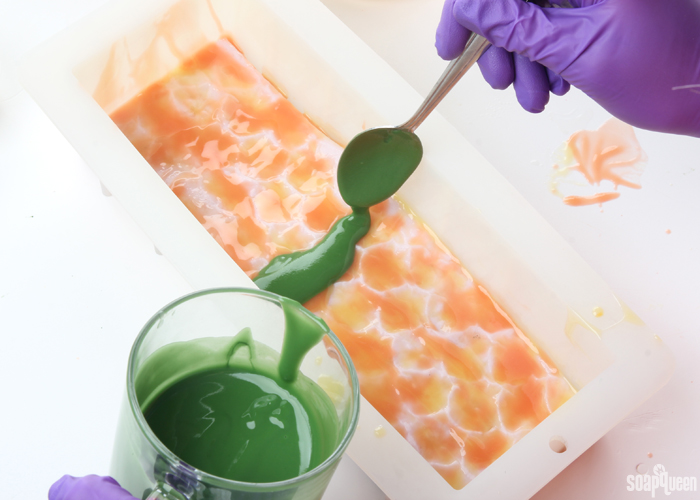
Then pour a small amount of the orange soap, and use the spoon or spatula to spread the orange soap on top of the yellow. Scrape away the excess.
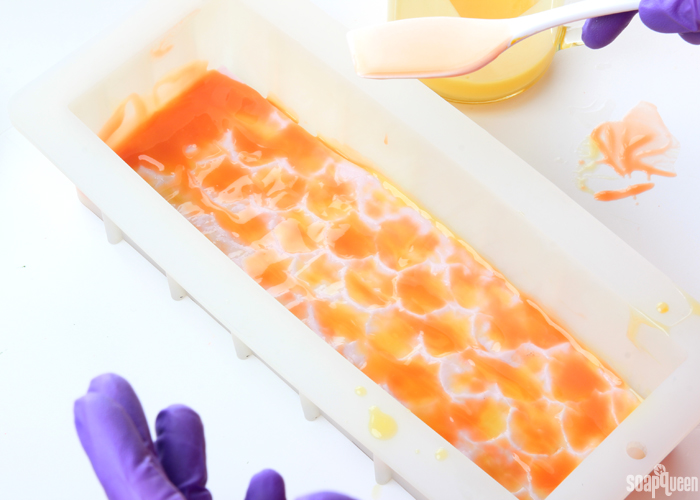
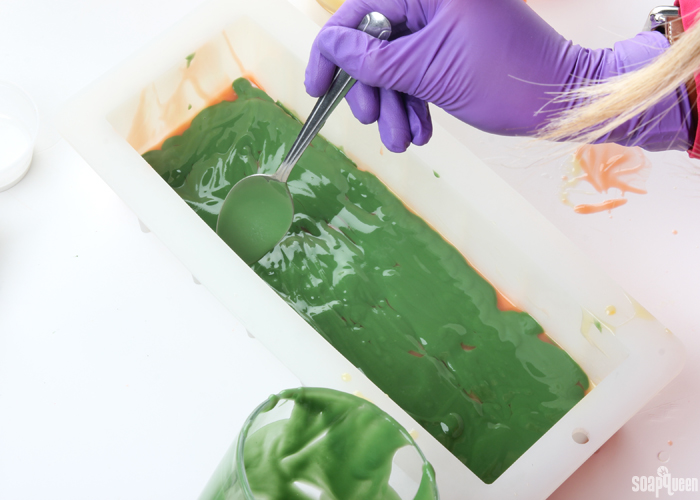
Finally, gently place the green soap on top until the mat is completely covered. Pour any leftover yellow soap back into the main batch and stir in.
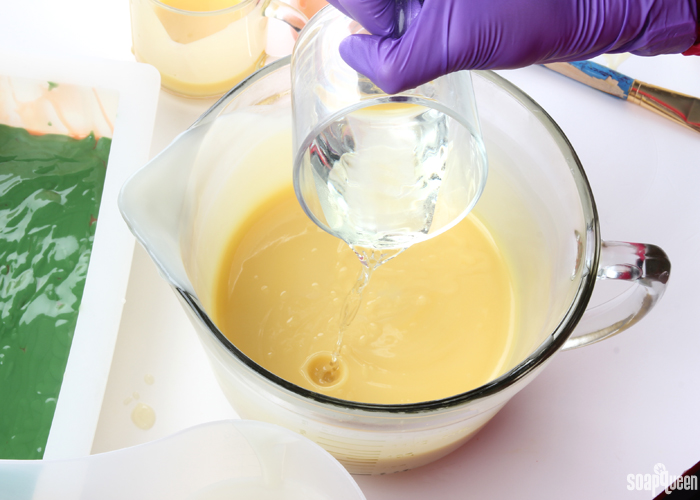
 FIVE: Pour the Pineapple Cilantro Fragrance Oil into the main batch of soap and use a whisk to fully mix in. Split off about 300 mL of soap from the main batch and add 1 teaspoon dispersed titanium dioxide. Use a whisk to mix in the colorant. To the main batch, add the rest of the dispersed Yellow Mica (or until you reach a soft yellow color) and mix in with a whisk.
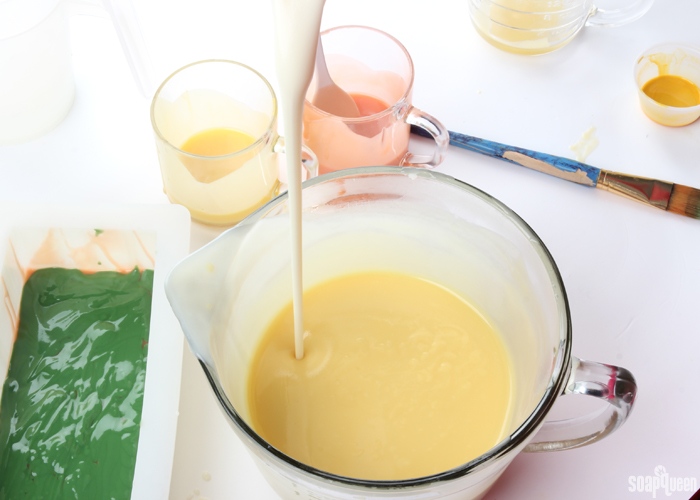
 SIX: It’s time to make the in-the-pot swirl! Holding the white soap container about 6 inches above the yellow, pour the white soap into various areas of the yellow soap. Pour steadily to get the color all the way to the bottom of the container.
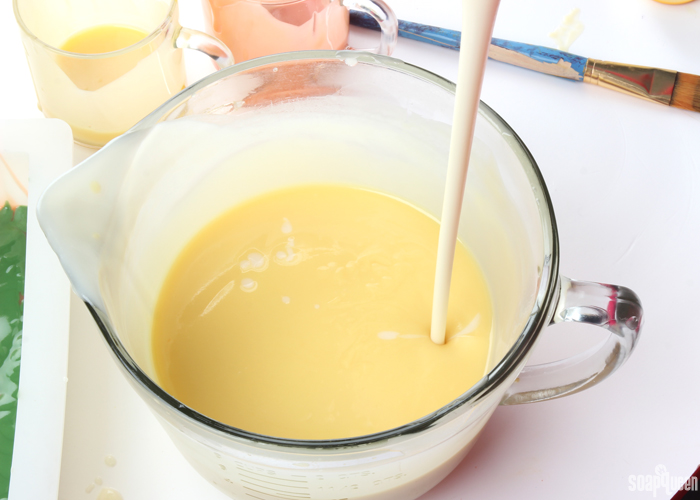 SEVEN: Carefully, pour the soap into the mold. Be careful to not break through the green layer. To help prevent this, I poured the soap over a spatula. Once full, tap the mold firmly on the counter to help get rid of bubbles.
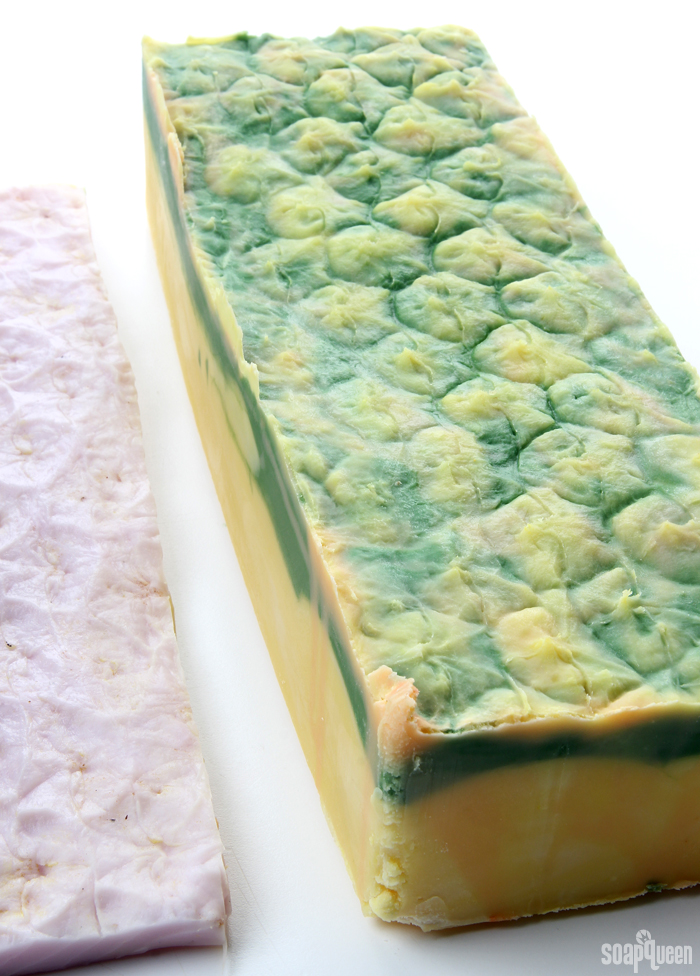
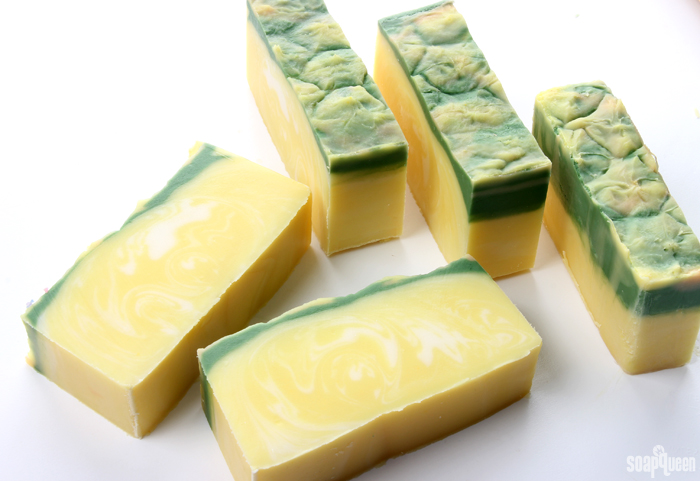
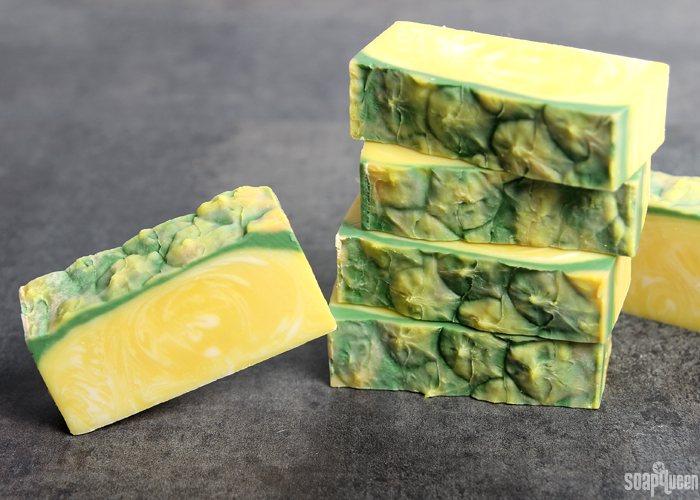
 EIGHT: Spray the top of the soap with 99% isopropyl alcohol to help prevent soda ash. Cover the soap and insulate for 24 hours. Allow the soap to stay in the mold for 2-3 days. Carefully remove the soap from the mold, and peel away the silicone mat from the bottom. Cut into bars and allow them to cure for 4-6 weeks. I used the Soap Shaver to give the bars a smoother and straighter bottom. Enjoy!