What You’ll Need:
8 Paper Disposable Cups (cut to hold 4 ounces)
8 oz. Coconut Oil (25%)
9.6 oz. Palm Oil (30%)
8 oz. Olive Oil (25%)
6.4 oz. Sweet Almond Oil (20%)
4.5 oz. Sodium Hydroxide Lye
10.5 oz. Distilled Water
1.7 oz. Pumpkin Souffle Fragrance Oil
Titanium Dioxide
Disposable Frosting Bag
Used Coffee Grounds
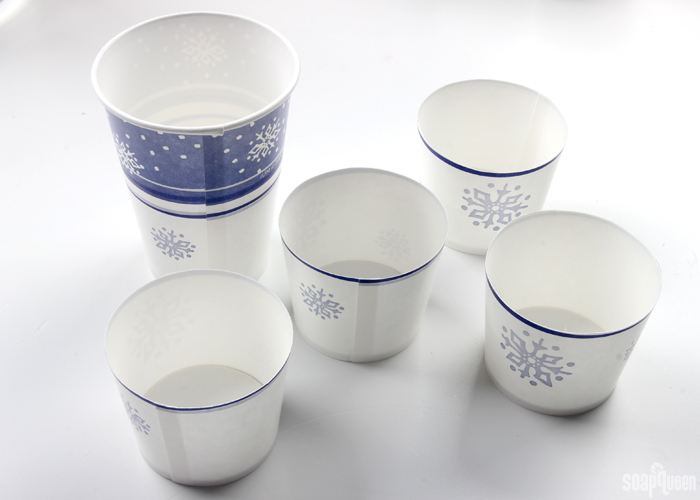
MOLD PREP: For these soaps, I used disposable, paper cups for the mold. It’s important that the cups are lined with a wax film. That will prevent the soap from sticking to the cup. My cups were 9 ounces and about 4 inches tall. I cut the top of the cups to be about 4 inches tall. Feel free to cut the cups to be a different size if you’d like. I weighed how much water the cup could hold to give me an idea of how much soap to make; the cups held 4 ounces of water. I cut 8 cups, which meant I needed about 32 ounces of soap to fill the cups.
If you’ve never made cold process soap before, stop here! I highly recommend checking out our FREE four part SoapQueen.tv series on Cold Process Soapmaking, especially the episode on lye safety. And if you’d rather do some reading, Bramble Berry carries a wide range of books on the topic, including my newest book, Pure Soapmaking. You can also checkout the digital downloads for that instant gratification factor.
SAFETY FIRST: Suit up for safe handling practices! That means goggles, gloves and long sleeves. Make sure kids, pets, and other distractions and tripping hazards are out of the house or don’t have access to your soaping space. Always soap in a well-ventilated area.
COLOR PREP: To ensure that the Titanium Dioxide blends smoothly into the soap batter, we recommend micronizing it before dispersing it in oil. Please note this is an optional tip but it does help with the titanium dioxide clumping in the soap. =) To micronize colorant, simply use a coffee grinder to blend the colorant to break up any clumps of color and prevent streaks of white from showing in the final soap. We like to use a coffee grinder that has a removable, stainless steel mixing area for easy cleaning. Disperse 1 teaspoon of the colorant into 1 tablespoon of sunflower or sweet almond oil (or any other liquid oil). Use a mini mixer to help get rid of any clumps. Have used coffee grounds nearby. If the coffee grounds are not used, they will bleed on the soap.
FRAGRANCE OIL PREP: In a glass, fragrance oil safe container, measure 1.7 ounces of Pumpkin Souffle Fragrance Oil in a glass, fragrance oil safe container. Set aside.

ONE: Slowly and carefully add the lye to the water and gently stir until the lye has fully dissolved and the liquid is clear. Set aside to cool.
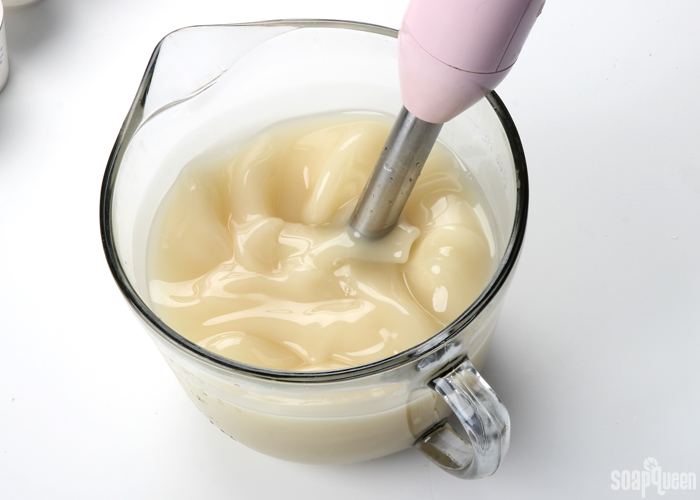
TWO: Fully melt and combine the coconut oil, olive oil, palm oil, sweet almond oil (remember to fully melt then mix your entire container of palm oil before portioning). Once the lye water and the oils have cooled to 130 degrees or below (and are ideally within 10 degrees of each other), add the lye water to the oils and stick blend until thin trace. If you’d like a harder bar of soap that releases faster from the mold, you can add sodium lactate to the cooled lye water. Use 1 teaspoon of sodium lactate per pound of oils in the recipe. For this recipe, you’d add 2 teaspoons sodium lactate.
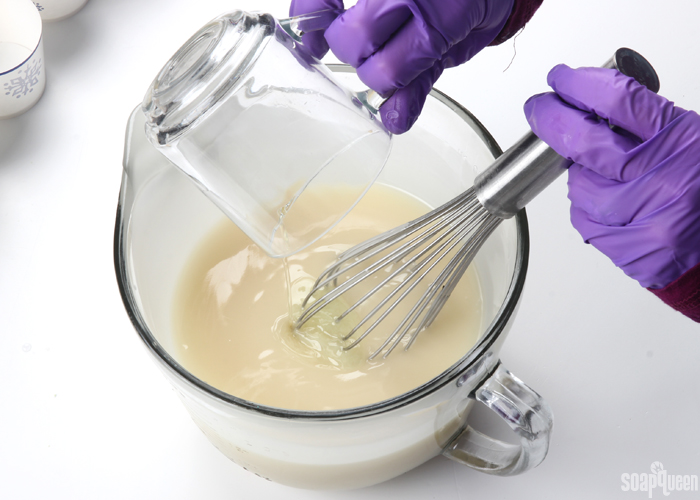
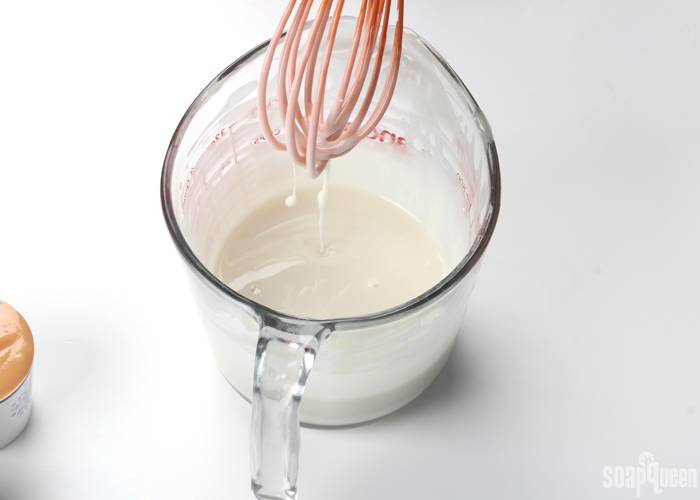
THREE: Split off 12 ounces of soap batter into a separate container. To the remaining soap, add the Pumpkin Souffle Fragrance Oil. Use a whisk to stir in, then pulse the stick blender several times to thicken the batter to a medium trace.

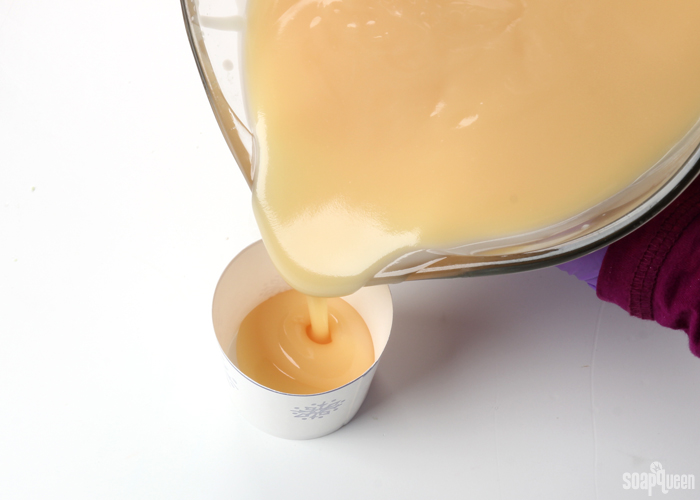
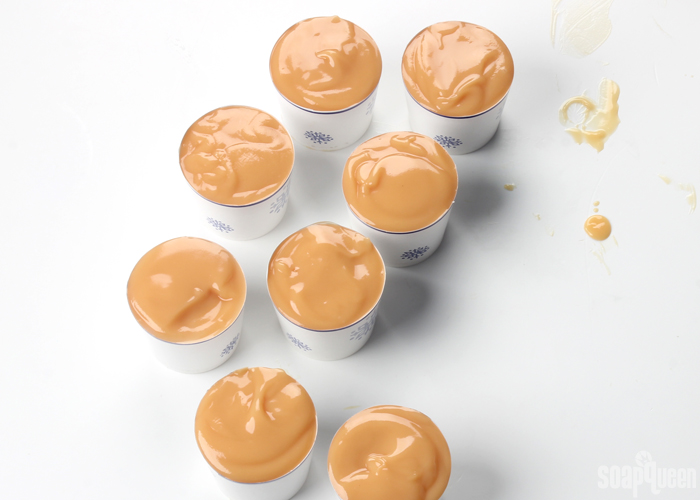
FIVE: Pour the soap into the disposable paper cups. Fill them all the way to the top. Tap them lightly on the counter to help get rid of bubbles and even the top. They will be covered with soap frosting, so don’t worry too much about what the top looks like.
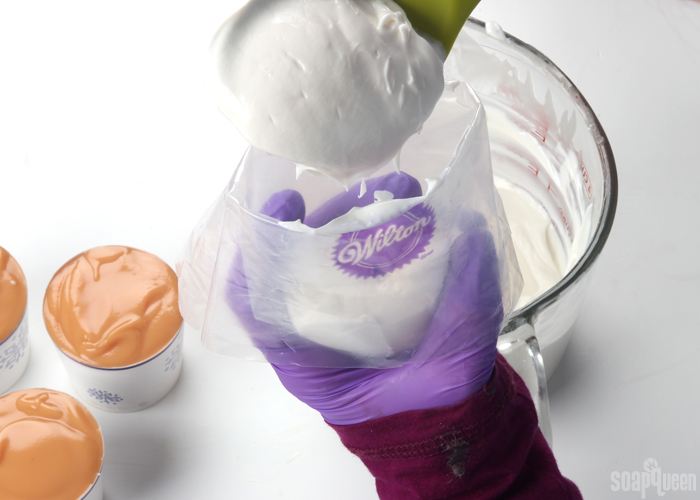
SIX: To the remaining soap, add all the dispersed titanium dioxide. Use the stick blender to mix in the colorant and get rid of clumps, while thickening the soap to a medium trace.
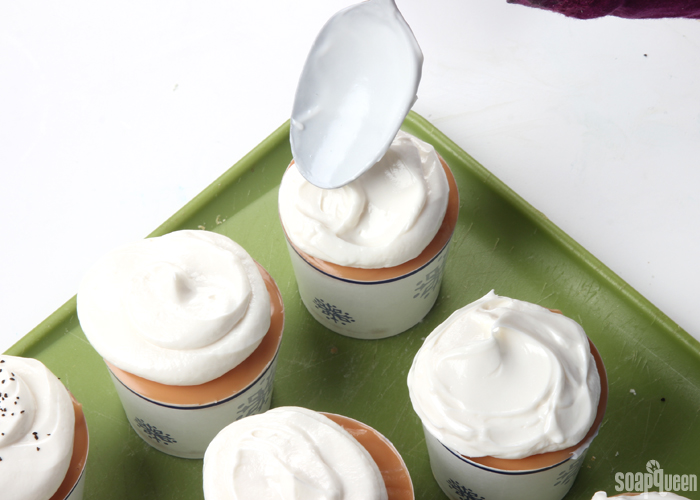
SEVEN: Once the soap is thick enough to hold a shape but still fluid enough to pipe and manipulate, place it in a piping bag. Cut off a decent amount of the tip of the bag, in order to pipe thick layers of soap.
EIGHT: Begin piping the soap frosting in a circular motion, creating a peak in the center.
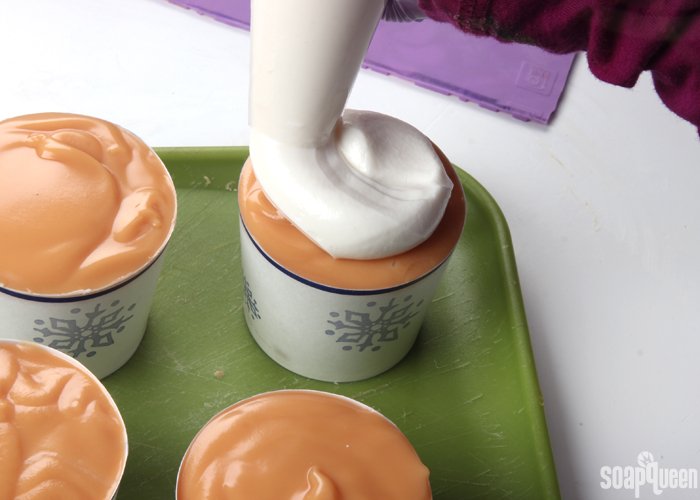
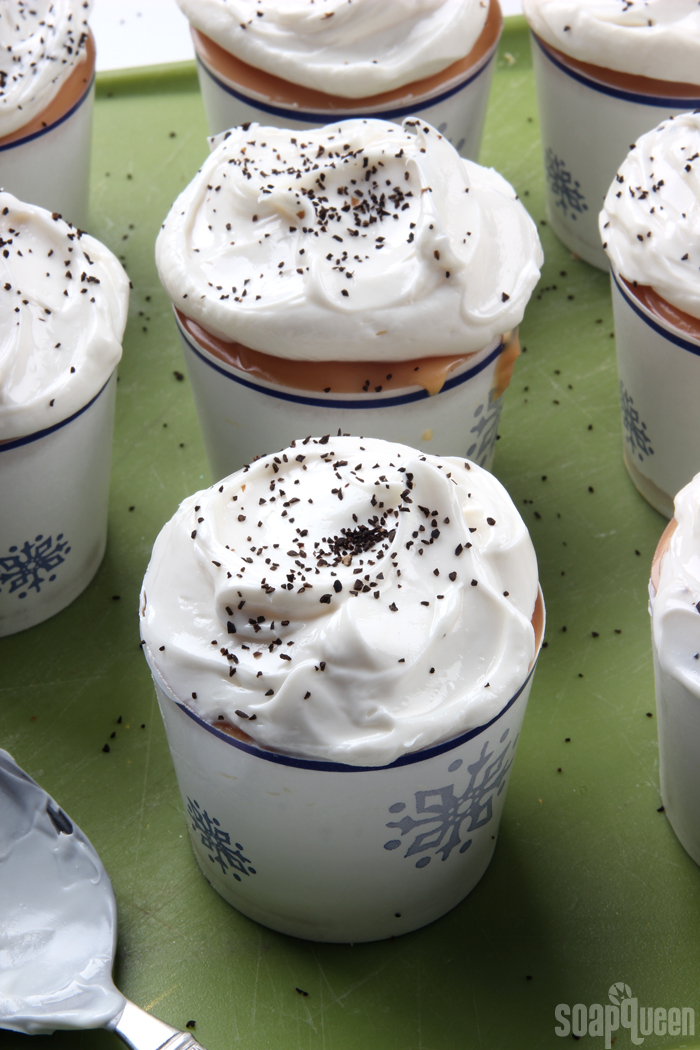
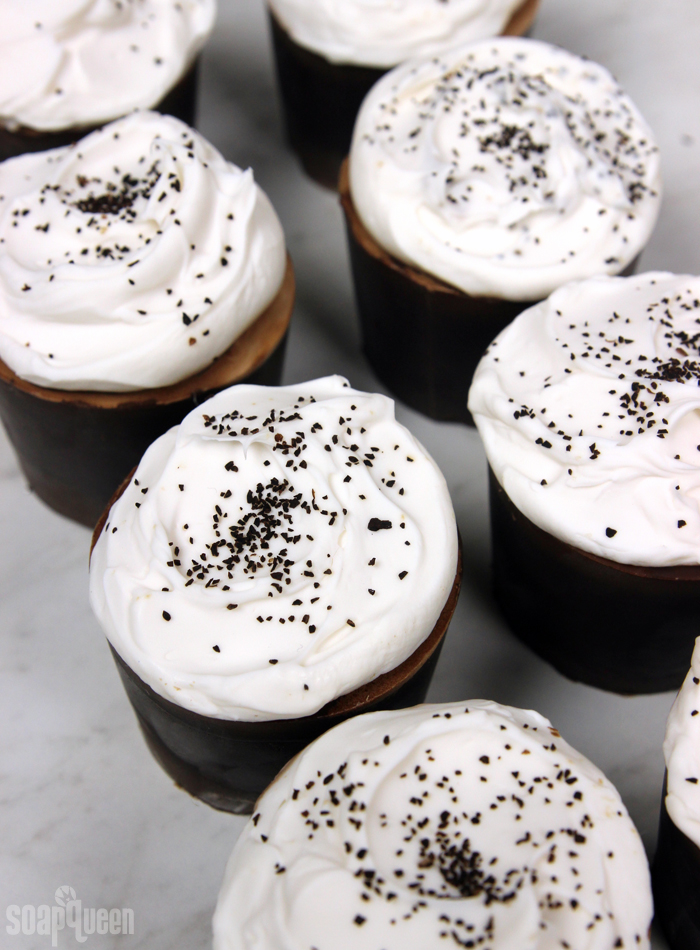
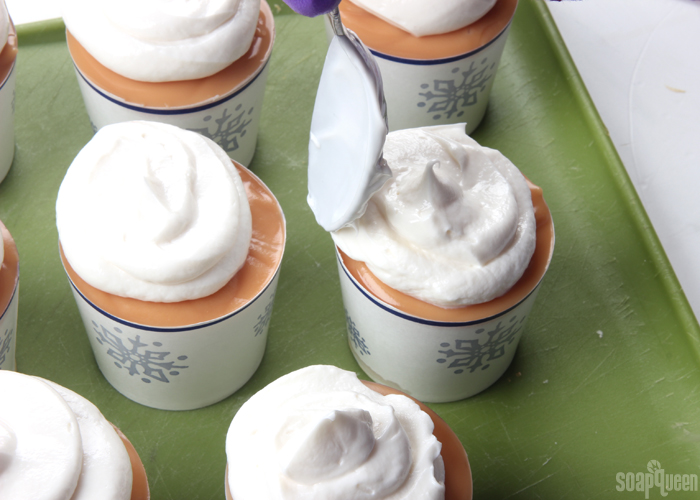
NINE: Originally, I planned on keeping the soap frosting smooth from the piping. But, I thought my piping skills were a little lacking and decided to use a smooth to create more of a “messy” and “foamy” look. This is optional, go with whatever look of frosting you prefer. =)
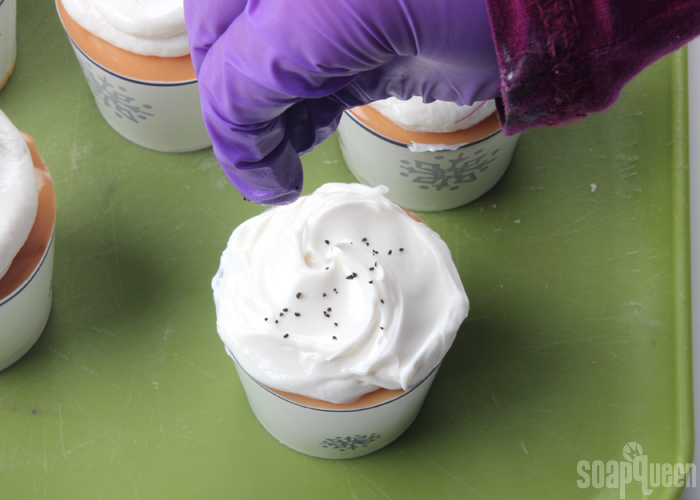
TEN: Once you’re happy with the look of the frosting, sprinkle the used coffee grounds on top of the soaps, concentrating the grounds in the center of each. Spritz each soap with 99% isopropyl alcohol to help prevent soda ash. If you live in a hot climate, place the soap in the fridge to prevent the soap frosting from “melting” and losing its shape.
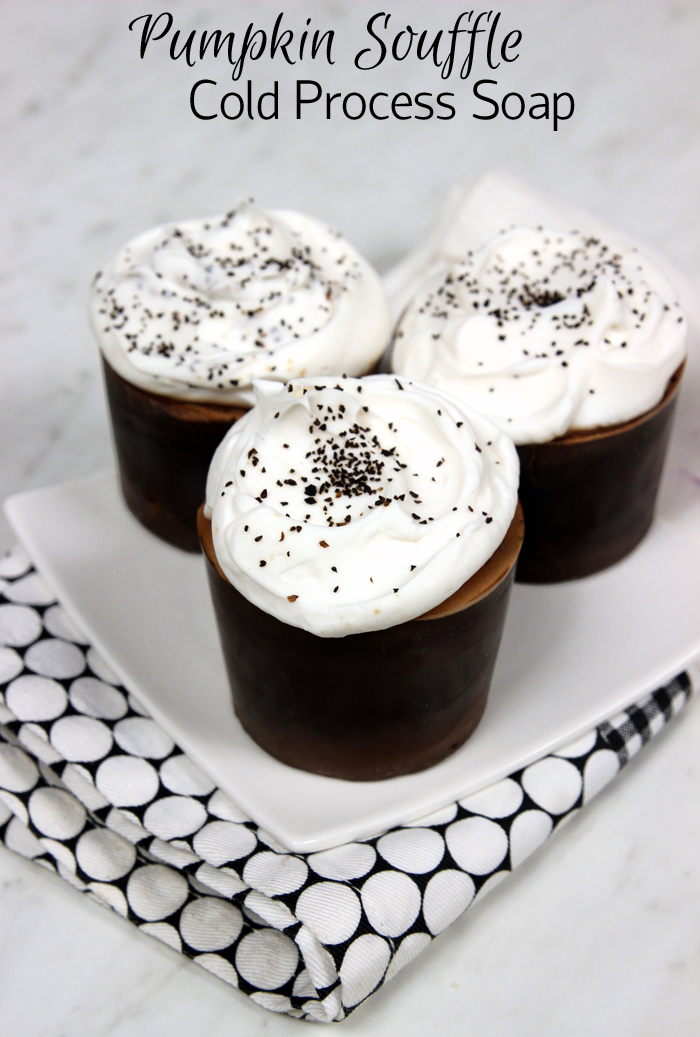
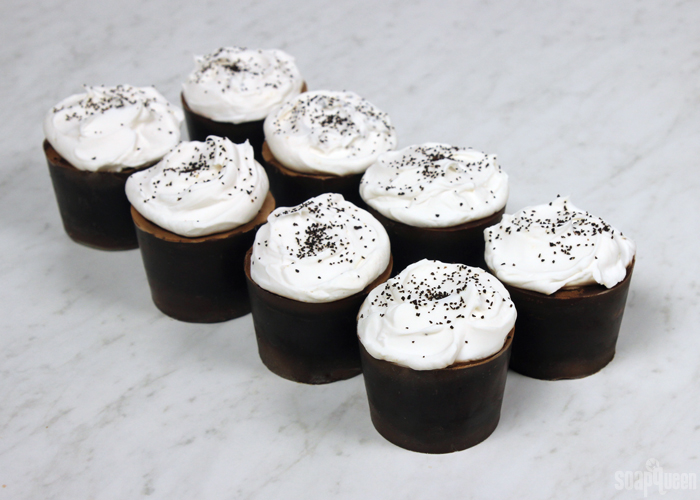
Allow the soap to stay in the mold for 2-3 days. I found that the soap constricts and pulls away from the cup as it hardens, which makes tearing the paper cup off the soap easier. But, be careful when removing the bottom of the cup. The top peels away easily, but I found the bottom of the cup tore the bottom of the soap slightly. If the bottom of the soap is giving any resistance, allow the soaps to stay in the mold for another couple days. After about a week, the bottom of the soap will discolor to a deep, rich brown. Allow the soaps to cure for 4-6 weeks and enjoy!