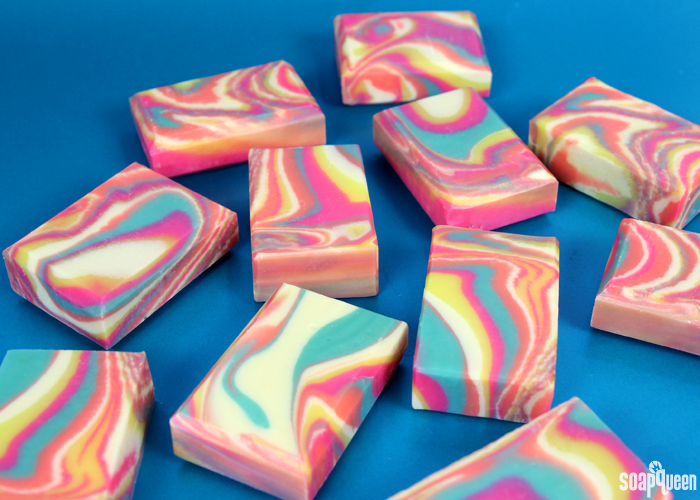
What You’ll Need:
9 Bar Birchwood Mold
Silicone Liner for 9 Bar Mold
15.5 oz. Canola Oil
.5 oz. Castor Oil
1.5 oz. Cocoa Butter
12.5 oz. Coconut Oil
2.5 oz. Hemp Seed Oil (Refined)
7.5 oz. Olive Oil
10 oz. Rice Bran Oil
6.8 oz. Sodium Hydroxide Lye
16.5 oz. Distilled Water
Neon Blue Raspberry Colorant
Titanium Dioxide
Fizzy Lemonade Colorant
Tangerine Wow! Colorant
Electric Bubble Gum Colorant
2 oz. Kumquat Fragrance Oil
1 oz. Patchouli Fragrance Oil
If you’ve never made Cold Process soap before, check out our FREE four part SoapQueen.tv series on Cold Process Soapmaking, especially the episode on lye safety. Bramble Berry also carries a wide range of books on the topic, including Soap Crafting. You can also checkout the digital downloads.
SAFETY FIRST: Suit up for safety! That includes goggles, gloves and long sleeves. Make sure kids, pets, and other distractions and tripping hazards are out of the house or don’t have access to your soaping space. Always soap in a well-ventilated area.
COLOR PREP: To make sure the Titanium Dioxide blends smoothly into the soap, we recommend micronizing it beforehand. This is an optional step, but it does help prevent the Titanium Dioxide from clumping. To micronize the colorant, use a coffee grinder to blend the colorant to break up any clumps of color and prevent streaks of white from showing in the final soap. Next, mix 1 teaspoon of the colorant into 1 tablespoon of a lightweight liquid oil like sweet almond oil. In separate containers, mix 1 teaspoon of Tangerine Wow! Colorant, Neon Blue Raspberry Colorant, Electric Bubble Gum Colorant and Fizzy Lemonade Colorant into 1 tablespoon of a light oil.
FRAGRANCE PREP: Mix together Patchouli and Kumquat Fragrance Oils in a glass container and set aside.
ONE: Carefully and slowly add the lye to the water and stir gently until the lye has fully dissolved and the liquid is clear. Set the lye and water aside to cool.
TWO: Combine the castor oil, olive oil, coconut oil, rice bran, hemp seed (refined), canola oil, and cocoa butter in a container. When the lye water and the oils have cooled to around 130 degrees or below, and are ideally within 10 degrees of each other, add the lye water to the oils. Stick blend the oil and lye until it reaches thin trace. If you’d like a firmer bar of soap that releases faster from your mold, you can add sodium lactate to the cooled lye water mixture. Use 1 teaspoon of sodium lactate per pound of oils in your recipe. In this recipe, you’d add about 3 tsp. sodium lactate total.
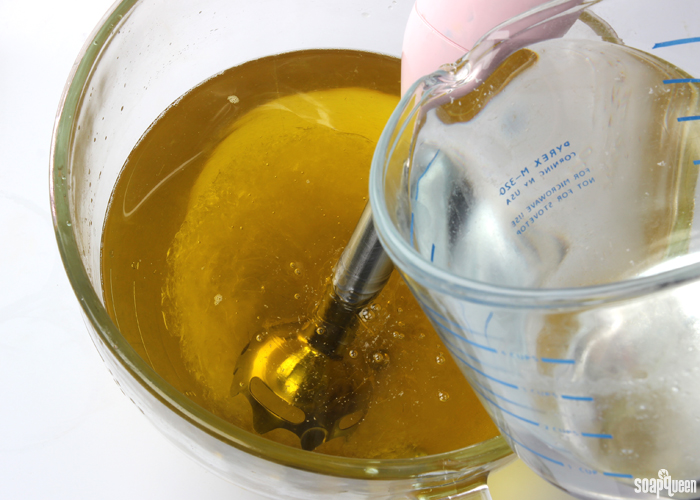
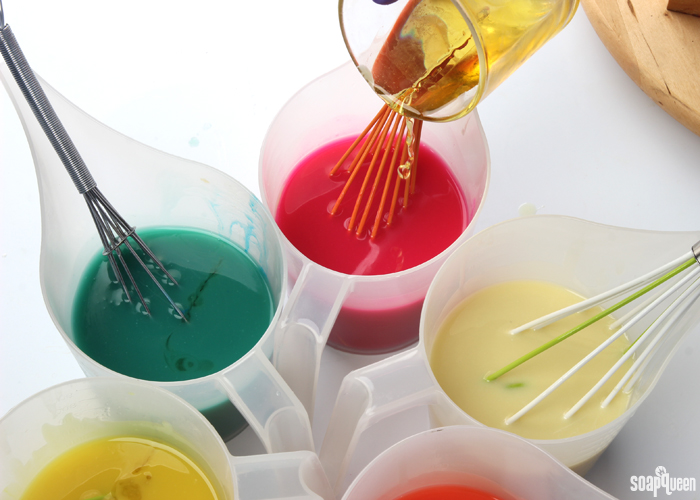
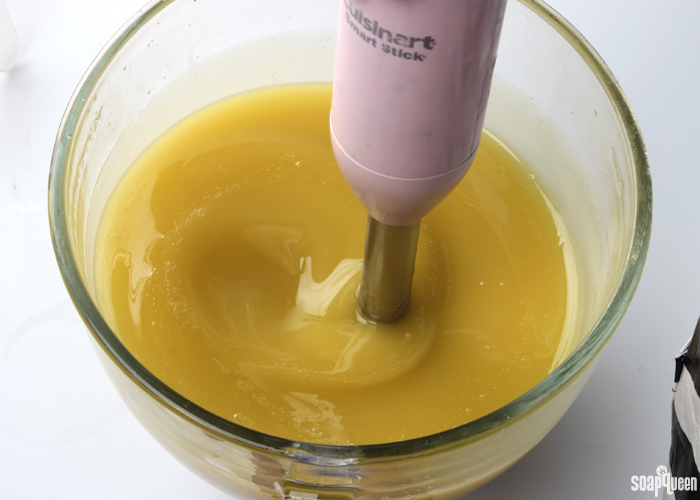 THREE: When the soap is at a very light trace, split it into 5 equal containers. All 5 containers will have about 450 mL of soap. Add the colorants listed below to each container and mix with a whisk. When they’re fully mixed, choose the order you would like to pour the colors. We chose pink, yellow, white, orange and blue. Then, pour the fragrance blend evenly into the 5 containers and whisk to fully incorporate.
- Container A (Pink): 1 Tbs. dispersed Electric Bubblegum Colorant
- Container B (White): 1 Tbs. dispersed Titanium Dioxide Colorant
- Container C (Blue): 1.5 Tbs. dispersed Neon Blue Raspberry Colorant
- Container D (Orange): 1 Tbs. dispersed Tangerine Wow! Colorant
- Container E (Yellow): 1 Tbs. dispersed Fizzy Lemonade Colorant
 FOUR: Start pouring the pink colored soap in two opposite corners of the mold. To make sure the pours are even, count to 3 each time.
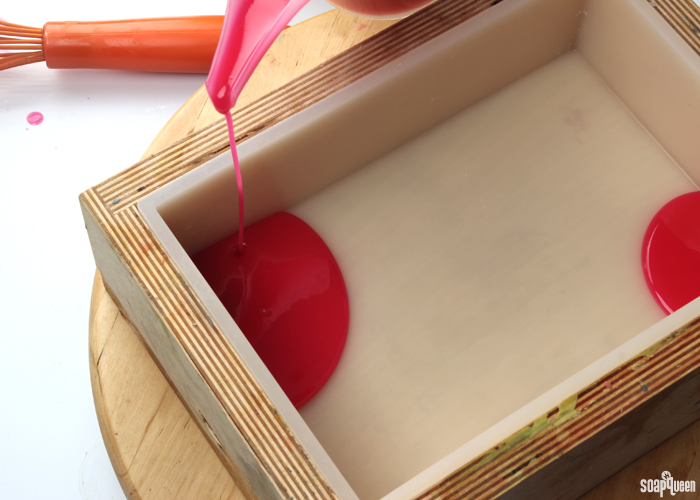 FIVE: Pour the yellow on top of the pink soap in both corners, again counting to 3. The soap should be thin enough to push the pink soap toward the center of the mold. To make sure your color order stays the same, put the container back in the same place on the counter.
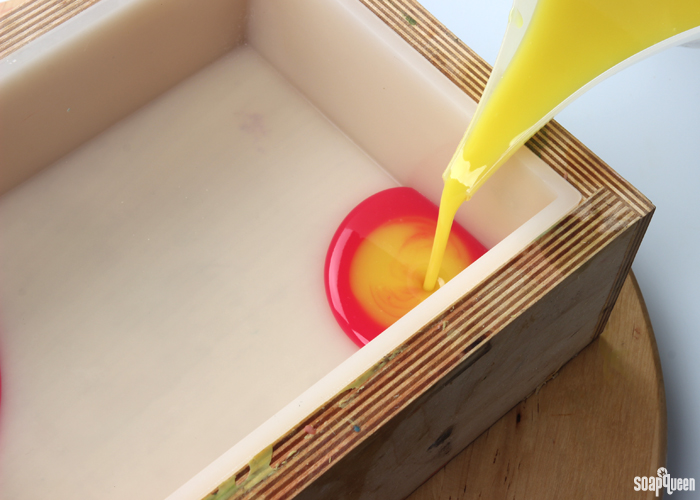 SIX: Pour the white soap on top of the yellow, counting to 3 for each pour.
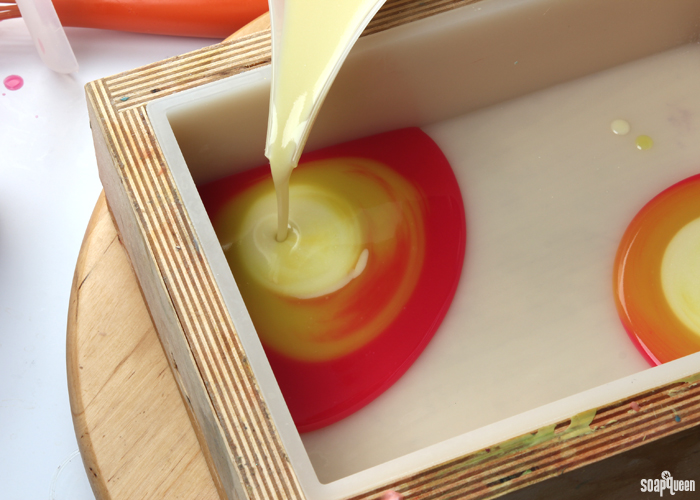 SEVEN: Pour the orange soap on the white, counting to 3.
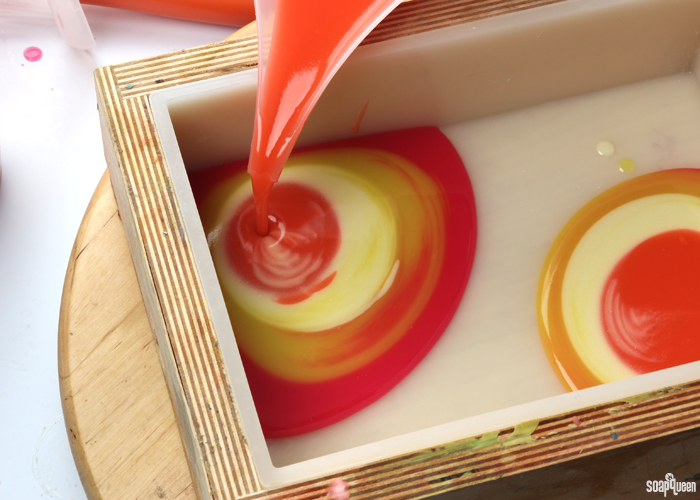 EIGHT: Then, pour the blue soap on the orange, counting to 3.
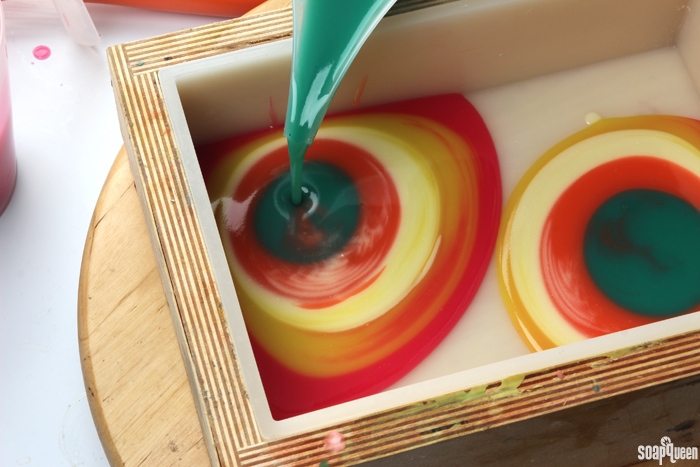 NINE: Continue pouring the five colors in the same order, counting to 3. Make sure to whisk the soap to avoid graininess.
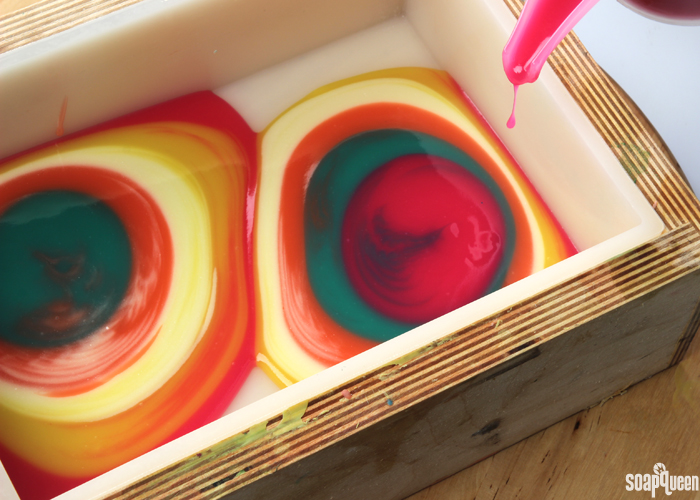 Below, you can see the soap is a bit grainy. This is normal, and whisking it will make it smooth and fluid again.
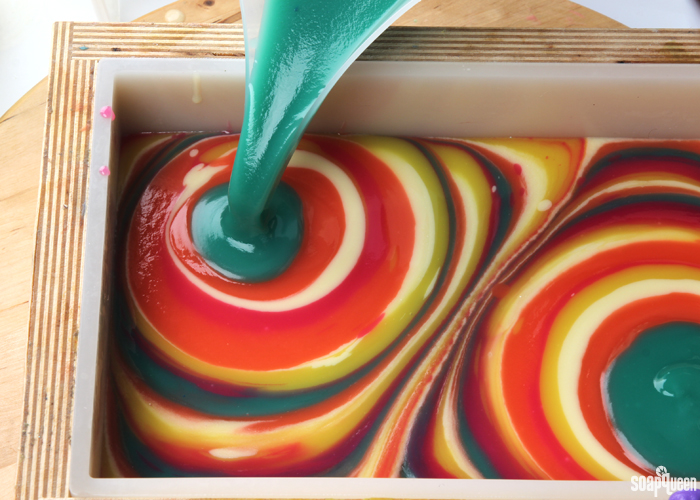 TEN: Pour the 5 colors until all the soap is gone. Work quickly so the stop stays at a thin trace. The colors may start to thicken slightly toward the end.
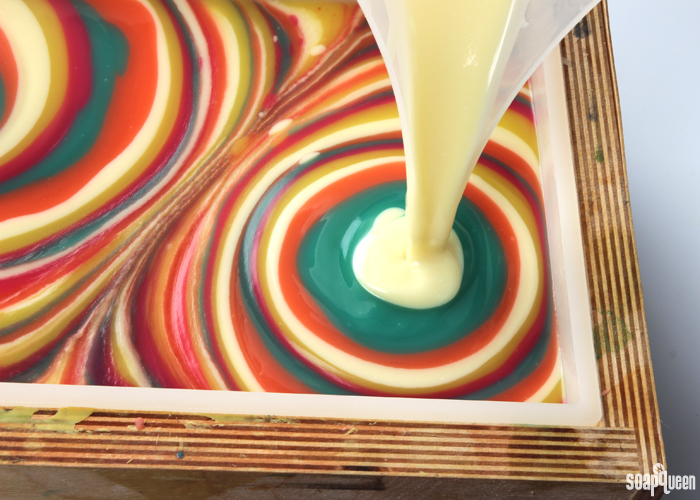 ELEVEN: Tap the mold firmly on the counter to disperse any air bubbles. If you have a Lazy Susan, place your mold on it. If not, you can spin it on the counter. Start to spin the Lazy Susan. Then, stop the soap suddenly to create the spin pattern. You want the force from the the spin and stop motion to move the soap in several directions. Don’t spin too hard or the soap may spill out of your mold. To see the spin in action, check out the Vine video below.
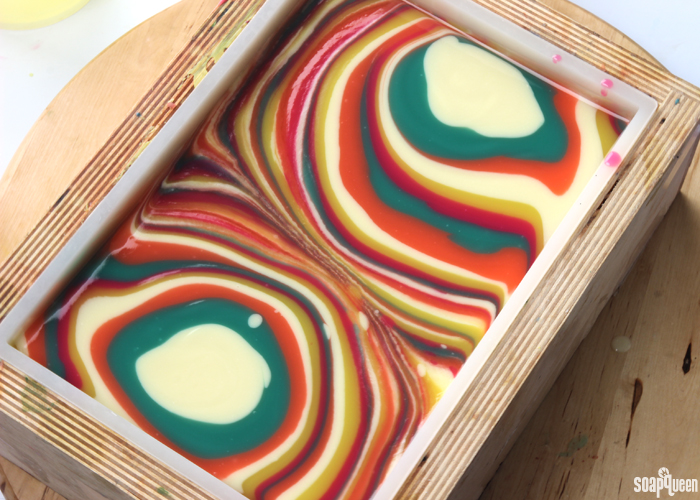
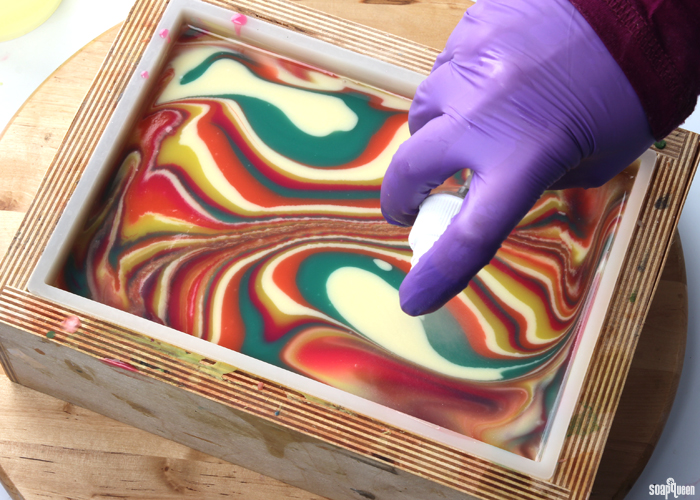
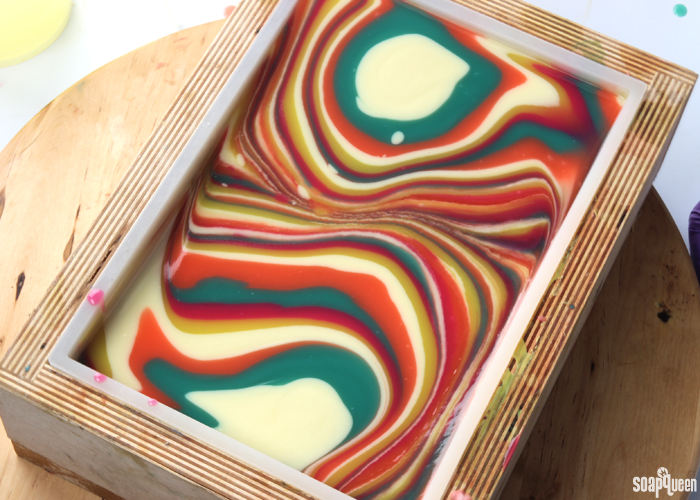 TWELVE: Spin the mold until the soap creates patterns from the motion. A good stopping point is when the colors start to blend together, as seen in the bottom corner of the mold below. Spritz the top of the soap with 99% isopropyl alcohol to prevent soda ash. I forced the soap through gel phase by putting it on heating pad for 20-30 minutes and insulating for 24 hours. Learn more about soap insulation here. Unmold the soap after 3-4 days. Then, cut and cure for 4-6 weeks.
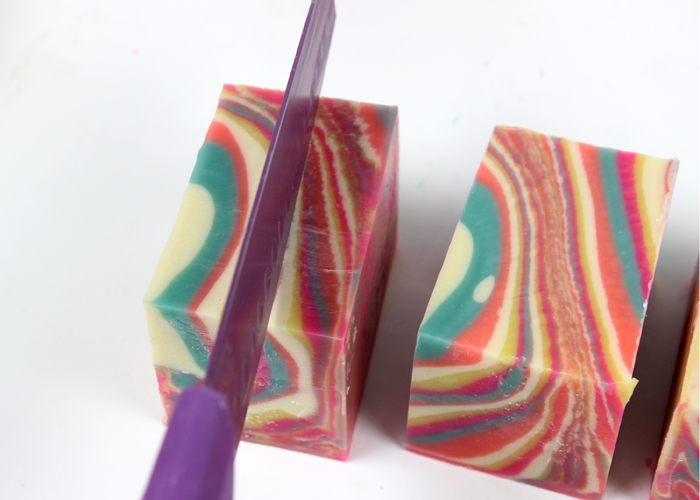
 I prefer a horizontal cut for this design to highlight the movement in the swirl. To get this look, cut the slab into three large pieces lengthwise.
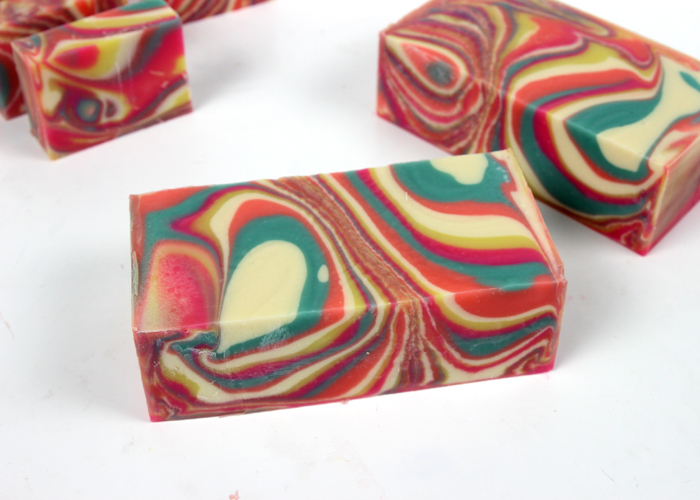 Cut the pieces into 3 even pieces, for a total of 6 pieces of soap.
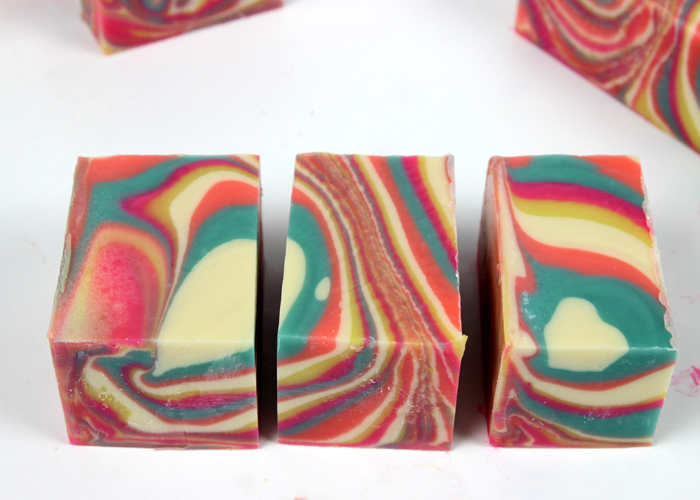 Finally, flip these bars on the side and cut down the center. To see how to cut horizontally, check out the Infinity Swirl Soap on Soap Queen TV. The cut happens around the 11 minute mark.
