3.8 oz. Castor Oil
22.8 oz. Coconut Oil
22.8 oz. Olive Oil
19 oz. Palm Oil
7.6 oz. Rice Bran Oil
10.8 oz. Sodium Hydroxide
25 oz. distilled water
5 oz. Neroli & Shea Fragrance Oil
18 Bar Birchwood Mold with Liner
To make the melt and pour pieces
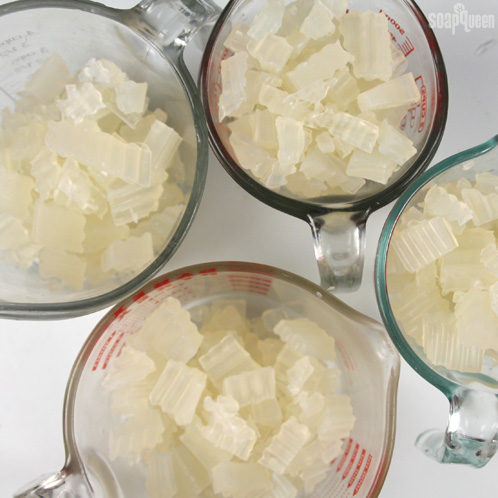
ONE: Cut up 24 oz. of LCP Clear Melt and Pour Soap Base. Split the soap into 4 heat-safe containers. Each container should have about 6 ounces of soap.
Note: LCP soap, or Like Cold Process melt and pour soap, has less glycerin than the traditional house clear base. That means it is less likely to sweat when it is exposed to moisture.
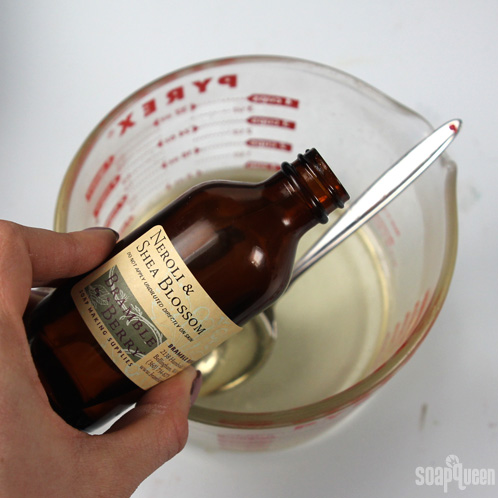
TWO: Melt each container using 10 second bursts. Heating on short bursts prevents the soap from scorching. Next, add .3 oz. of Neroli and Shea Blossom Fragrance Oil to each container. Stir well.
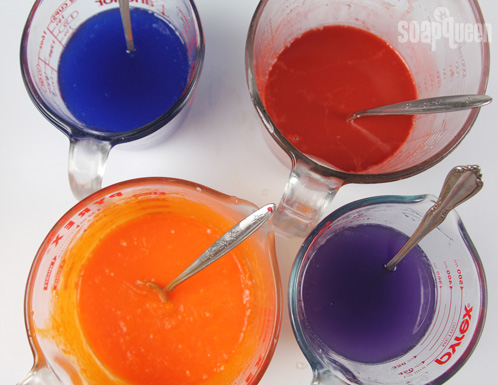
THREE: In the containers, add one of each color:
- 1/8 tsp. Liquid Orange
- 1/4 tsp. Liquid Blue
- 1/2 tsp. Liquid Violet
- 1/4 tsp. Liquid Red
Stir well to mix in the color.
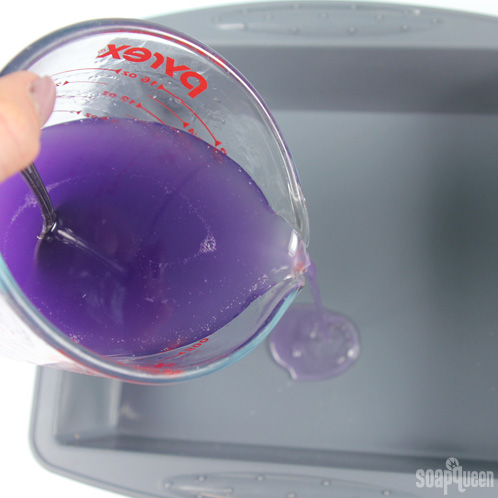
FOUR: Pour a very thin layer of the melt and pour soap into the Silicone Tray Mold. You can pour one of the colors, wait 30 minutes for it to dry, unmold it, and then pour another color into the mold. Or, you can pour one color into four different trays. Spritz the top of the soap with 99% isopropyl alcohol to pop any bubbles.
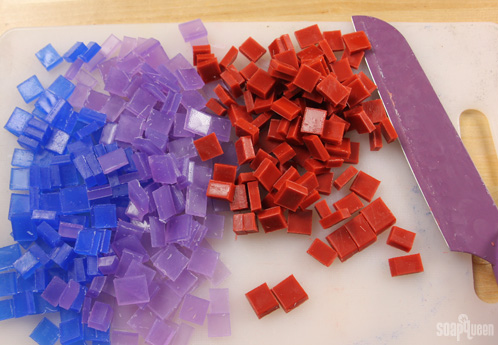
FIVE: Let the soap dry for at least 30 minutes. Once it is dry, remove from the mold. Cut each color into small rectangular and square chunks. The size of the pieces is up to you. Our pieces were about 1-1.5 centimeters in length.
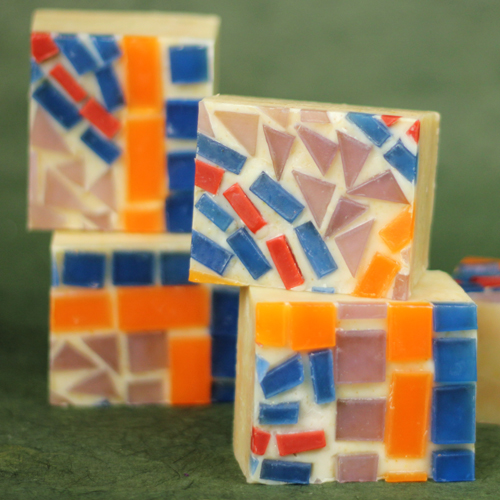
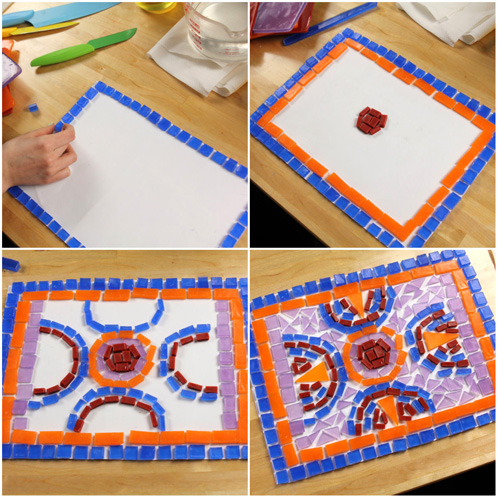
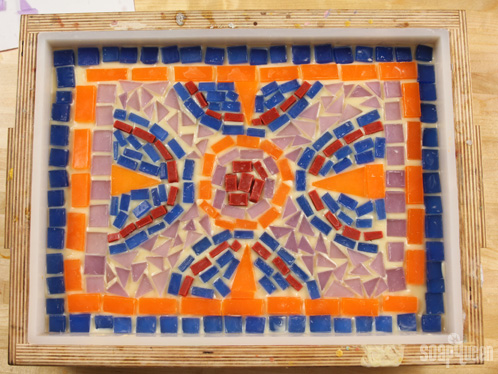
SIX: Next, cut a sheet of paper that is the same size as the 18 Bar Birchwood Mold, then arrange your melt and pour pieces on it. That way you know exactly what the design is and how long it takes to make it. We started with blue on the outside, followed by orange, and then a group of red in the middle. Then, we put purple and orange squares around the red. The left and right inside edges were lined with purple soap before forming semi circles of blue and another semi circle of red melt and pour inside. We then cut orange triangles to fit inside the half circles. Fill in any empty space with purple squares.
To make the cold process base:
If you’ve never made Cold Process soap before, check out our FREE four part SoapQueen.tv series on Cold Process Soapmaking, especially the episode on lye safety. Bramble Berry also carries a wide range of books on the topic, including Soap Crafting. You can also checkout the digital downloads.
SAFETY FIRST: Suit up for safety! That includes goggles, gloves and long sleeves. Make sure kids, pets, and other distractions and tripping hazards are out of the house or don’t have access to your soaping space. Always soap in a well-ventilated area.
COLOR PREP: To make sure the Titanium Dioxide blends smoothly into the soap, we recommend micronizing it beforehand. This is an optional step, but it does help prevent the Titanium Dioxide from clumping. To micronize the colorant, use a coffee grinder to blend the colorant to break up any clumps of color and prevent streaks of white from showing in the final soap. Once the color is micronized, add 1 tsp. Titanium Dioxide into 1 tablespoon of sunflower or sweet almond oil. Next, disperse 2 teaspoons of lemon peel powder into 2 tablespoons of a light liquid oil. Use a mini mixer to smooth any clumps of color.
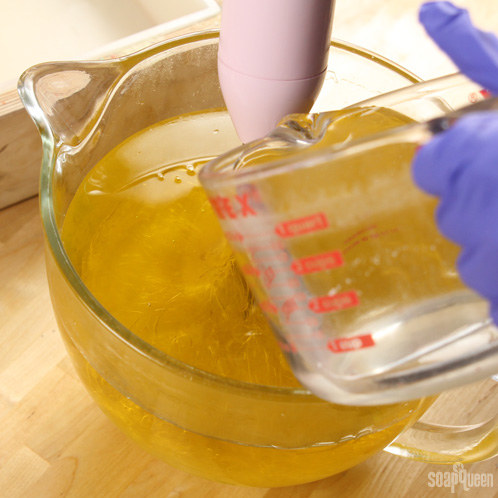
ONE: Carefully and slowly add the lye to the water and stir gently until the lye has fully dissolved and the liquid is clear. Set the lye and water aside to cool.
TWO: Melt and combine the coconut oil, olive oil, castor oil, rice bran oil and palm oil. Make sure to melt the entire container of palm oil fully. When the lye water and the oils have cooled to around 130 degrees or below, and are ideally within 10 degrees of each other, add the lye water to the oils. Stick blend the oil and lye until it reaches thin trace. If you’d like a firmer bar of soap that releases faster from your mold, you can add sodium lactate to the cooled lye water mixture. Use 1 teaspoon of sodium lactate per pound of oils in your recipe. For this soap, you’d add about 4 tsp. sodium lactate total.
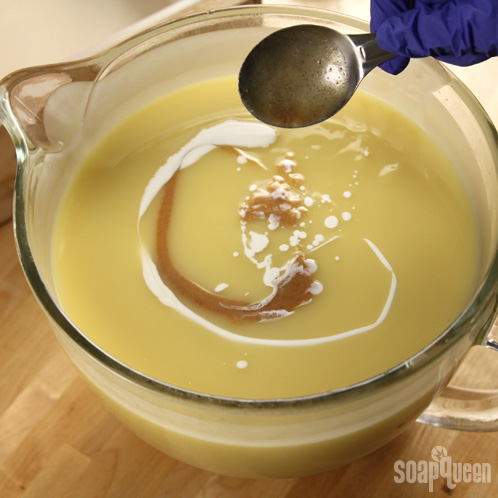
THREE: Add 2 tsp. of the dispersed Titanium Dioxide mixture and 4 tsp. dispersed lemon peel powder to your soap. Use a whisk to mix in the color and lemon peel.
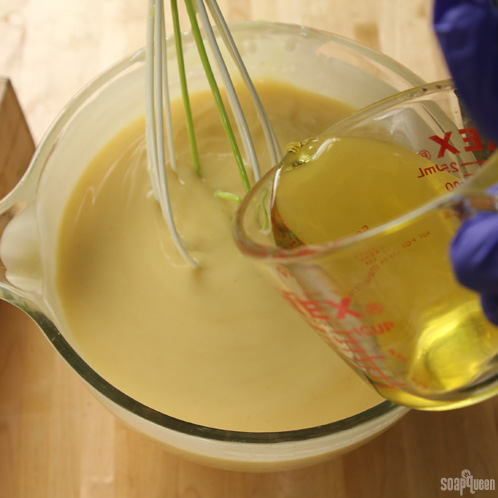
FOUR: After the colorant is fully mixed in, add the Neroli and Shea Fragrance Oil. Mix in with a whisk.
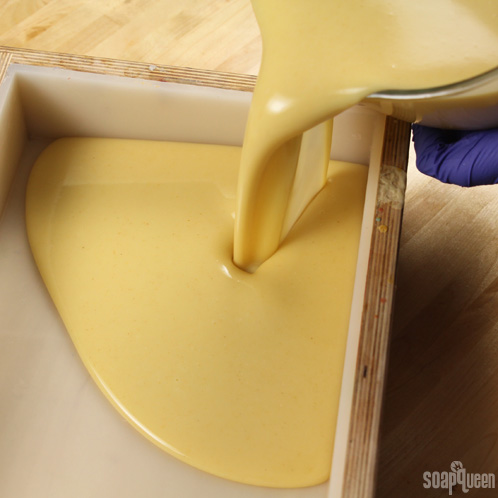
FIVE: Once the fragrance and color have been fully mixed in, pour your soap in the mold.
SIX: Now is when you start transferring your design from the paper onto the soap. We started outside and worked in. Make sure to wear gloves because this process can get messy. If your melt and pour tile pieces get cold process on them, you can wipe it off when the soap is dry. You will have about 30 minutes to transfer your design.
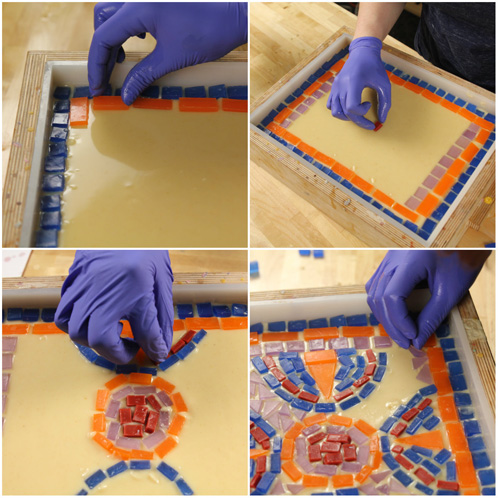
 SEVEN: Once you’re finished with the design, make sure all the melt and pour tiles are deep enough in the cold process. That way they won’t fall off when the soap is cut. Let the soap to stay in the mold for about 3-4 days before unmolding. After your soap is out of the mold, carefully cut into the bars. Let them cure for 4-6 weeks and enjoy!