What You’ll Need:
32 oz. Shea Melt and Pour Base
32. oz. Aloe Melt and Pour Base
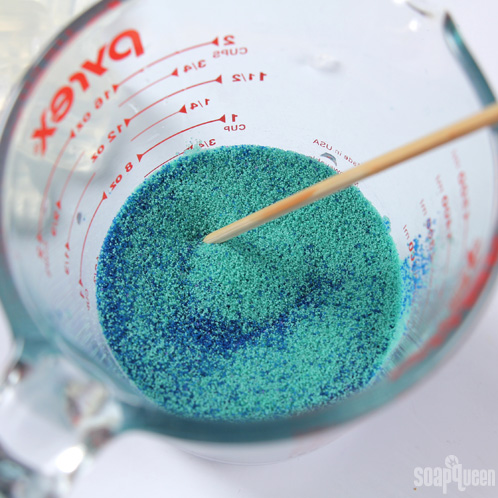
ONE: Mix two tablespoons of each color of jojoba bead in a container and set aside.
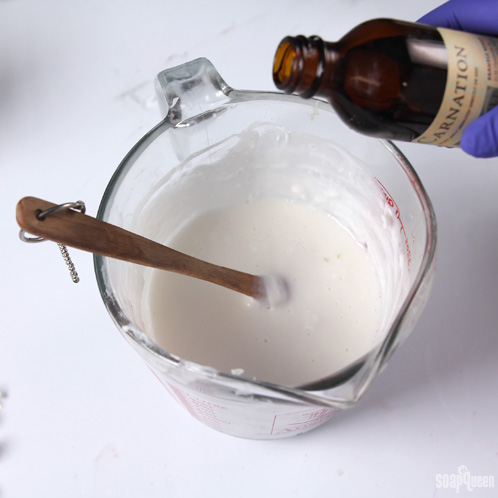
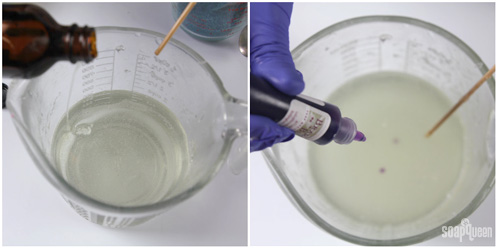
TWO: Cut 16 oz. of Shea Melt and Pour base. In a heat-safe container, melt the soap on 10 second bursts. Stir in between each burst. Add .5 oz. of Carnation Fragrance Oil and stir well.
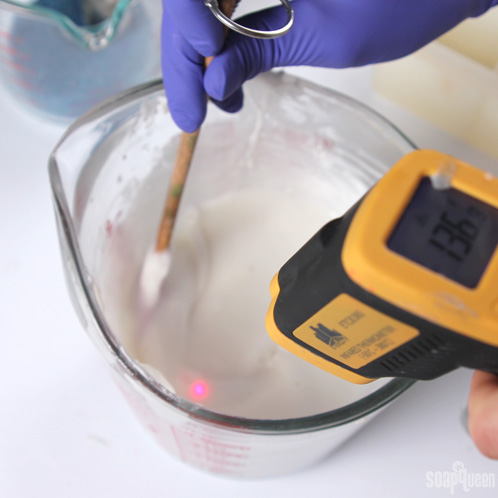
THREE: Let the soap to cool to around 125 – 130 degree F before adding the beads. Stir constantly so a skin doesn’t form on top of the soap. Temperatures are very important – if your soap is too hot, it will melt the jojoba beads.
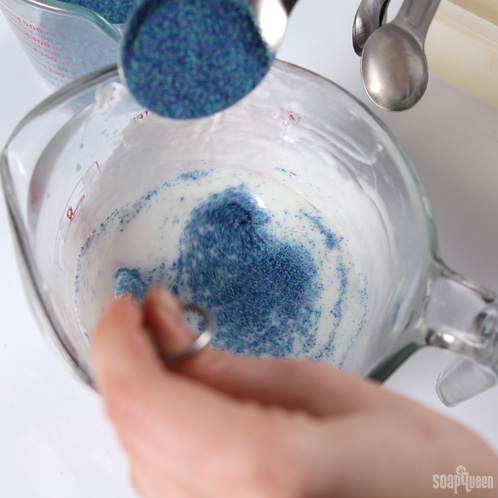
FOUR: When the soap has cooled, add 2 tablespoons of the jojoba bead mixture and stir well.
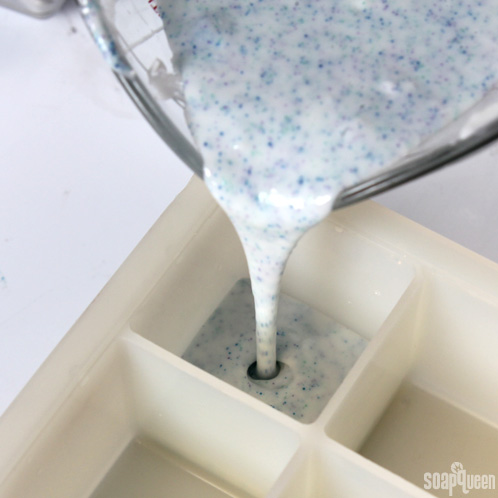
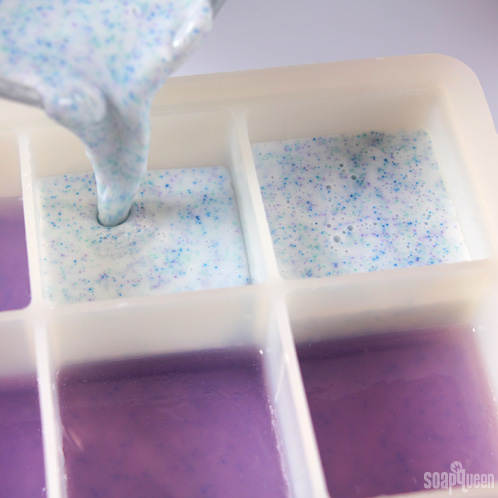
FIVE: Fill each cavity a 1/4 of the way full. You’ll have to work quickly because the soap is so cool. If the soap hardens too much to work with, pop it in the microwave for 3 – 5 second bursts. Spray with isopropyl alcohol to pop any bubbles and let it harden for 15 – 20 minutes
SIX: Cut 16 oz. of Aloe Melt and Pour Base and melt. Add .5 oz. Carnation Fragrance Oil and 1 teaspoon of the Liquid Violet color. Stir well.
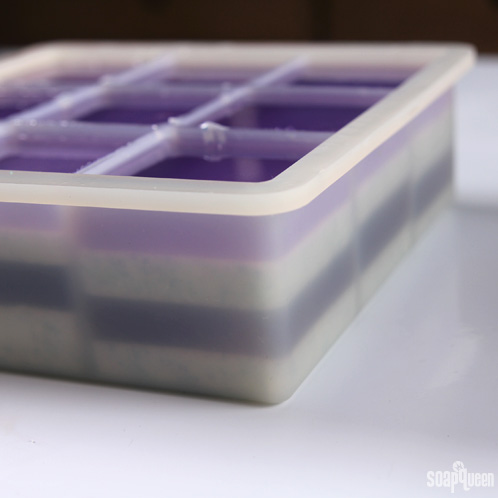
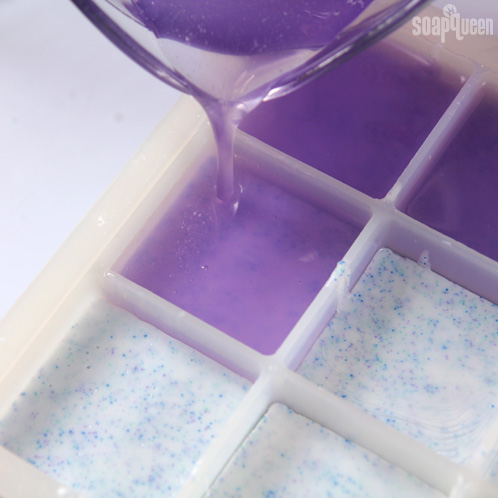
SEVEN: When the white soap in the mold has hardened and the purple soap has cooled to 130 degrees F or below, spray the white soap with isopropyl alcohol. Then, pour the purple soap into the mold about halfway. Spray again with isopropyl alcohol to disperse any bubbles.

EIGHT: Melt 16 oz. of Shea Melt and Pour, and repeat steps 2 – 4. Spray the purple soap with isopropyl alcohol before you pour to help the layers stick together. Fill the cavities until they are about 3/4 of the way full. Spray with alcohol again.
NINE: Melt another 16 oz. of Aloe Melt and Pour and repeat steps 6 and 7. Spray isopropyl alcohol between the layers, and then spray again with isopropyl alcohol to disperse bubbles.
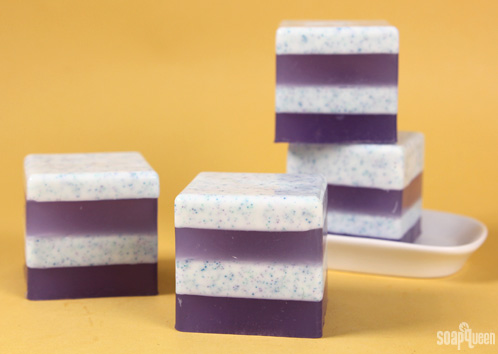
Allow the soap to fully harden for 1 to 2 hours before unmolding. You may find that your layers are slightly uneven, but that’s just fine!