What You’ll Need:
Nail Polish Bottles and Brushes
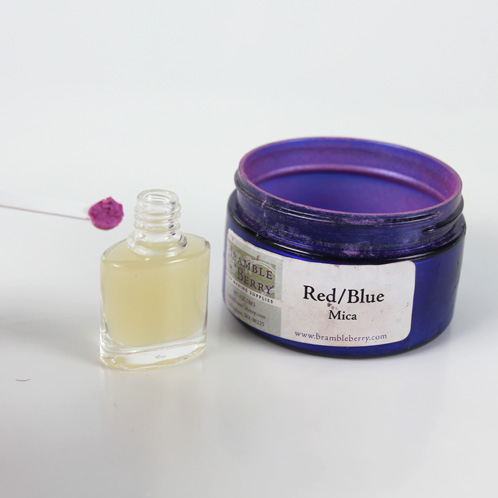
ONE: In a well ventilated space, pour the nail polish base slowly into the bottle. Fill until just below the shoulder of the bottle to allow for mixing room. If you spill, use an old rag to wipe the neck of the bottle. If you forget to do this, your lid may ‘glue’ itself to the bottle. Please note that nail polish is extremely flammable and should never be customized near any open flame or extremely hot heat source (say, a stove or something like that).
TWO: Drop a mixing ball into each nail polish bottle.
THREE: Using a mini scoop, add 3 scoops of Red Mica per bottle. This part can get messy because the mica is so fine, so consider pouring over a garbage can or an easily washable surface.
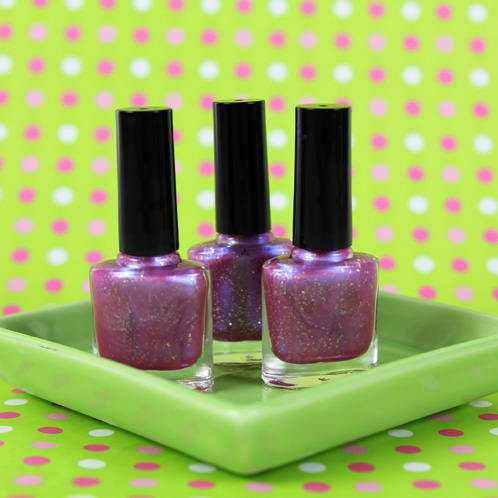
FOUR: Insert the brush into the bottle and twist the black cap over it until you hear a “click”. Once the cap is securely on the bottle, start shaking! Shake the bottle for 3 – 5 minutes to fully disperse the colorant into the nail polish base.
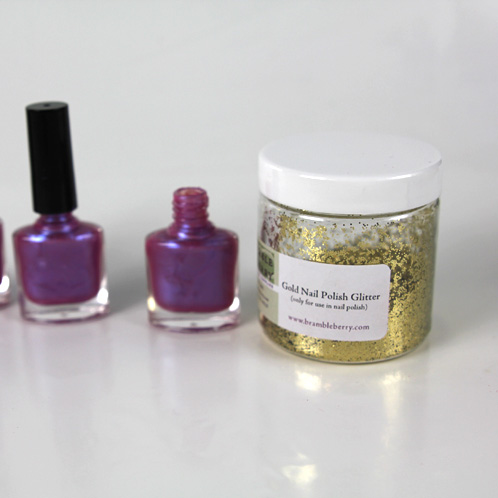
FIVE: When the colorant has been fully dispersed, add the Gold Nail Polish Glitter. The amount of glitter is completely up to you, but we added about 3 scoops.
Tip: To avoid spilling glitter everywhere, consider using a Mini Funnel to channel the glitter directly into the bottle!