Gather your ingredients:
1.1 oz. Avocado Oil
6.6 oz. Canola Oil
1.1 oz. Castor Oil
4.4 oz. Coconut Oil
3.3 oz. Olive Oil
4.4 oz. Palm Oil
1.1 oz. Palm Kernel Flakes
3.06 oz. Sodium Hydroxide (Lye)
7.7 oz. Distilled Water
1 oz Lavender 40/42 Essential Oil
0.4 oz Basil Essential Oil
0.3 oz Patchouli Essential Oil
2 lb. Wood Loaf Mold
SUIT UP: Get on your goggles and gloves, and make sure you’re wearing long sleeves. Keep kids, pets and other tripping hazards and distractions away from your soaping space. Always soap in a well-ventilated area.
COLOR PREP: Disperse those clays in some water using a mini-mixer. You’ll want to use a ratio of 2 teaspoons of clay to 2 Tablespoons of water per color. Make sure that the clay is saturated by the water before turning on the mini-mixer, or you may end up with a messy cloud of clay! Why water? Clays are very absorbent, and tend to accelerate trace when added dry or cause the soap to crack as it cures if used not-dispersed. Dispersing them in water before adding them to soap not only helps them mix in better, but also keeps them from accelerating trace.
ESSENTIAL OIL PREP: Create the herbal natural scent blend for this project by mixing the Lavender, Patchouli and Basil Essential Oils.
MOLD PREP: Line the Wood Mold with freezer paper shiny side up. This technique requires a bit of a mold modification in order to work, but it’s fairly quick and easy (and worth the results)!
PREPPING THE MOLD:
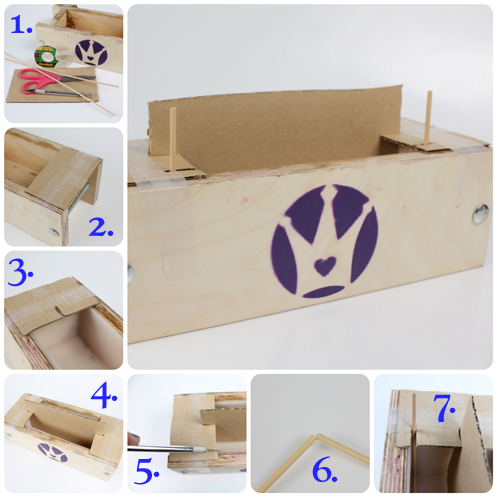
1. Gather supplies for the modification. Scissors, an exacto knife, tape, cardboard, and a lightweight dowel or reed.
2. Cut two pieces of cardboard the width of the mold. Tape the pieces to either end of the mold, with just a little bit (less than an inch) hanging over the cavity.
3. Cut a slit the thickness of a piece of cardboard in the middle of the pieces from step two. Make sure the slit goes all the way to the edge of the mold.
4. Fit a third piece of cardboard into the slits, perpendicular to the short sides of the mold, to create a divider. Make sure that it touches the sides and bottom of the mold and the fit is snug.
5. Cut a second slit the width of your dowel or reed in the pieces from step two. The second slit should be as close to the wide edge of the cavity as possible.
6. Crack the dowel or reed in two places, with the length between the breaks fitting the width of the mold cavity and the lengths after the breaks fitting the height of the mold cavity plus about an inch. Leave a bit of fiber still connected at the breaks, or if the pieces fully separated, reconnect with a bit of tape. A thin wire hanger can also work for this step.
7. Fit the dowel or reed into the second set of slits. Now you’re all set to go!
ONE: Slowly and carefully add the lye to the water and stir until clear. Set aside to cool.
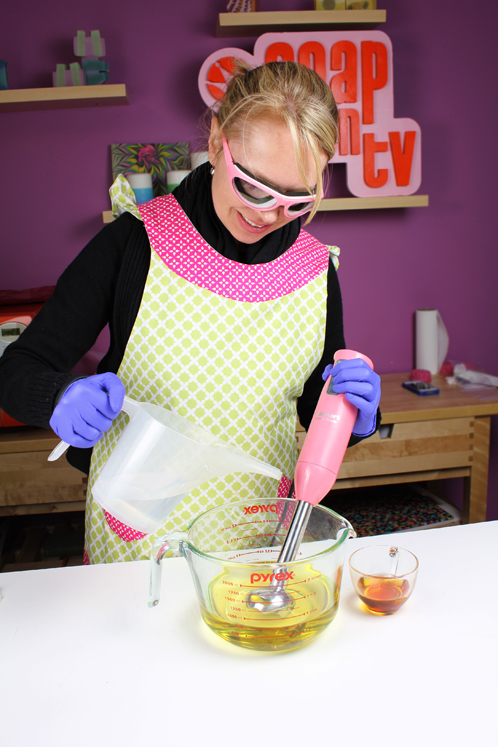
TWO: Melt and combine the Coconut and Palm Oils and Palm Kernel Flakes. Add the Avocado, Canola, Castor, and Olive oils and mix well.
THREE: Once your oils and lye water have cooled to 130 degrees or below, slowly add the lye water to the oils. To prevent air bubbles, I like to pour the lye water down a spatula or the shaft of my stick blender. Blend the mixture until light trace.
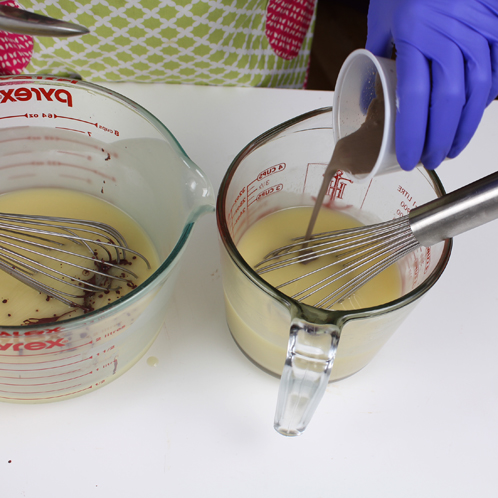
FOUR: Split the batch into two equal parts, about 2 cups each. Fragrance each of the batches with the essential oil blend, using a whisk to mix so not to accelerate trace.

FIVE: Color each of the batches with the dispersed clay. Add all of the dispersed Purple Clay to one, and all of the dispersed Natural Clay to the other. Keep using with the whisk until the clays are well mixed.
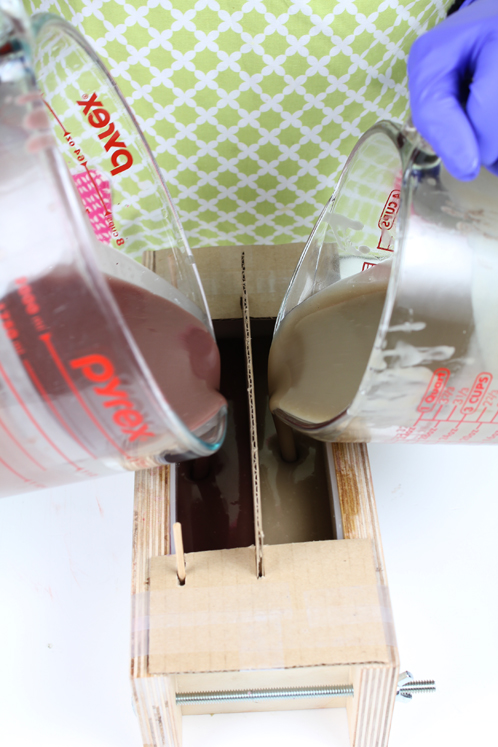
SIX: Grab each of the containers of soap, and pour into the modified mold at the same time (each color going on either side of the cardboard divider). Reserve a little bit of each of the soaps for step nine!
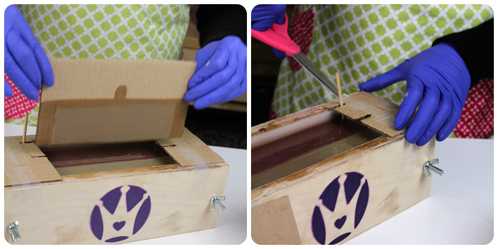
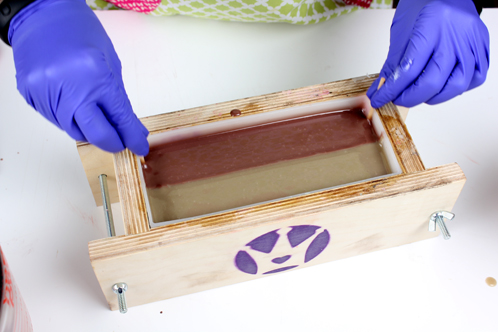
SEVEN: Slowly remove the cardboard divider from the soap, pausing just after it’s fully out of the soap so the excess can dribble off. Remove the two smaller pieces of cardboard from the sides of the mold.
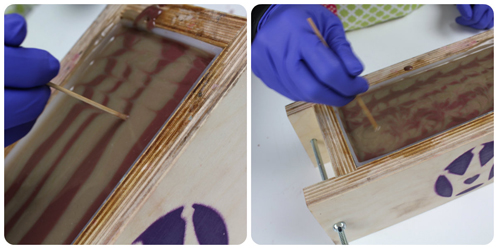
EIGHT: Drag the reed or dowel vertically across the mold, gaining height with each pass, until the reed or dowel is just below the surface of the soap. Repeat the back and forth motion going down, and then back up again. Remove the dowel or reed entirely from the soap.
Optional Decorative Top: Pour a thin stream of reserved purple soap over the surface of the soap, creating S-curves parallel to the length of the mold. Follow the lines created with the purple soap with the natural soap, pouring just next to the purple lines. Using a chopstick or skewer dipped into the first 1/8″ or so of the surface of the soap, drag the tool perpendicularly to the long edge of the mold, creating S-curves down the length of the mold. Next, use the swirl tool in a curly swirly motion parallel to the length of the mold to create a psychedelic swirl.
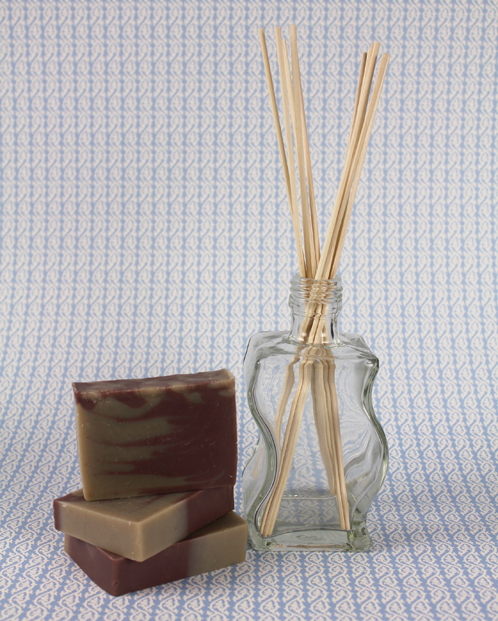
TEN: Allow the soap to sit in the mold for 1-2 days. Unmold, cut, and allow to cure for 4-6 weeks. Enjoy!