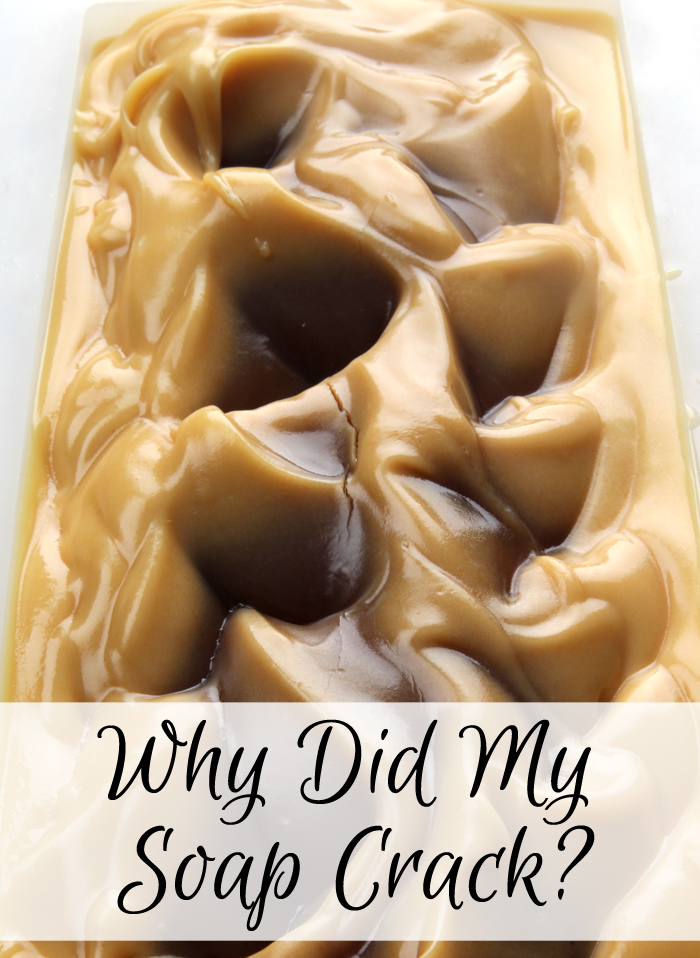
You poured your soap into the mold and everything looks wonderful. But, when you look at the soap the next day…ack! There’s a huge crack down the center. What happened? There are several reasons why your batch may have cracked. Below are some of the most common cracking culprits, and how to avoid them.
Too Much Hard Oils, Butters, Wax
One reason why a batch of soap might crack is because of the recipe. Soap is more likely to crack if it contains a large amount of solid oils, butters or wax. The potential for cracking is greater with more brittle butters and waxes, such as cocoa butter and beeswax. In general, I recommend limiting the amount of butters to 15% of your total oils, and the amount of beeswax to 8% or less of the total oils. This post has more information about various butters and how to use them in your soap and other beauty products.
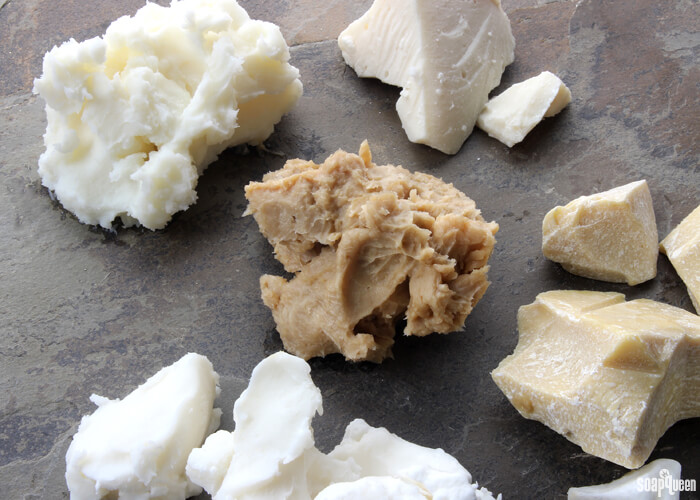 Lots of firm butters like cocoa butter can cause soap to crack. I recommend using no more than 15% butter in your recipe to prevent this.
Lye Heaviness
To make cold process soap, lye and oils are combined to begin the saponification process. In a balanced bar, there is no lye leftover in the final product – it all gets transformed into soap! If too much lye is added, this can lead to a “lye heavy” bar. Lye heavy batches of soap tend to be dry and can crack. Think your soap might be lye heavy? Click here for information on how to test the pH and how to use it to make laundry soap.
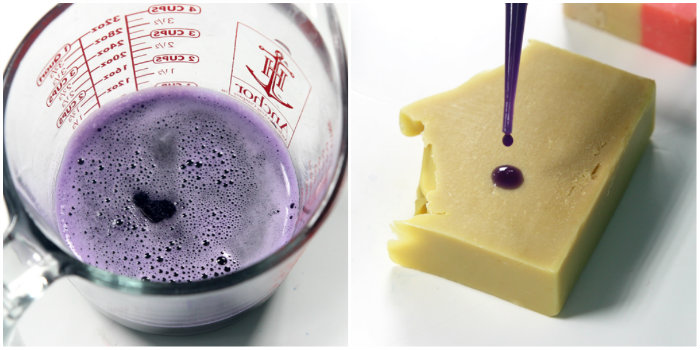 Lye heavy soap can be brittle and may crack. Learn how to test the pH of your soap here.
Temperature
If soap gets too hot, it may crack. The average soaping temperature is around 110-130° F. Once the soap is poured into the mold, it may go through gel phase. ‘Gelling’ and ‘gel phasing’ in cold process soap refers to a part of the saponification (soapmaking) process where the soap gets warm and gelatinous in the mold. During gel phase, the soap can reach temperatures up to 180° F. Click here to learn more about gel phase.
The soap becomes hottest in the center and tends to cool down toward the outside. As the heat makes its way out of the soap, it causes the soap to expand slightly. This can cause a crack on the outside. Temperature is perhaps the most common reason why a soap cracks. It’s even more likely to happen if the soap contains a high percentage of butters, waxes or dry ingredients.
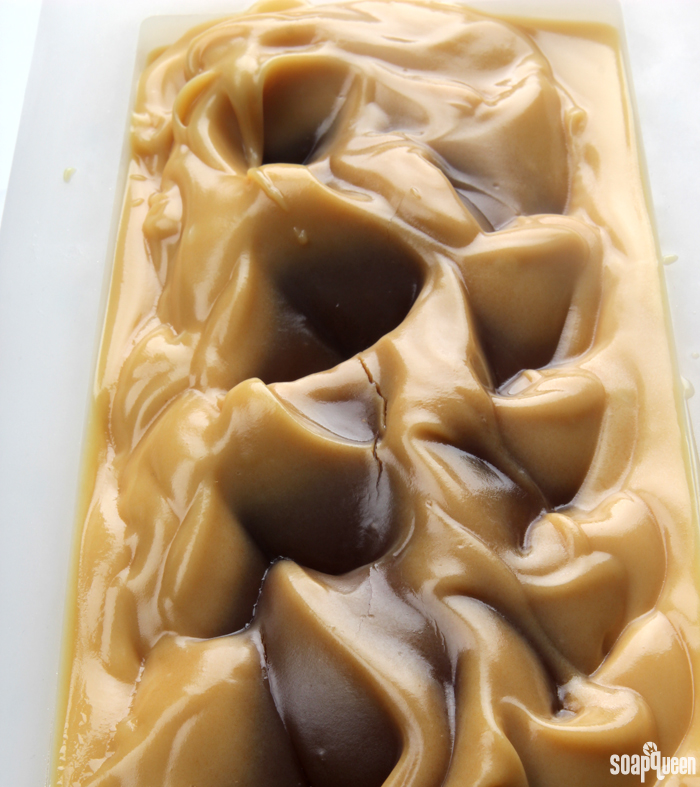 Adding honey to cold process soap can cause an extreme gel phase, which can lead to the soap cracking.
Adding ingredients to soap that contain sugar, such as purees, honey or milk, promote gel phase. In the photo above, honey was added to the soap at trace. The honey caused the soap to go through gel phase and crack in the center. Learn more about adding honey to your cold process soap here. If you add ingredients with extra sugar such as honey, place the soap in the fridge or freezer directly after pouring for 5-24 hours to help prevent gel phase and cracking.
Dry Ingredients
Soap can also crack if it contains ingredients that absorb moisture, such as clay. To compensate for the moisture clays absorb, I recommend dispersing them in distilled water. I usually use a dispersion rate of 1 tsp. clay to 1 Tbs. distilled water. While clays are the most common culprit for cracking, adding too much of any dry ingredients can contribute to cracks. For example, if you were to add lots of colloidal oatmeal, activated charcoal or arrowroot powder without additional water or oil, it may cause the soap to become dry and brittle.
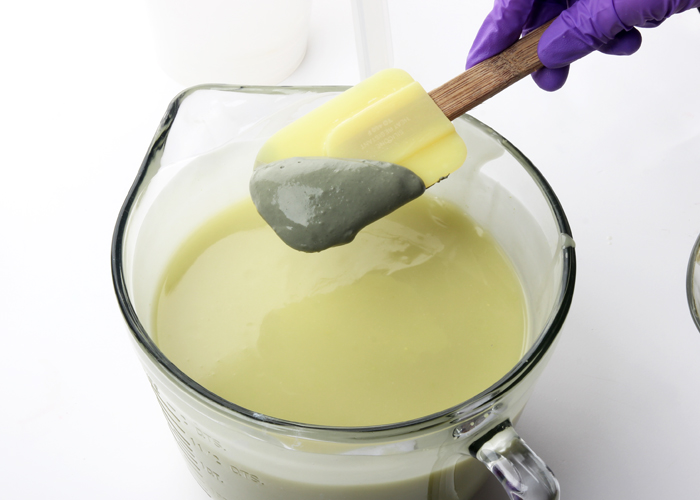 To prevent clays from drying out your soap, disperse them in distilled water. Above, dispersed French green clay is added to soap batter in the Avocado + Spearmint Cold Process Tutorial.
If you experienced a crack in your soap, don’t get discouraged! While it’s not ideal from an aesthetic standpoint, the soap is still safe to use. Just check the pH of the soap to make sure it’s not lye heavy. About 9 times out of 10, a crack is due to heat. Next time, soap a little cooler or place your soap in the fridge or freezer. In my experience, I’ve found cracks are rarely noticeable once the bars are cut! =)
