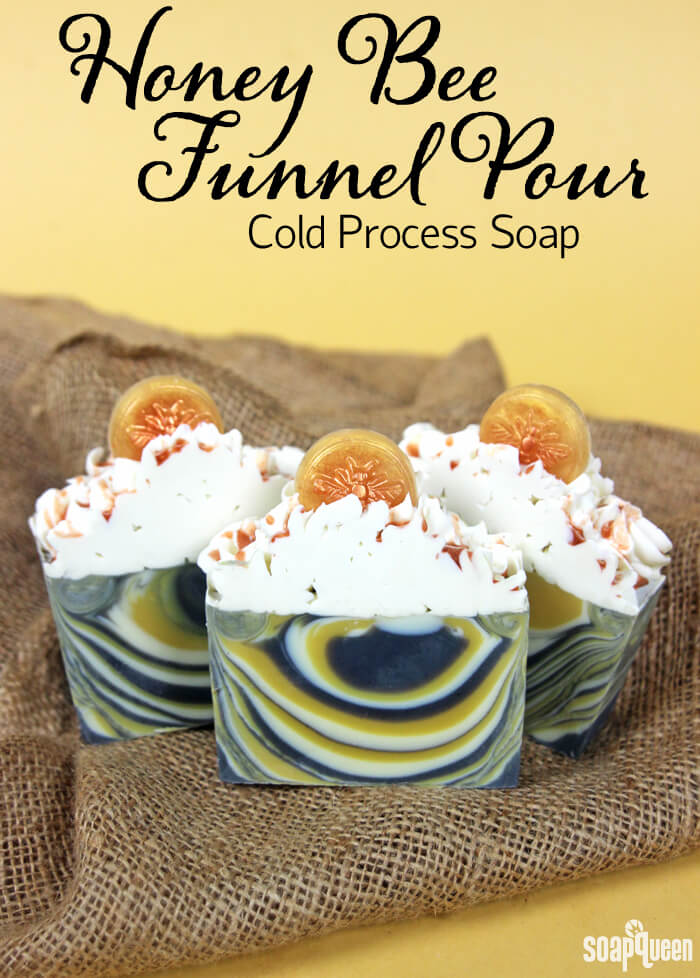
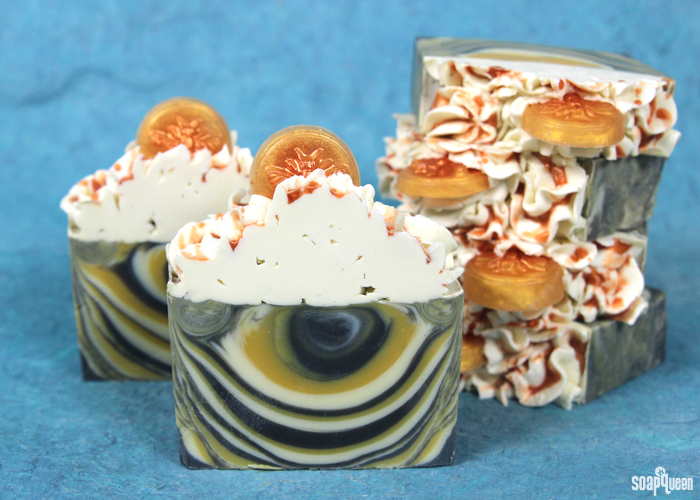
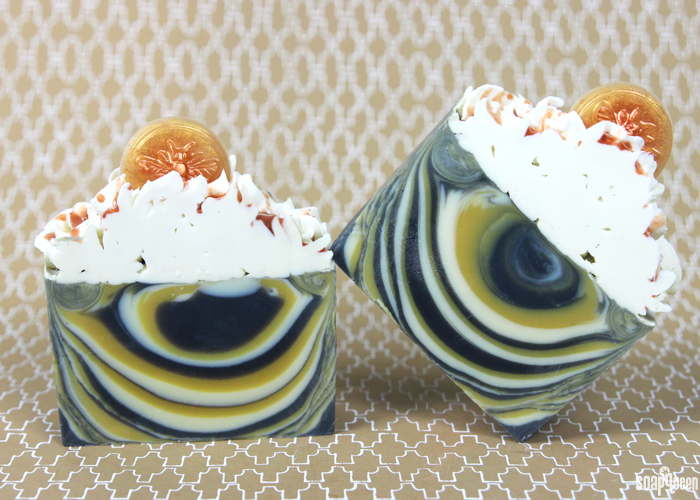
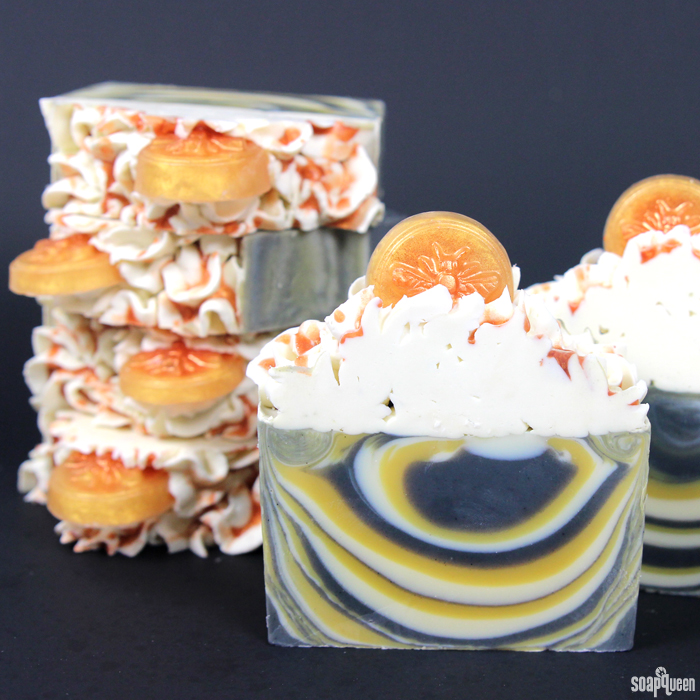
What You’ll Need:
Base Soap
10″ Silicone Loaf Mold
16 oz. Funnel
3.4 oz. Avocado Oil
.7 oz. Castor Oil
1 oz. Cocoa Butter
6.8 oz. Coconut Oil
11.9 oz. Olive Oil
6.8 oz. Palm Oil
3.4 oz. Rice Bran Oil
4.7 oz. Sodium Hydroxide Lye
11.2 oz. Distilled Water
2.5 oz. Pure Honey Fragrance Oil
Titanium Dioxide
Activated Charcoal
Yellow Oxide
Fizzy Lemonade Colorant
Frosting
3 oz. Cocoa Butter
3 oz. Olive Oil
3 oz. Shea Butter
6 oz. Coconut Oil
2.2 oz. Sodium Hydroxide Lye
4.9 oz. Distilled Water
Disposable Frosting Bag
1M Frosting Tip
Titanium Dioxide
Embeds and Honey Drizzle
Honey Bee Wax Tart Mold
6 oz. Honey Melt and Pour Base (3 oz. for the embeds and 3 oz. for the drizzle)
King’s Gold Mica
Copper Sparkle Mica
Make the Bee Embeds
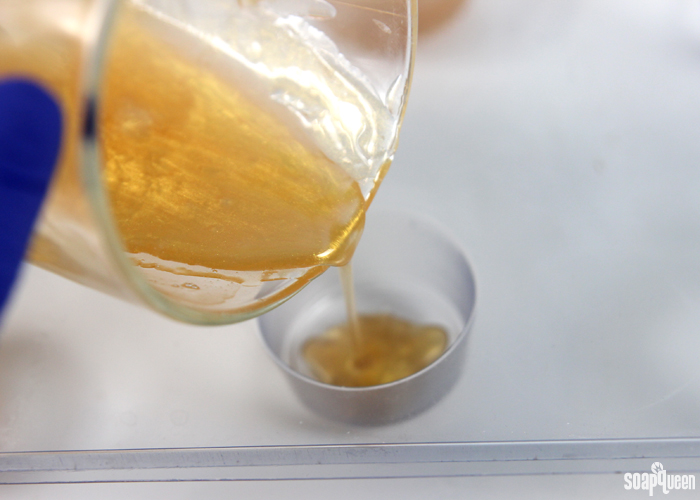
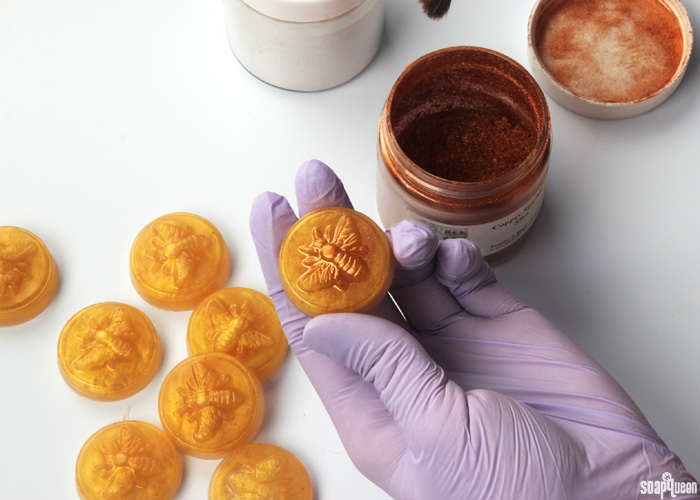
ONE: Disperse 1 teaspoon of King’s Gold Mica into 1 Tablespoon 99% isopropyl alcohol. Mix to combine. Cut 3 oz. of Honey Melt and Pour Base in small chunks and melt in a heat safe container on 5 second bursts. Melting on short bursts ensures the soap doesn’t burn. Read more about burnt melt and pour here. Add all of the dispersed King’s Gold Mica and stir to combine.
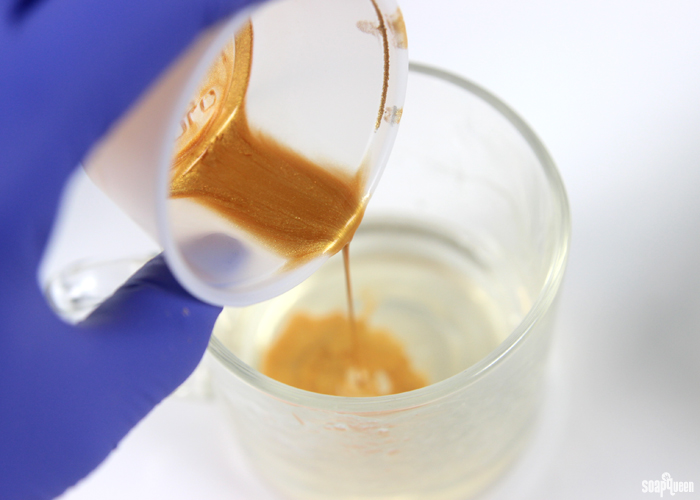 TWO: Carefully pour the melt and pour into the Honey Bee Wax Tart Mold cavities, filling each cavity about half way. Spritz with 99% isopropyl alcohol to disperse any bubbles, and allow to fully cool and harden. Remove from the mold. To really make the embeds pop, use a paintbrush to dust a thin coat of Copper Sparkle Mica on the bee image.
Make the Base
If you’ve never made Cold Process soap before, stop here! I highly recommend checking out our FREE four part SoapQueen.tv series on Cold Process Soapmaking, especially the episode on lye safety. And if you’d rather do some reading, Bramble Berry carries a wide range of books on the topic, including my newest book, Soap Crafting. You can also checkout the digital downloads for that instant gratification factor.
SAFETY FIRST: Suit up for safe handling practices! That means goggles, gloves and long sleeves. Make sure kids, pets, and other distractions and tripping hazards are out of the house or don’t have access to your soaping space. Always soap in a well-ventilated area.
COLOR PREP: Disperse 2 teaspoons of the Titanium Dioxide into 2 tablespoons of sunflower or sweet almond oil (or any other liquid oil). Disperse 1 teaspoon Activated Charcoal into 1 tablespoon of light liquid oil. Then in separate containers, disperse 1 teaspoon Yellow Oxide and 1 teaspoon Fizzy Lemonade Colorant into 1 tablespoon light liquid oil. Use a mini mixer to get the clumps of color worked out smoothly.
ONE: Slowly and carefully add the lye to the water and gently stir until the lye has fully dissolved and the liquid is clear. Set aside to cool.
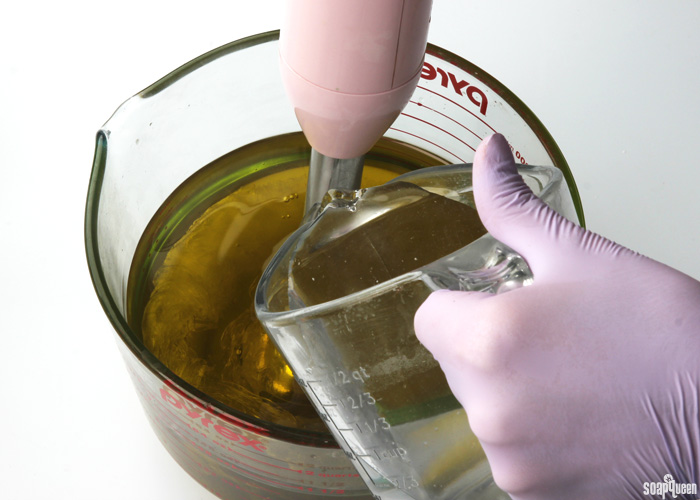
TWO: Combine the coconut, olive oil, avocado oil, castor oil, rice bran oil, palm oil and cocoa butter (remember to fully melt then mix your entire container of palm oil before portioning). Once the lye water and the oils have cooled to 130 degrees or below (and are ideally within 10 degrees of each other), add the lye water to the oils and stick blend until you reach a very light trace. If you’d like a harder bar of soap that releases faster from the mold, you can add sodium lactate to the cooled lye water. Use 1 teaspoon of sodium lactate per pound of oils in the recipe. For this recipe, you’d add about 3 tsp. sodium lactate.
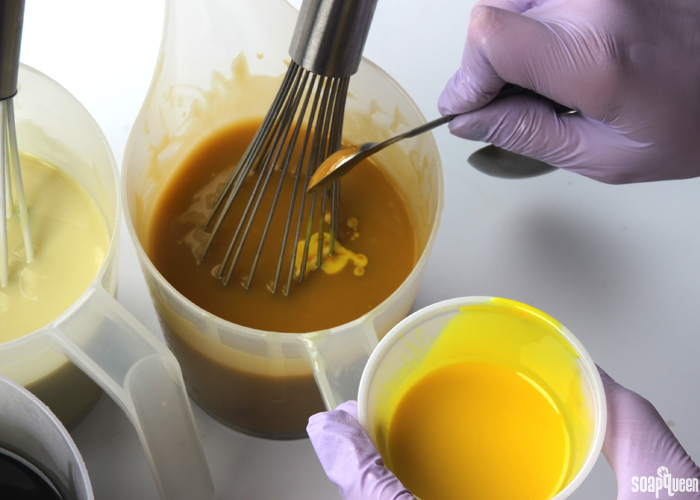
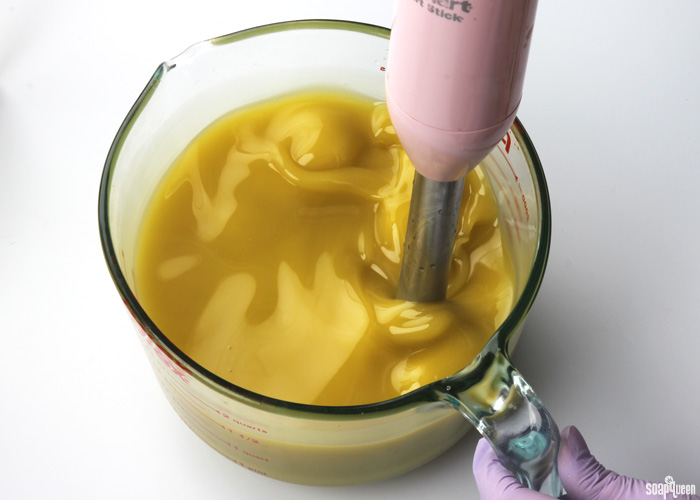 THREE: Once the batter has reached a very light trace, split the batch evenly into three separate containers. To each container, add the following dispersed colorants in the amounts below. Use a whisk to fully mix in each colorant.
- Container A: 2 tsp. dispersed Activated Charcoal
- Container B: 2 Tbs. dispersed Titanium Dioxide
- Container C: 1 tsp. dispersed Yellow Oxide + 1 tsp. dispersed Fizzy Lemonade Colorant
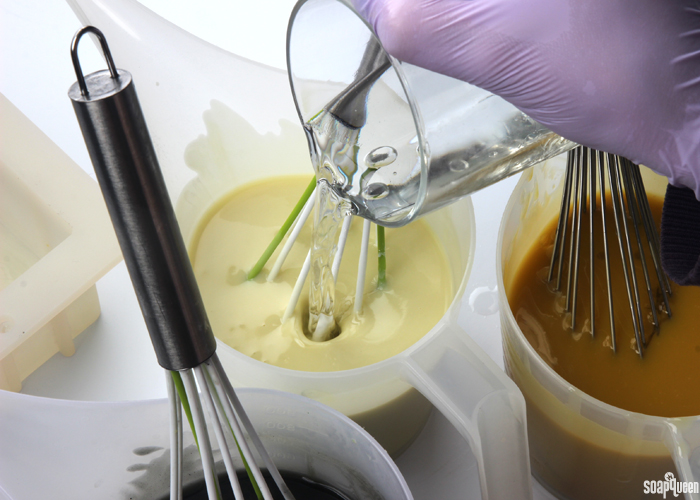
FOUR: Add the Pure Honey Fragrance Oil into each container evenly. It’s okay to eyeball it! Use a whisk to fully mix in the fragrance oil.
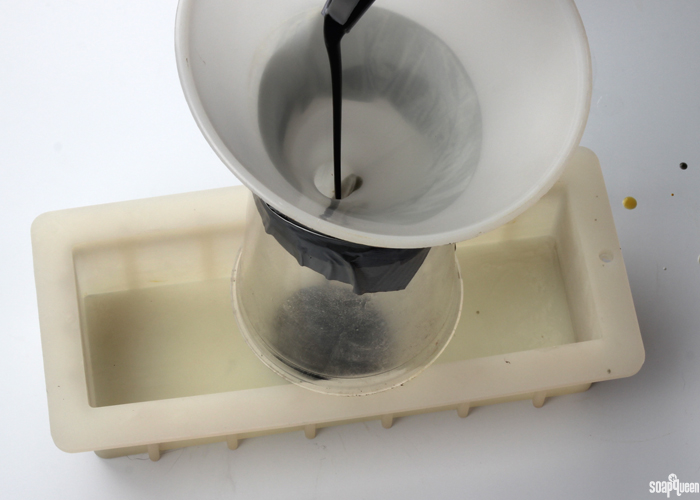
FIVE: Pour the black soap into the funnel. We like to count to 3 to ensure even pours. Check out the Funnel Pour Soap video on Soap Queen TV to see how to do the technique step by step.
SIX: Pour the white soap in the funnel, again counting to 3. Pour down the side of the funnel to help the color pour on top of the black soap, rather than mixing with it.
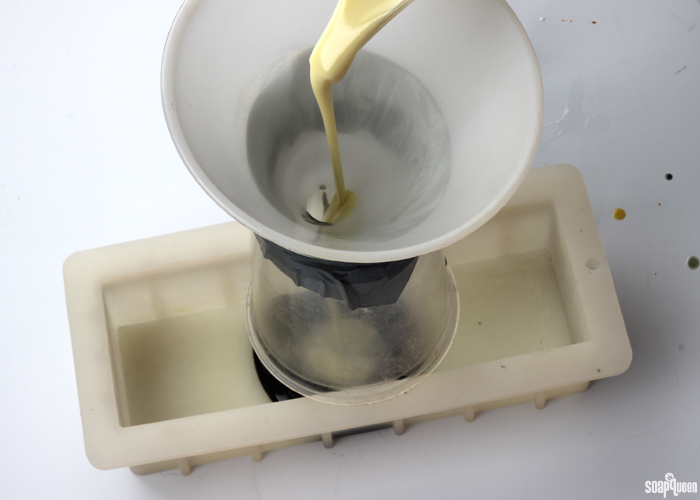 SEVEN: Pour the yellow soap on the side of the funnel and count to 3. If you notice your soap getting grainy, whisk it until smooth.
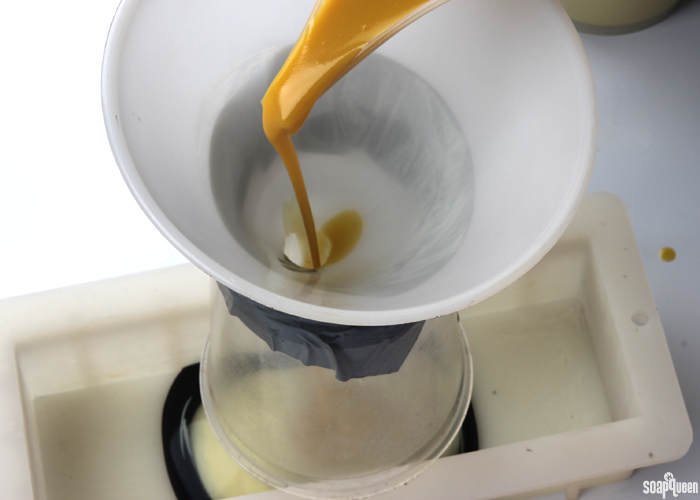
EIGHT: Continue to pour the black, white and orange soap in that order, counting to 3 each time. If you notice the soap starting to pool in the middle, give the mold a shake to even the soap out.
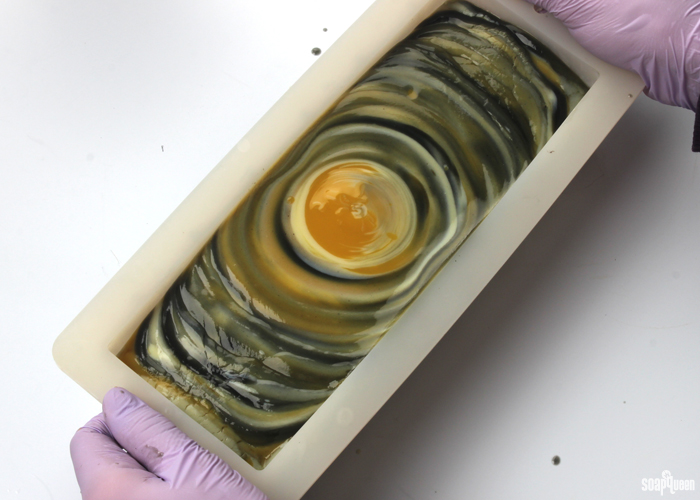
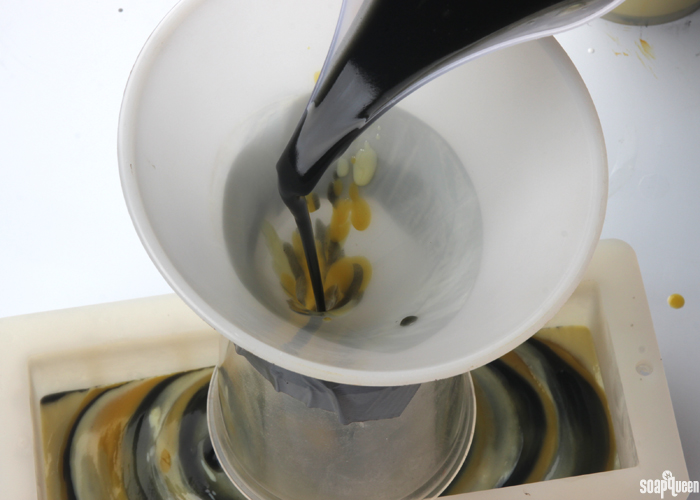 NINE: Once all the soap has been poured in the mold, remove the funnel. Tap the soap on the counter to disperse any air bubbles. Time to make the frosting!
Make Soap Frosting
LYE & OIL PREP: In order to get soapy frosting to actually look like frosting, the lye and oils must be very cold. We recommend making the lye water a full day ahead of time, clearly labeling it (*poison* *danger* *do not drink!*) and keeping it in a refrigerator not used for food. Alternately, you can use frozen water (eh hem: ice) to add your lye flakes to but the lye will still need to cool down. The lye should be around 60 degrees F before adding it to the oils. Additionally, you want your oils to be around 70 degrees F. You can even refrigerate them for several hours too! They should be semi-solid at this temperature. If your oils become completely solid, don’t worry! Soap frosting can be created with solid oils as well.
COLOR PREP: Disperse 2 teaspoons of the Titanium Dioxide into 2 tablespoons of sunflower or sweet almond oil (or any other liquid oil). Use a mini mixer to get the clumps of color worked out smoothly.
ONE: Slowly pour the lye into the whipped oils, and use a spoon to incorporate. Be super careful not to splash any lye at this point before the lye water is fully incorporated into the hardened, slushy, cool oils. Turn the hand mixer or Kitchen Aid Stand Mixer on low, and continue to whip oils until a fluffy, frosting texture is achieved. Scrape any batter that has splattered on the side of the container and then turn the mixer to a medium setting. Continue to whip for another 3-7 minutes.
TWO: Once the oils have begun to harden, add all the Titanium Dioxide. Continue to whip until the mixture is thoroughly mixed.
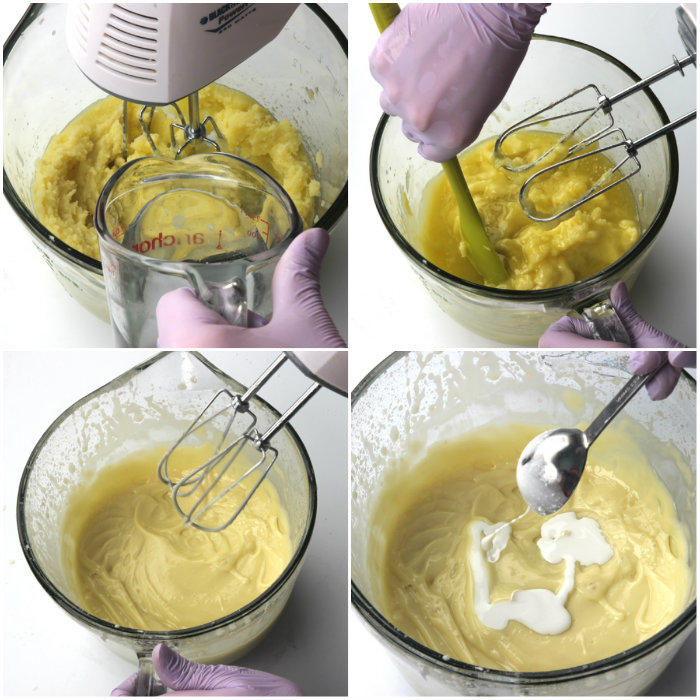
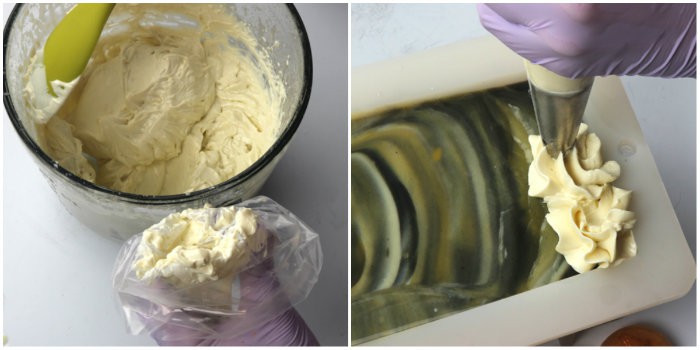
THREE: Once a frosting texture has been achieved, cut off about a half inch from the tip of the frosting bag and push the tip through. Scoop the frosting into the bag until full. You will have some frosting left over, and will need to fill the bag again during the frosting process.
FOUR: Starting at the end of the mold, begin piping dollops of frosting. We got about three dollops per row.
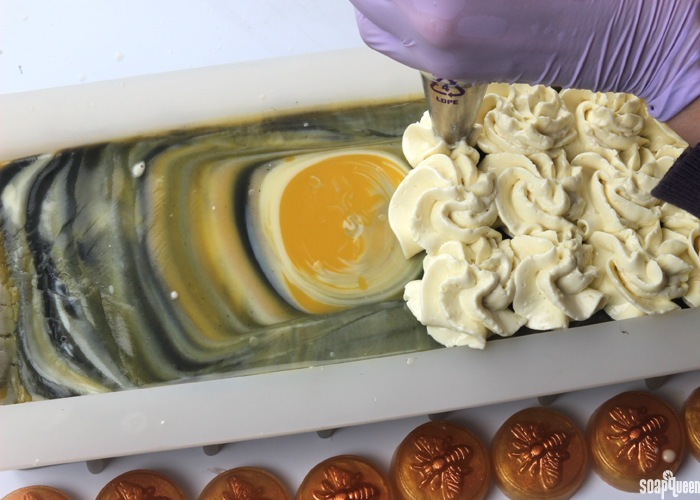
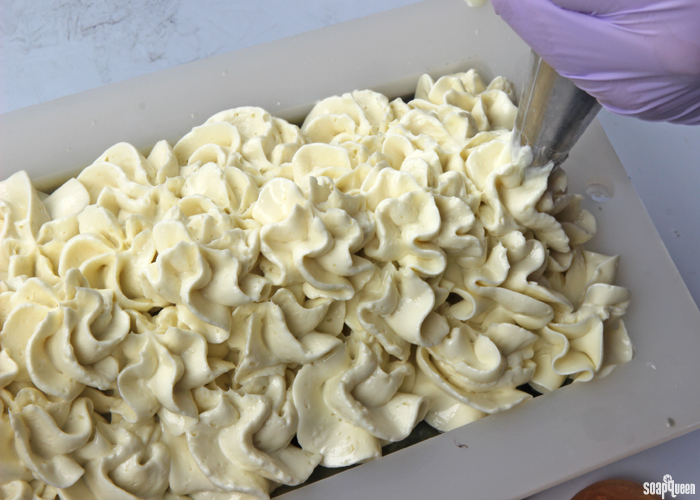
FIVE: Once the bottom layer of frosting is complete, add a row of two dollops in the center, on top of the bottom layer. Then, add one more row of dollops on top of the second layer in the center. That makes the frosting nice and tall.
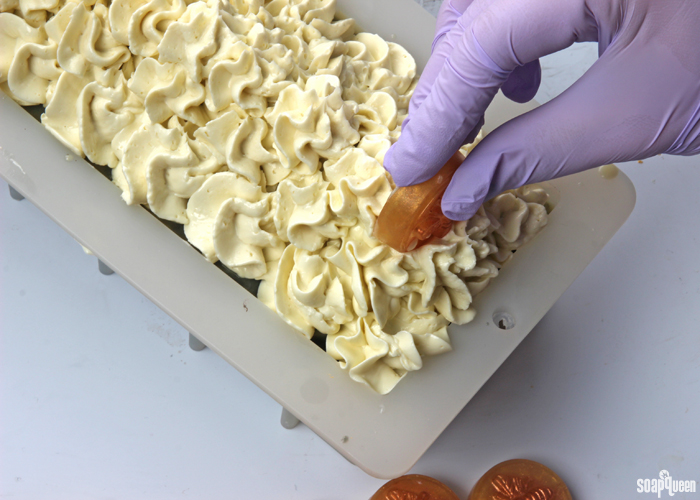
SIX: Line the melt and pour pieces against the side of the mold so you can get an idea of where to place them. You’ll have 8 pieces, making about 8 bars of soap. When you have an idea of where to place the pieces, press them into the frosting. Make sure to press them in far enough so they stick in the cold process soap.
Make the Melt and Pour Honey Drizzle
ONE: Disperse 1 teaspoon of King’s Gold Mica into 1 Tablespoon 99% isopropyl alcohol and 1 teaspoon Copper Sparkle Mica into 1 tablespoon 99% isopropyl alcohol. Mix to combine. In a heat safe container, melt 3 oz. of Clear Melt and Pour base on 5 second bursts. Melting on short bursts ensures the soap doesn’t burn. Read more about burnt melt and pour here.
TWO: Add 2 teaspoons of dispersed King’s Gold Mica and 3/4 tsp. of dispersed Copper Sparkle Mica to the soap and mix well.
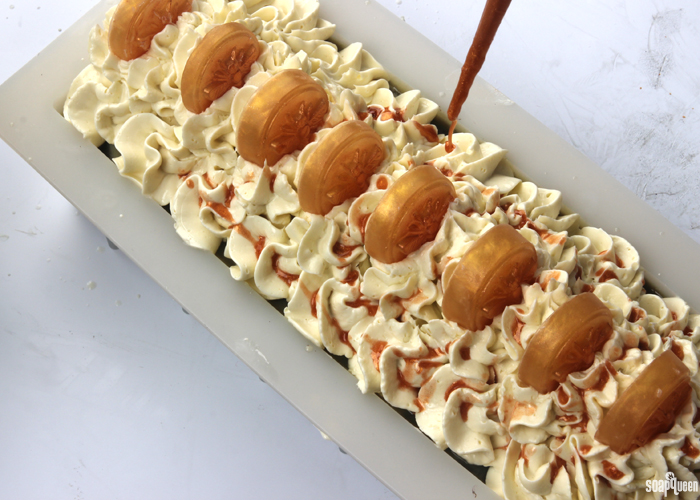
THREE: Using a dropper, drizzle the melt and pour on top of the soap until you get your desired honey drizzle effect. You can use as much honey drizzle as you like. There’s no wrong way to do it, so have fun!
FOUR: Allow the soap to harden for 3-4 days before unmolding. Allow it to cure for 4-6 weeks and enjoy!

