What You’ll Need:
Optional: Mold Liner (for Heavy Duty Column Mold)
25 oz. Sodium Bicarbonate (Baking Soda) (41%)
7 oz. Citric Acid (12%)
13 oz. SLSA (21%)
2.5 oz. Cream of Tartar (4%)
1 tsp. Fine Iridescent Glitter
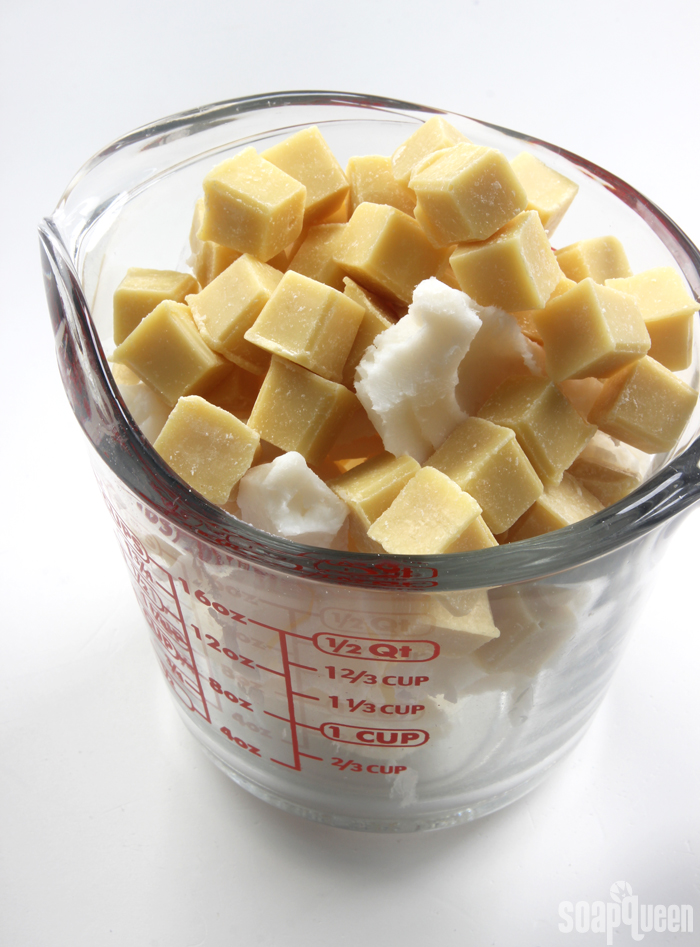
6 oz. Shea Butter (10%)
4.5 oz. Organic Cocoa Butter Cubes (7%)
1.5 oz. Liquid Glycerin (3%)
.5 oz. Polysorbate 80 (1%)
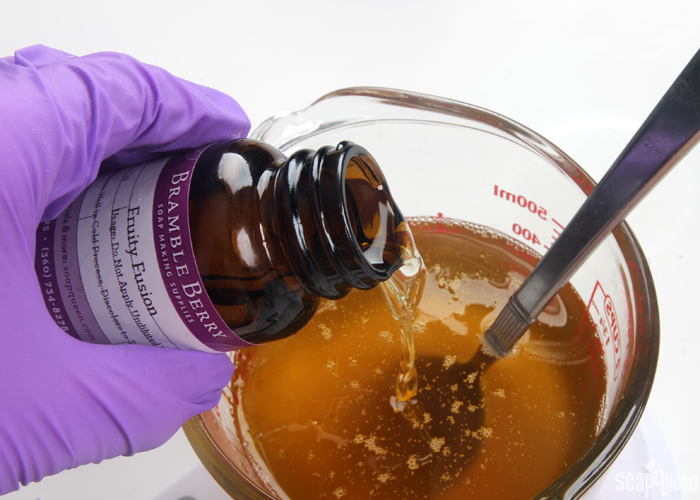
.6 oz. Fruity Fusion Fragrance Oil (1%)
Rainbow Mica Sampler Pack:
Raspberry Mica
Racing Stripe Orange Mica
Buttercup Mica
Kelly Green Mica
Caribbean Blue Mica
Queen’s Purple Mica
ONE: In a small heat-safe container, add the shea butter and cocoa butter cubes. Place the container in the microwave and melt the butters using 30-60 bursts. The cocoa butter takes a little while to melt. Be careful when removing it from the microwave, as it may be very hot.
TWO: Add the Fruity Fusion Fragrance Oil, polysorbate 80 and glycerin to the melted butters. Use a spoon to thoroughly incorporate. Set aside.
THREE: Place a fine mesh sifter over a large container. Add the baking soda, citric acid, cream of tartar and Fine Iridescent Glitter. Pour the ingredients through the sifter to get rid of chunks. Use a whisk to mix the ingredients together. Very carefully, add the SLSA to the large container (do not put it through the sifter). I recommend adding the SLSA very last. SLSA is extremely fine and powdery and can become airborne very easily. You may want to wear a mask during this step to avoid breathing in any SLSA. It is irritating if you breathe it in. Once all the ingredients have been added, slowly mix together the dry ingredients using a whisk.

FOUR: Add about 1/3 of the melted butter mixture. I recommend adding the liquid ingredients to the powder when the liquids are about 180 ° F. This is quite hot, so I recommend using gloves to mix the liquid ingredients into the powder. The hotter the liquid ingredients are when added, the softer the final “dough” will be. Adding the liquid when it’s hot reduces the need to microwave it later. Use your hands to incorporate the liquid and powder ingredients together. If you prefer, you could also use a stand or hand mixer for this step, but I prefer using my hands.
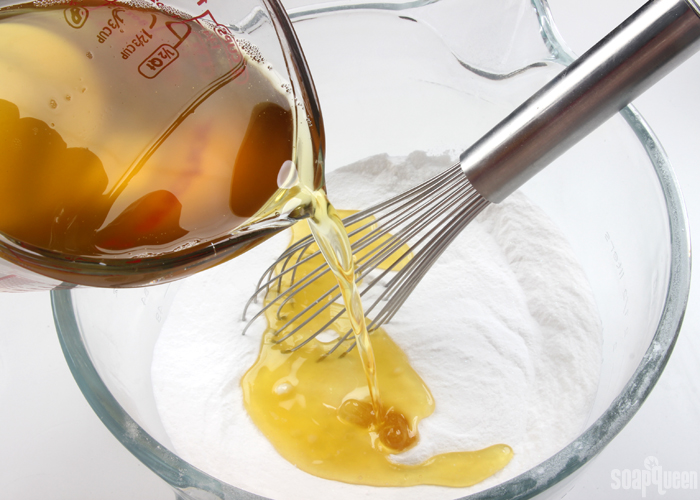
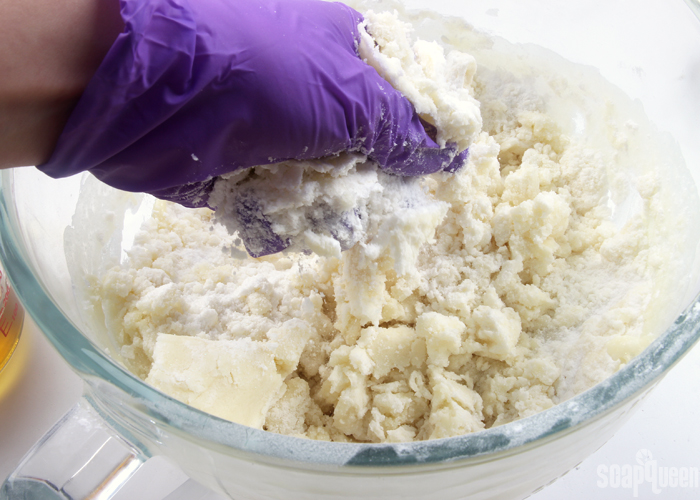
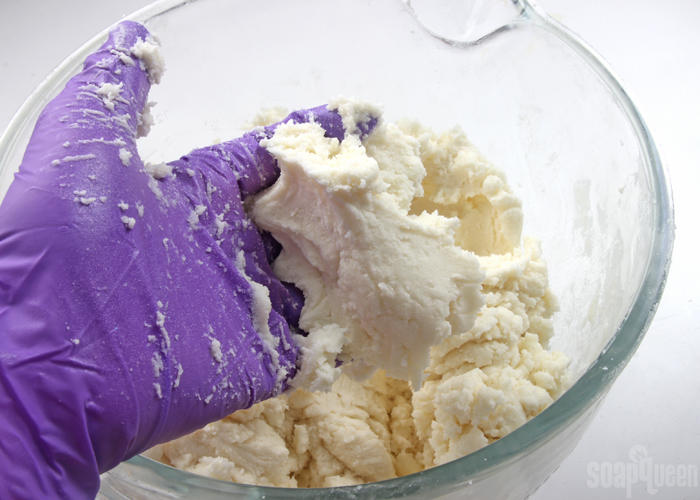
FIVE: Continue adding the liquid ingredients to the dry and mix together until fully incorporated. The final texture will be very similar to bread dough – soft, workable and slightly sticky. The texture of the mixture depends on the temperature of the butters. The warmer the dough, the softer it will be. We found a dough temperature of about 85-100 ° F is a great moldable texture. If your dough is cooler than that, place the entire mixture into the microwave for 10-20 seconds to warm it.
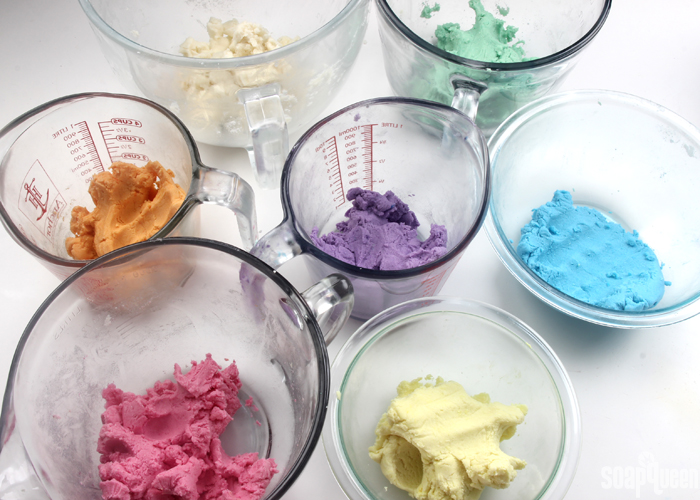
SIX: You will have about 60 ounces of mixture. Split the batch into 7 equal containers; each container should have about 8.5 ounces. I recommend weighing all the containers to make sure you have an equal amount, but you could eyeball it if you prefer.
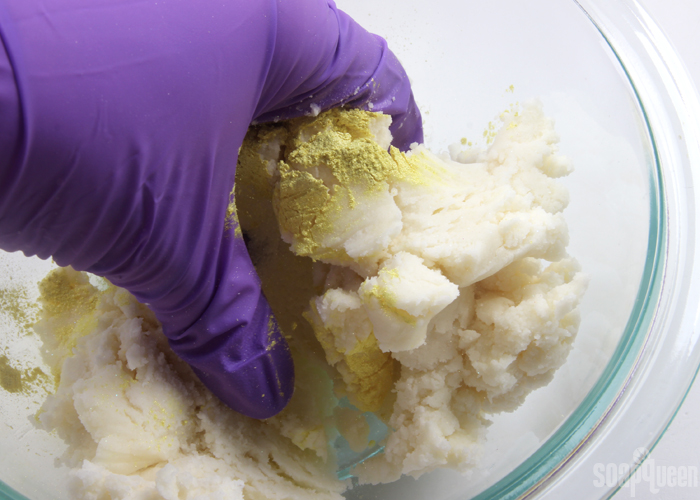
SEVEN: To each container, add the following amounts of mica. If you prefer more pastel colors, use less. Add more mica if you prefer more vibrant colors. Use your hands to mix in the mica thoroughly until there are no streaks of color. I recommend mixing from lightest to darkest to avoid muddling the colors. You may want to change gloves when moving from warm to cool colors.
- Red/Pink: 1/8 tsp. Raspberry Mica
- Orange: 1/4 tsp. Racing Stripe Orange Mica
- Yellow: 1/4 tsp. Buttercup Mica
- Green: 1/8 tsp. Kelly Green Mica
- Blue: 1/8 tsp. Caribbean Blue Mica
- Purple: 1/4 tsp. Queen’s Purple Mica
- White: No colorant
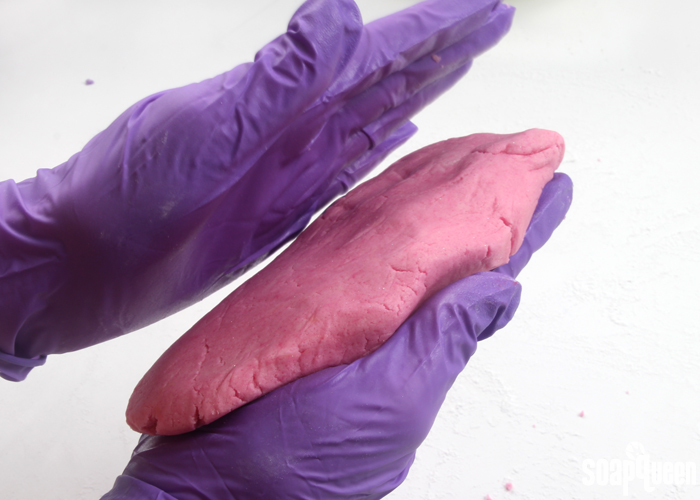
EIGHT: Once all the colors are mixed, it’s time to mold! Clean off your counter space to mold the mixture and create a log shape. Depending on your counter material, you may want to place a sheet of parchment or wax paper down to prevent the dough from sticking. Sprinkle your work surface with a bit of baking soda to prevent sticking. Working with the red/pink dough first, begin to form a long, flat dough shape. Place it on your work surface.
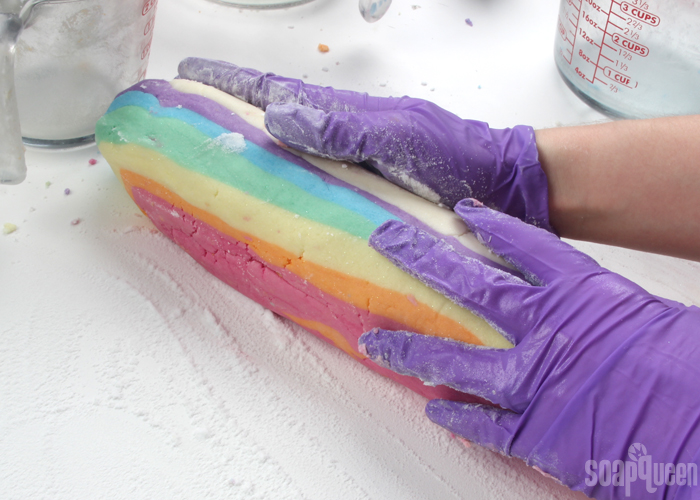
NINE: Continue making long, flat log shapes with the orange, yellow, green, blue and purple colors. Place each color on top of the last, and use your hands to gently press the colors together and form an even shape. Finally, place the uncolored portion of the mixture on top of the purple.

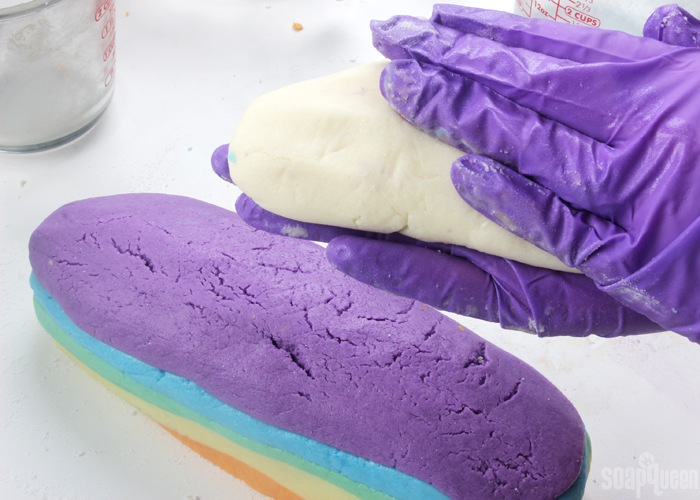
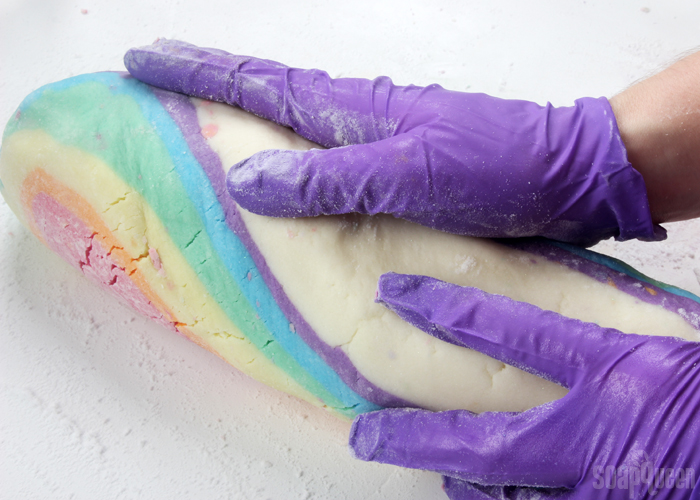
TEN: Use your hands to press the colors together into one log. The log should be about 12″. If you’d like your bars to be smaller, you can stretch the log into a longer shape, or create a shorter shape for bigger bars.
 ELEVEN: If you’d like the colors to have a little more movement, very carefully twist the log. While twisting, be sure to press the log together to avoid large cracks or tears. This can be a little tricky, so feel free to skip it if you’re concerned with your log falling apart.
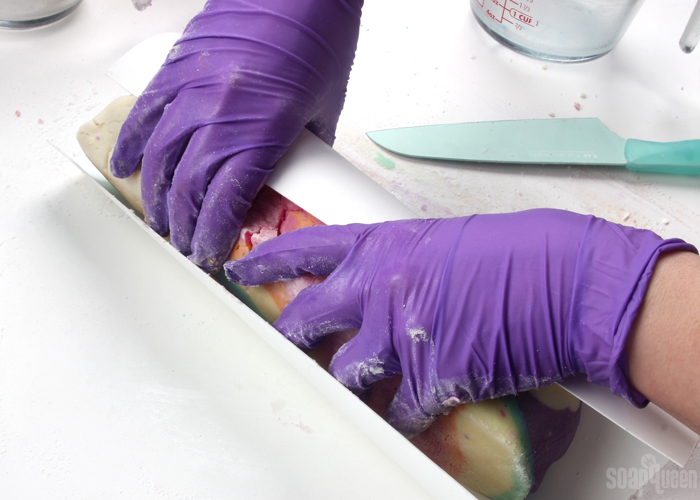
TWELVE: To help get a more even, circular shape, place the log into the liner for the Heavy Duty Column Mold. Squeeze the liner closed to create more condensed, even bars. This step can be skipped if you are happy with the shape created with rolling the log on the counter.
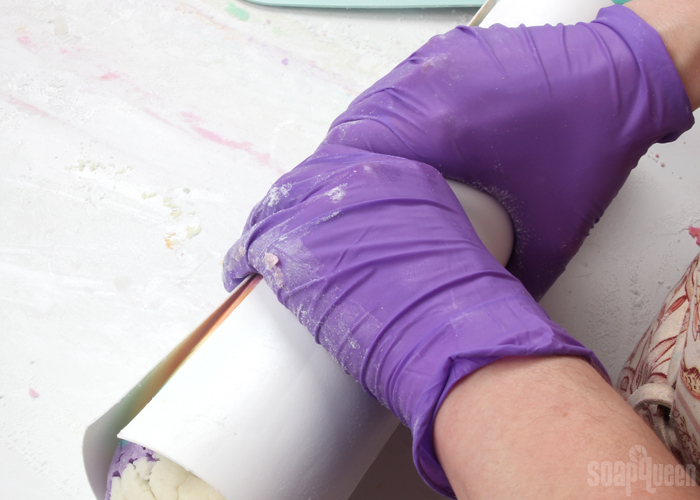
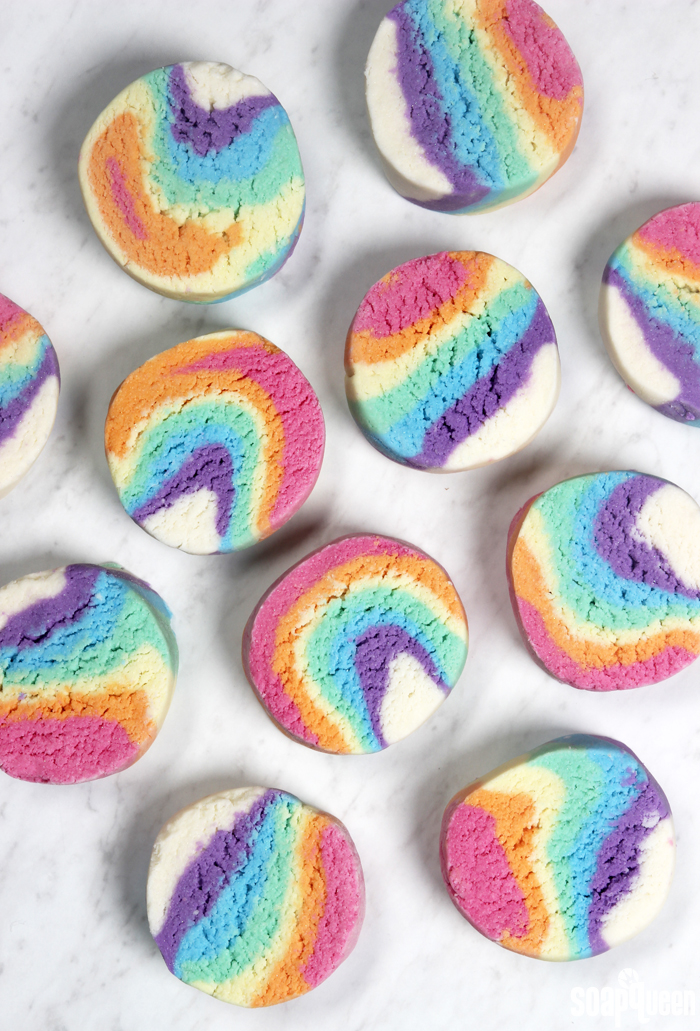
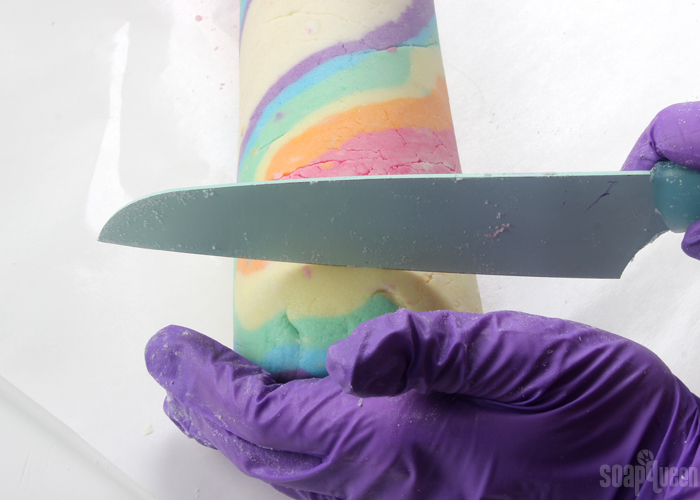
THIRTEEN: If you have not done so already, cover your surface with parchment or freezer paper. Carefully remove the log from the liner and use a sharp knife to cut the log into bars. Do so very gently, as the bottom of the bars may want to crumble a bit. If this happens, use your hands to reshape any crumbles. Rolling the log after each cut helps maintain a more even circular shape.
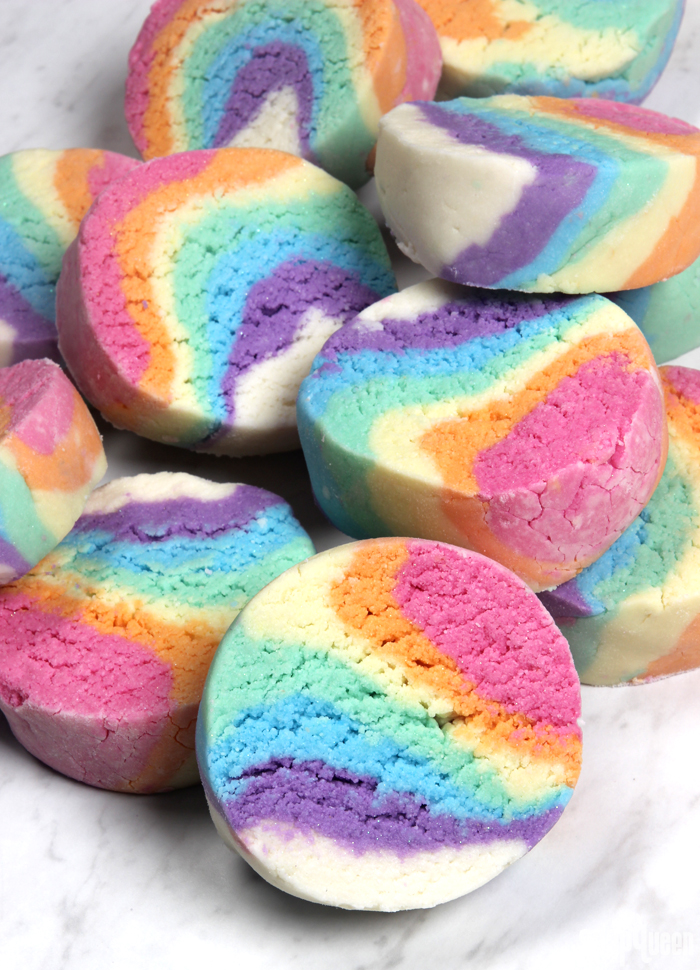
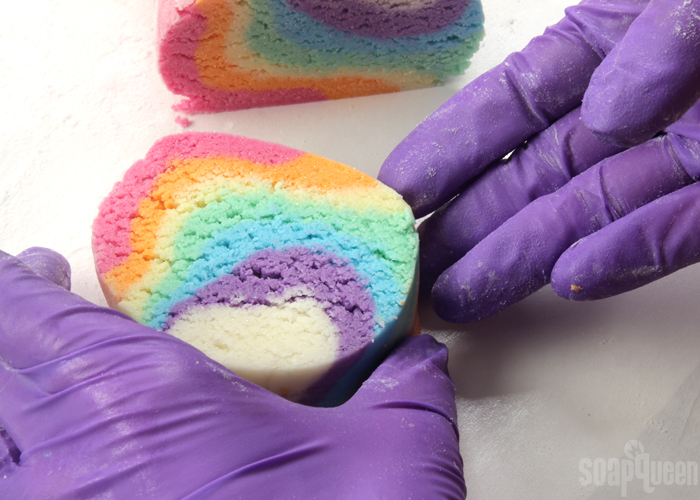
FOURTEEN: Very carefully place each bar face down on the parchment or freezer paper. Use your hands to reform any bars if needed. As the butters in the bath truffles cool, they become hard. It takes about 3-4 hours for the bars to become firm depending on your room temperature. It can be hard to wait, but be patient!
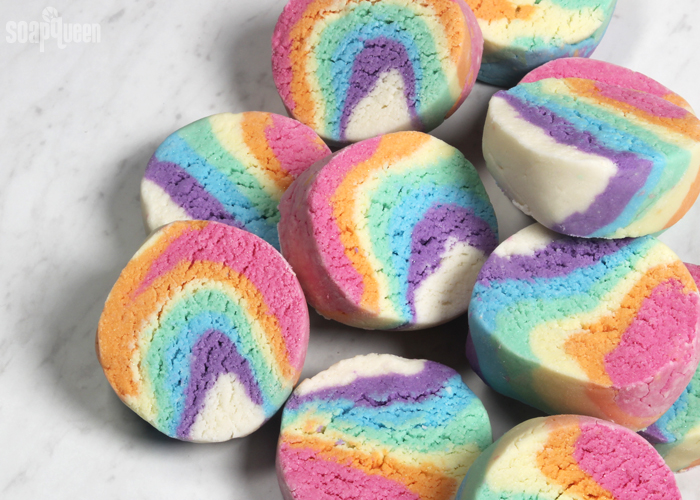
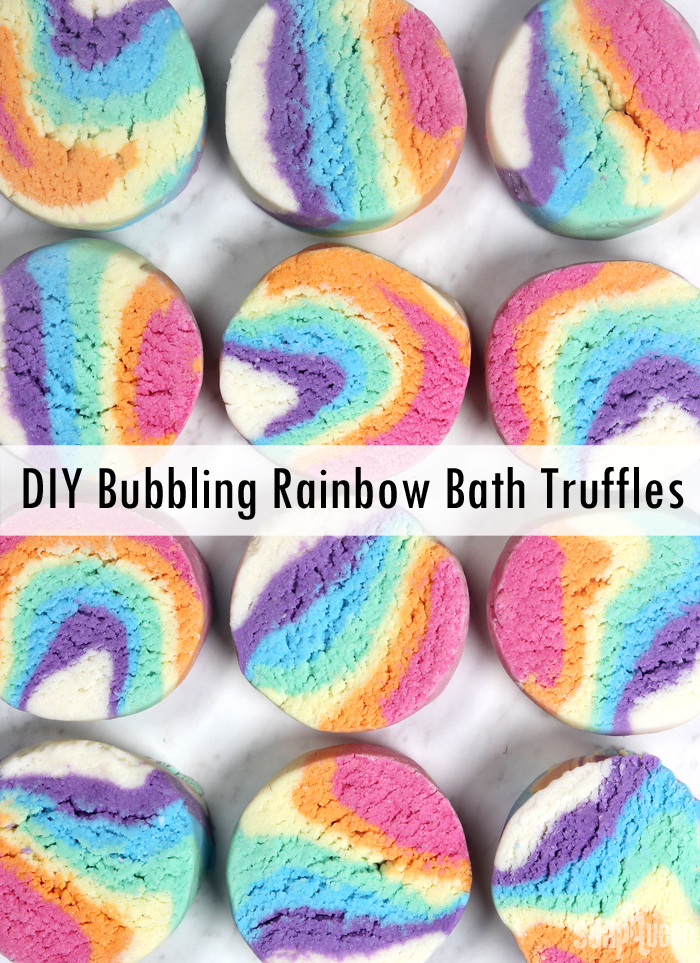
Once you’re ready to use the bath truffles, place them in the tub for a slow fizzing reaction with a small amount of foamy bubbles. If you want to “activate” more bubbles, hold the bar directly under the running bath faucet while breaking off small amounts of the bar.