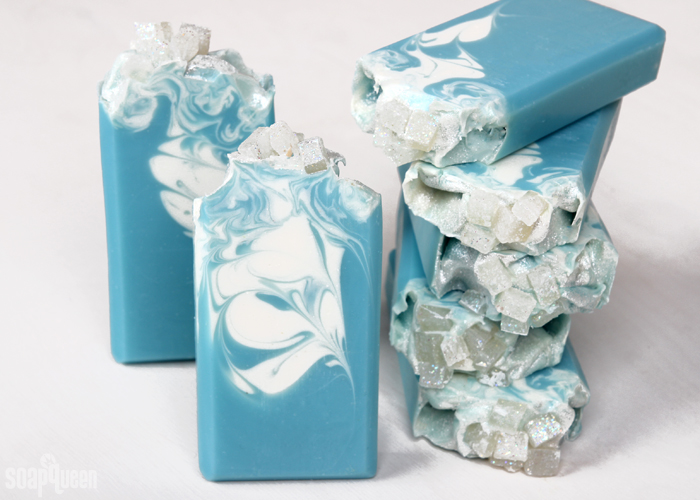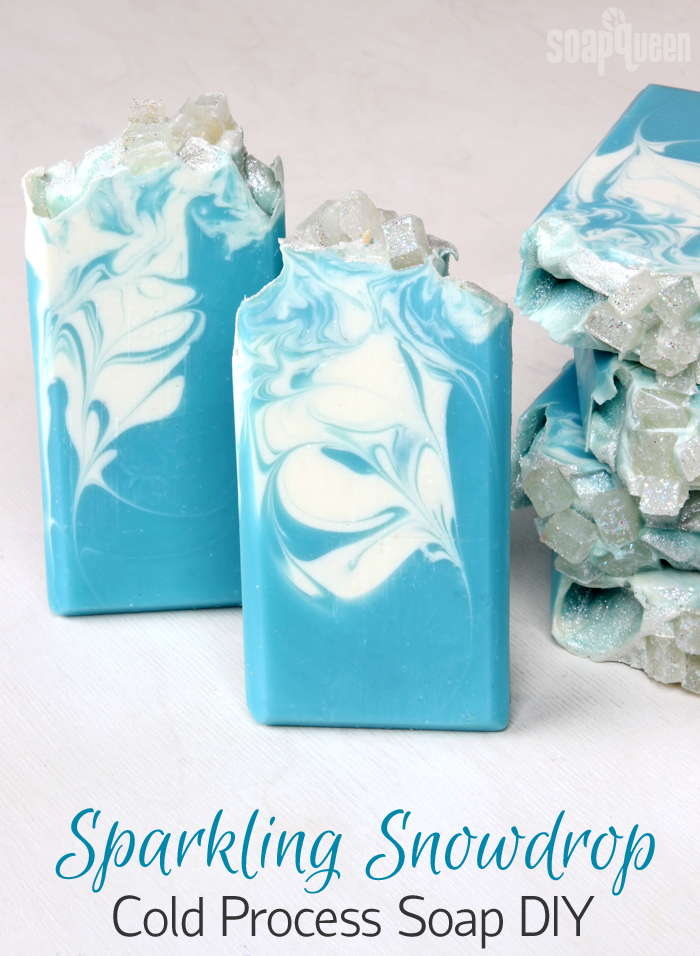
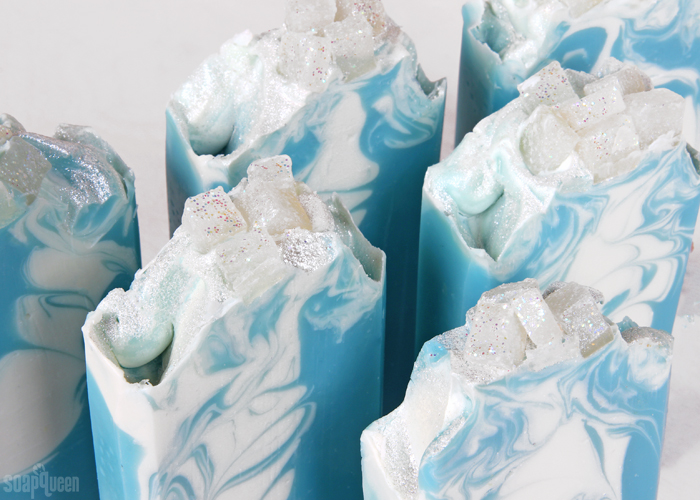
What You’ll Need:
Embeds:
6 oz. LCP Clear Melt and Pour
Snowflake Sparkle Mica
Iridescent Glitter
*Mold of choice (I used 4″ Silicone Loaf Mold)
Base:
Tall Narrow Wood Loaf Mold
Hanger Swirl Tool
45 oz. Swirl Quick Mix
6.2 oz. Sodium Hydroxide Lye
14 oz. Distilled Water
2 oz. Sparkling Snowdrop Fragrance Oil
Titanium Dioxide
Zippy Blue Pigment
Snowflake Sparkle Mica
Make the Embeds:
ONE: Chop and melt 6 ounces of LCP Clear Melt and Pour Soap in the microwave using 10 second bursts. Pour into a small, flat mold. I used the 4″ Silicone Loaf Mold, but you can use whatever you have on hand. Other good options would be the 6″ Silicone Slab Mold or cavities in the 12 Bar Square Silicone Mold. Allow to fully cool and harden.
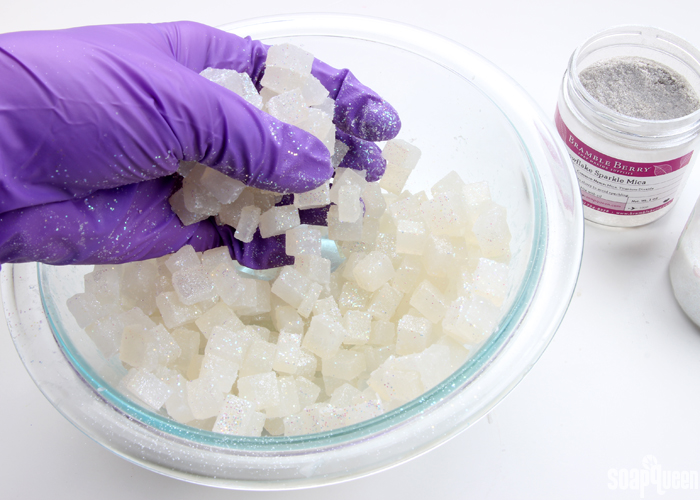
TWO: Once the melt and pour has fully cooled and hardened, remove from the mold and chop into small squares. Cover them in Snowflake Sparkle Mica and Iridescent Glitter until you’re happy with the amount of sparkle. Set the embeds aside and prep the cold process soap.
Make the Base:
If you’ve never made Cold Process soap before, stop here! I highly recommend checking out our FREE four part SoapQueen.tv series on Cold Process Soapmaking, especially the episode on lye safety. And if you’d rather do some reading, Bramble Berry carries a wide range of books on the topic, including my newest book, Pure Soapmaking. You can also checkout the digital downloads for that instant gratification factor.
SAFETY FIRST: Suit up for safe handling practices! That means goggles, gloves and long sleeves. Make sure kids, pets, and other distractions and tripping hazards are out of the house or don’t have access to your soaping space. Always soap in a well-ventilated area.
COLOR PREP: To ensure that the Titanium Dioxide blends smoothly into the soap batter, we recommend micronizing it before dispersing it in oil. Please note this is an optional tip but it does help with the titanium dioxide clumping in the soap. To micronize colorant, simply use a coffee grinder to blend the colorant to break up any clumps of color and prevent streaks of white from showing in the final soap. We like to use a coffee grinder that has a removable, stainless steel mixing area for easy cleaning. Then, disperse 1 teaspoons of the colorant into 1 tablespoons of sunflower or sweet almond oil (or any other liquid oil). Then in a separate container, disperse 1/2 teaspoon Zippy Blue Pigment into 1/2 tablespoon lightweight liquid oil. Use a mini mixer to help get rid of any clumps.
FRAGRANCE PREP: Measure 2 ounces of Sparkling Snowdrop Fragrance Oil into a glass, fragrance oil safe container. Set aside.
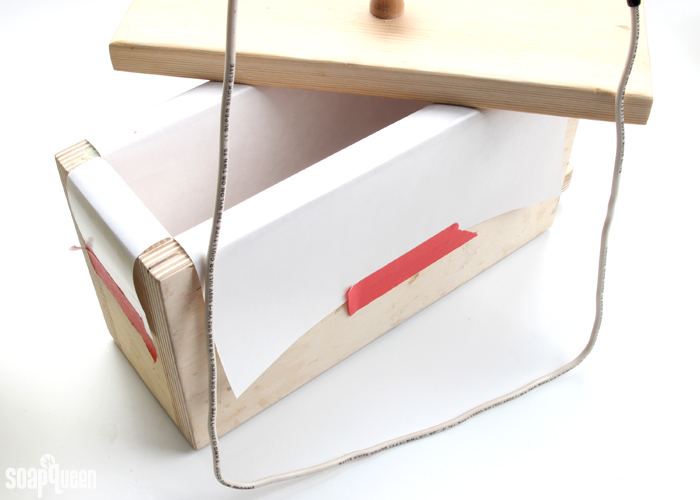
MOLD & TOOL PREP: Line the Tall Narrow Wood Loaf Mold with freezer paper with the shiny side up. For tips on how to line the mold, click here. Bend your Hanger Tool so it fits the mold perfectly by length.
 ONE: Slowly and carefully add the lye to the water and gently stir until the lye has fully dissolved and the liquid is clear. Set aside to cool.
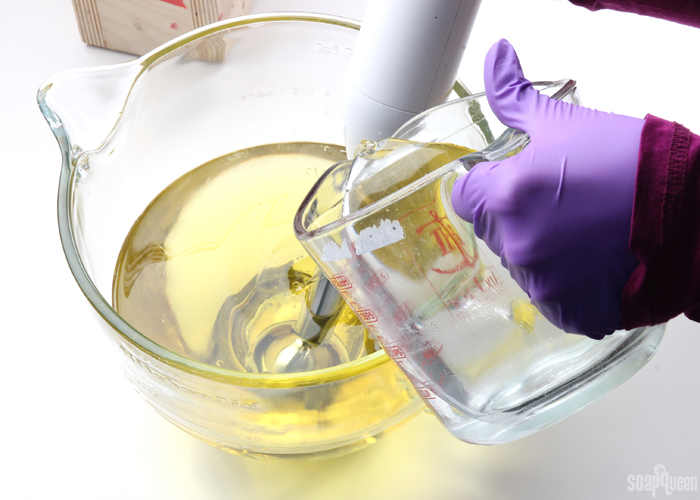
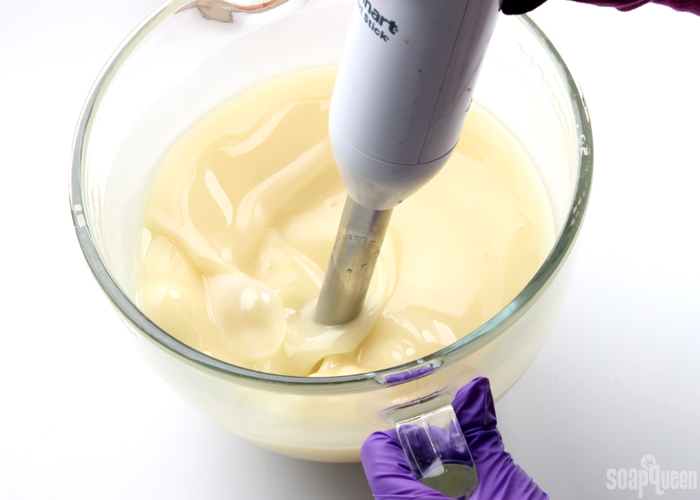
TWO: Fully melt the entire bag of Swirl Recipe Quick mix until completely clear and there is no cloudiness. Shake the bag to mix up all the oils. Measure 45 oz. into your soaping bowl. Once the lye water and the oils have cooled to 130 degrees or below (and are ideally within 10 degrees of each other), add the lye water to the oils and stick blend until thin trace. If you’d like a harder bar of soap that releases faster from the mold, you can add sodium lactate to the cooled lye water. Use 1 teaspoon of sodium lactate per pound of oils in the recipe. For this recipe, you’d add about 2.5 tsp. sodium lactate.
THREE: Once you have a thin trace, split off 400 mL of soap into a separate container. Add all the dispersed titanium dioxide. Use a whisk to mix in the colorant, and give it a short burst or two with the stick blender to help break up any chunks of colorant.
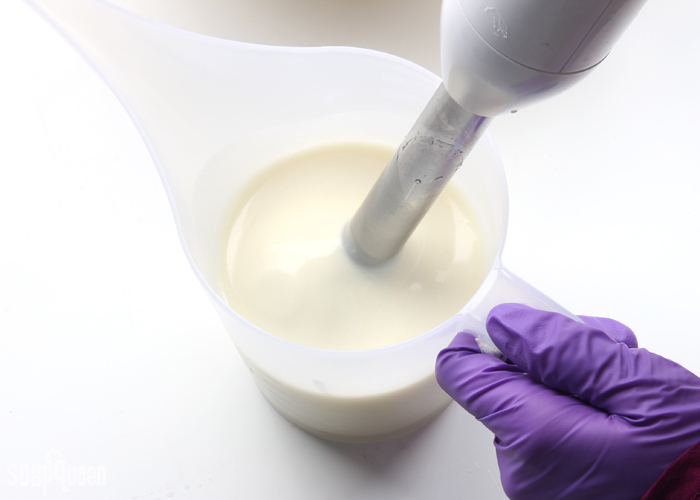 FOUR: To the remaining soap, add 1 teaspoon of dispersed Zippy Blue Pigment. Mix in with a whisk. Give the mixture a few short bursts with the stick blender to fully mix in and develop trace.
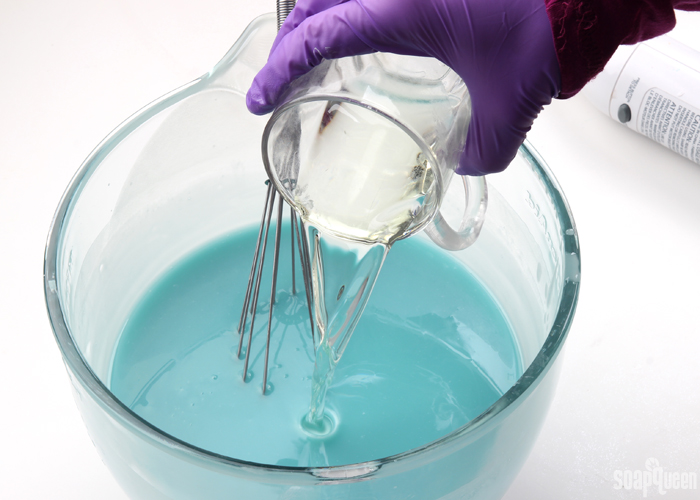
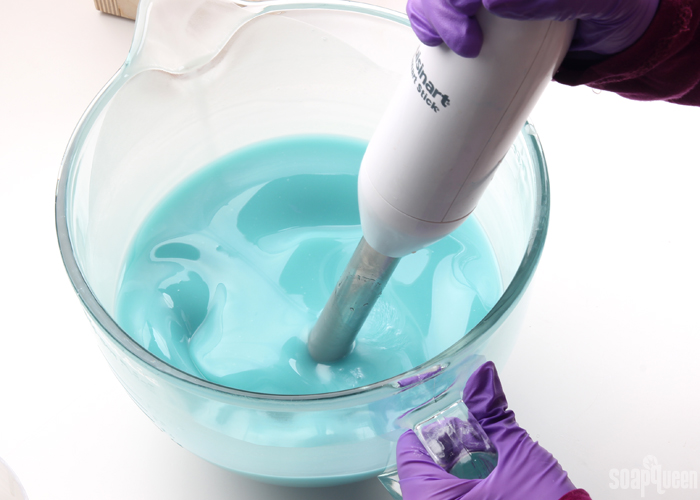 FIVE: Add the Sparkling Snowdrop Fragrance Oil to each container proportionally. It’s okay to eyeball it. Use a whisk to fully mix in the fragrance oil. At this point, the trace should be thin to medium. If it’s still extremely thin, give the blue soap a few short bursts with the stick blender.
 SIX: Pour the blue soap into the mold. Tap the mold firmly on the counter to help get rid of air bubbles and settle the soap.
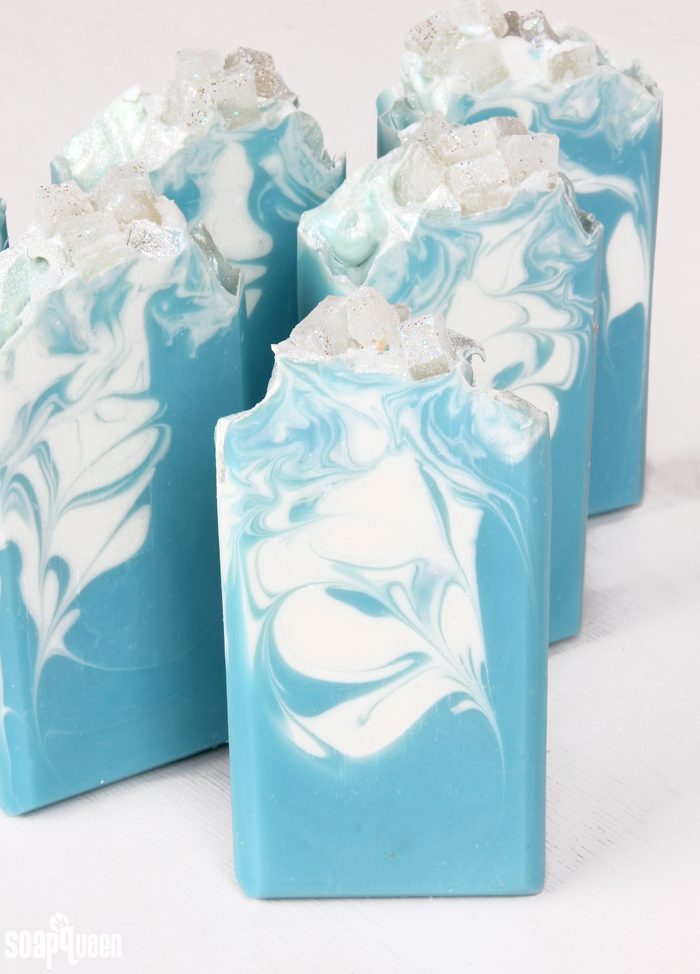
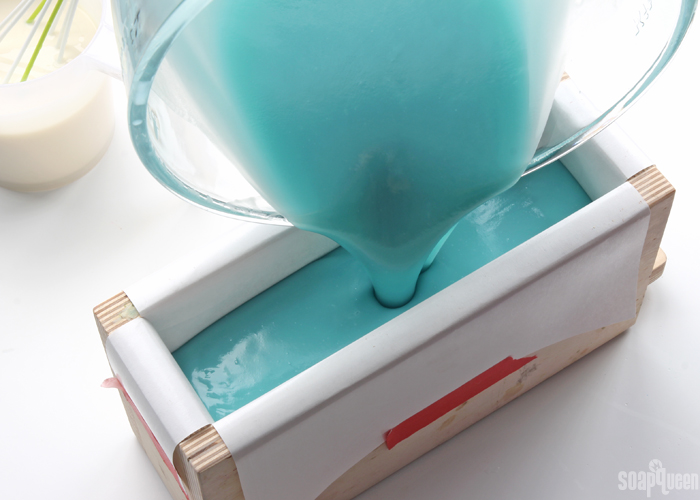 SEVEN: Now, it’s time for the drop swirl! Pour the white soap down the length of the mold while holding it about 10 inches above the mold. Pouring from high up helps the white soap break into the blue and drop into various areas in the mold. Pouring from various heights will give the swirl further interest. Continue pouring down the length of the mold at various heights until all the white soap has been poured.
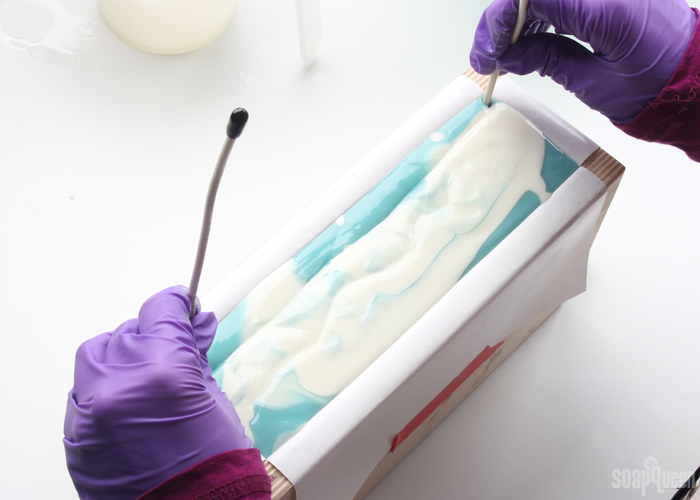
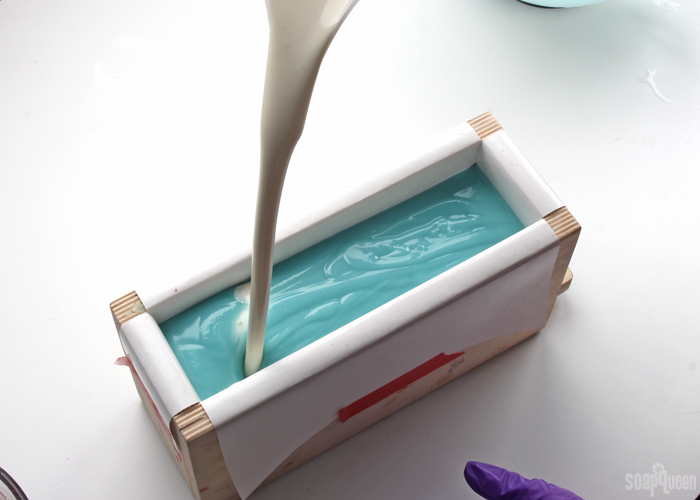 EIGHT: Give the mold a firm tap on the counter. Insert the Hanger Swirl Tool into one side of the mold, and begin making loops in the center of the mold with the tool. Continue the loop-de-loop motion at varying heights within the mold. This technique is not an exact science. I “looped” the Hanger Swirl Tool about 6-8 times within the mold. If you like more whispy swirls, feel free to do more loops! This technique is known as the Butterfly Swirl and was created by Zahida of Handmade in Florida. See her video here to get a better idea of what the swirling motion looks like. Remove the Hanger Swirl Tool by pulling up and out along one side of the mold.
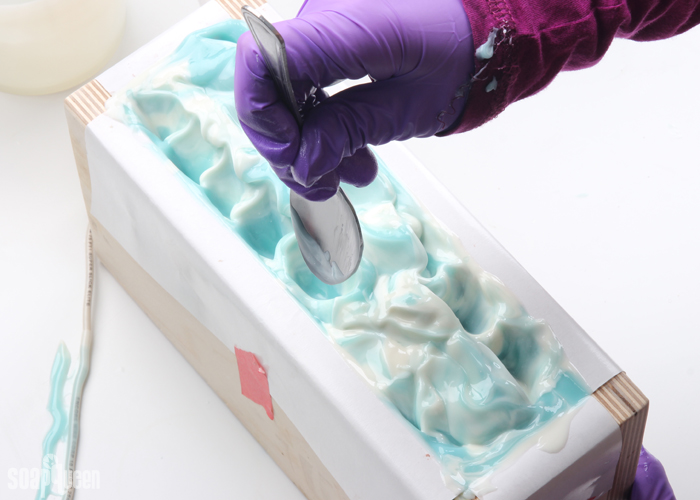
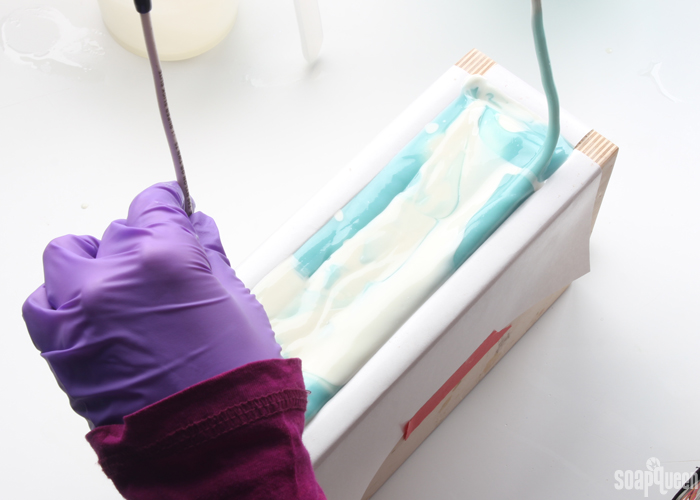 NINE: Firmly tap the mold on the counter to help get rid of air bubbles. If the soap is still quite thin, white 3-5 minutes until it’s firm enough to hold a shape. The melt and pour embeds will later be placed on top, so the soap needs to be firm enough to support them. Once the soap is firm enough, use a spoon to create a peak in the center. There is no right or wrong way to create texture, so have fun with it!
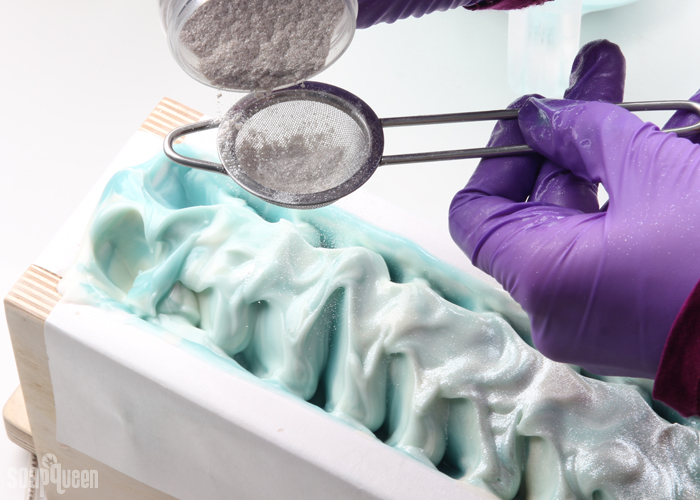
 TEN: Once you’re happy with the look of the top, sprinkle a thin layer of Snowflake Sparkle Mica on the top of the soap. Using the powder duster helps give an even layer.
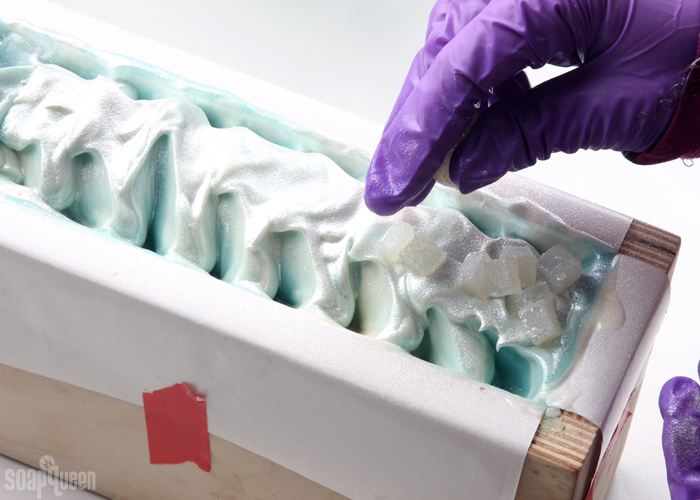
 ELEVEN: Begin adding the sparkly melt and pour cube embeds on the top of the soap in the center. Add as many or as few embeds as you like. I recommend adding a little more, as some embeds can fall off when the soap is cut. Gently press the embeds into the soap to help them stick better.
 TWELVE: Spritz the top with 99% isopropyl alcohol to help avoid soda ash. Do not cover the soap, or it may squish the top. This soap does not need to be insulated. You don’t want it to become overheated, because it could melt and melt and pour embeds. Allow the soap to stay in the mold for 2-3 days, and unmold. Cut into bars, and allow them to cure for 4-6 weeks. Enjoy!
