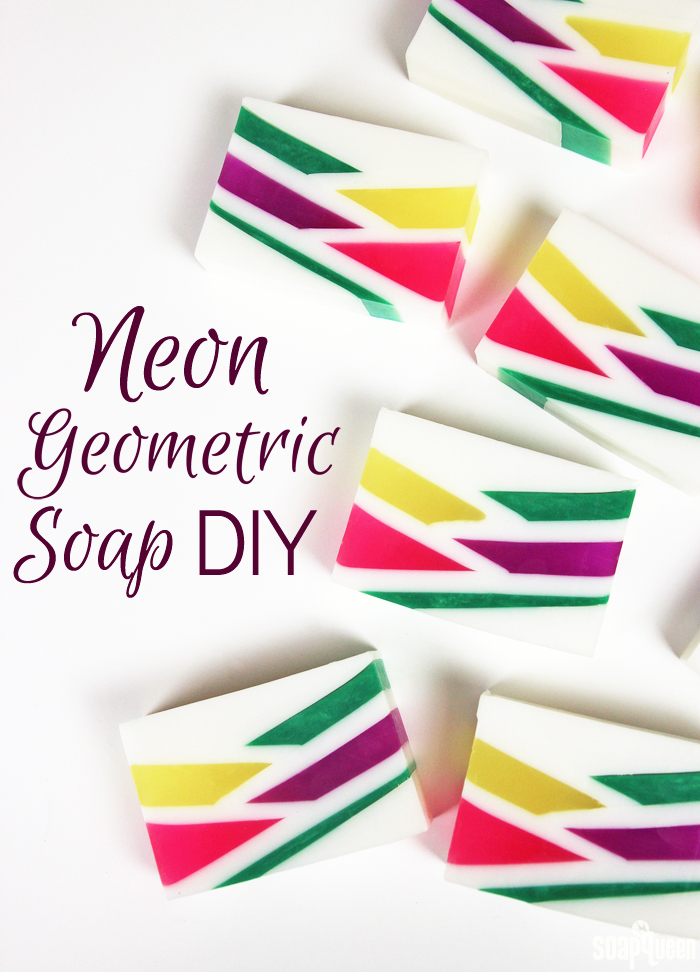
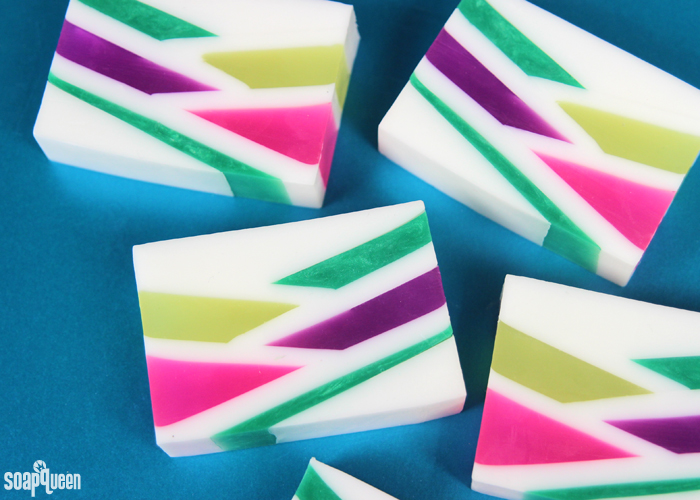
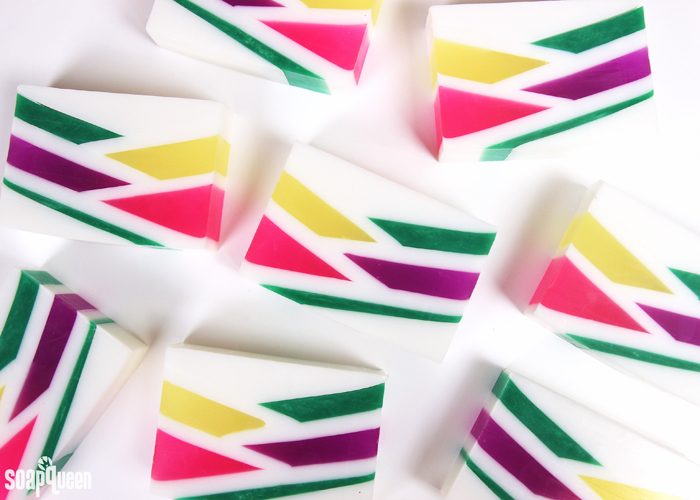
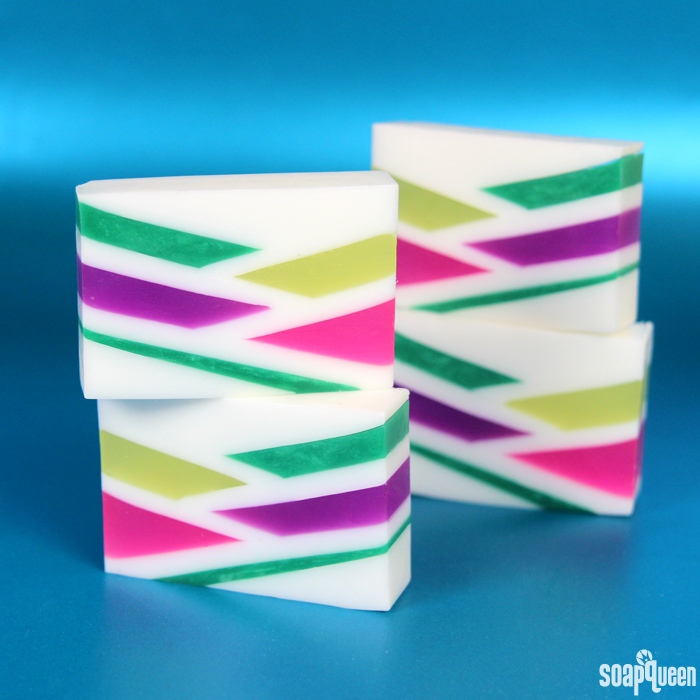
What You’ll Need:
10″ Silicone Loaf Mold
40 oz. White Melt and Pour
23 oz. Clear Melt and Pour
1 oz. Yuzu Cybilla Fragrance Oil
Kelly Green Mica
Fizzy Lemonade Color Block
Radiant Plum Color Block
Electric Bubble Gum Color Block
99% Isopropyl Alcohol
Optional: 8 oz. Spray Bottle (to spray alcohol)
MOLD PREP: The key to creating the diagonal layers is pouring the soap while the mold is slightly tilted. To create the angle, I set one side of the mold on top of the lid for the Tall Narrow Wood Loaf Mold. You can set the mold on any tool that gives the mold a slight angle and will keep the mold steady. You want to make sure whatever the mold is set on won’t roll or move while pouring the soap!
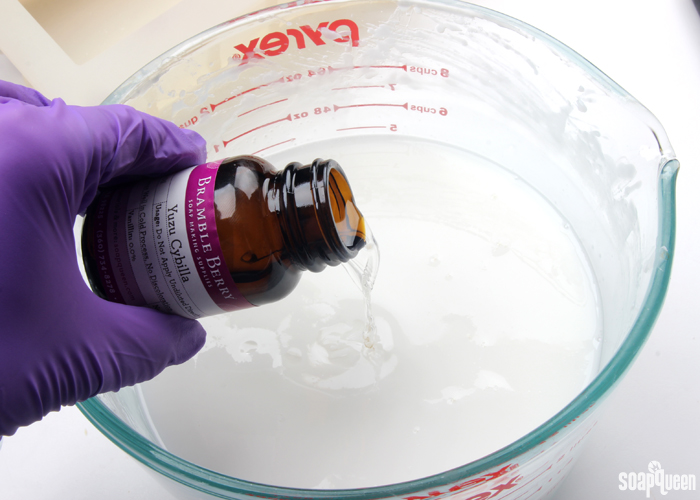
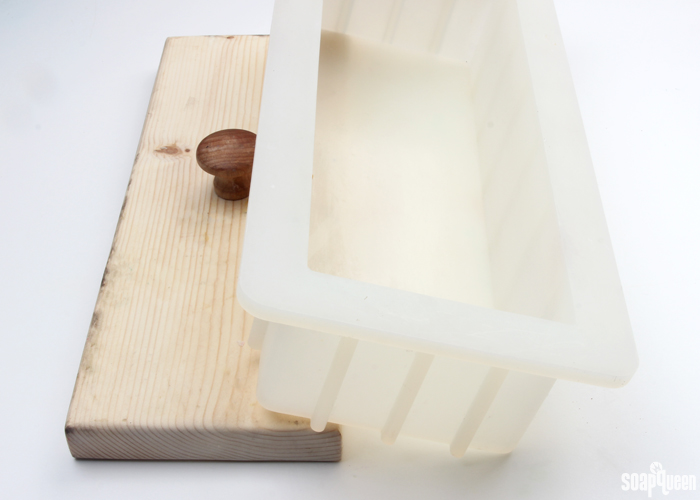 ONE: Chop and melt 40 oz. of white melt and pour soap base in the microwave using 30-45 second bursts. Using short bursts prevents the soap from scorching. Read more about burnt melt and pour and how to prevent it here. Once completely melted, add the 1 ounce of Yuzu Cybilla Fragrance Oil. Stir to thoroughly mix in the fragrance oil.
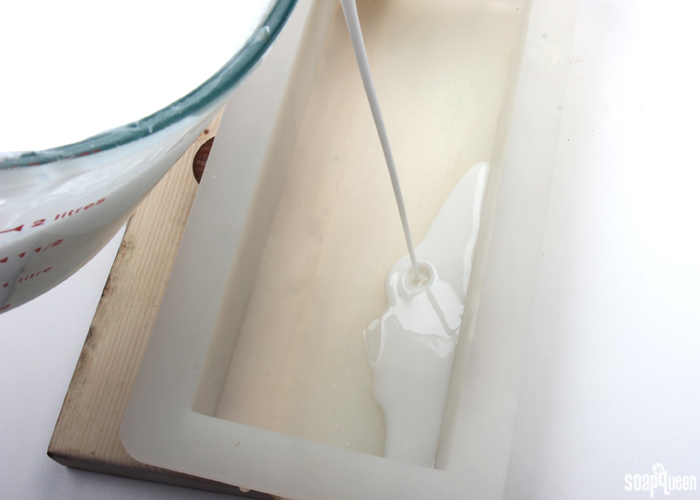
 TWO: Once melted, pour a small amount of white soap into the “bottom” corner of the mold. You want to pour enough soap to cover about 3/4 of the bottom of the mold. Immediately spritz the soap with rubbing alcohol to help disperse any bubbles. Allow the soap to cool and harden. Do not move the soap from the angle, or the layer will break.
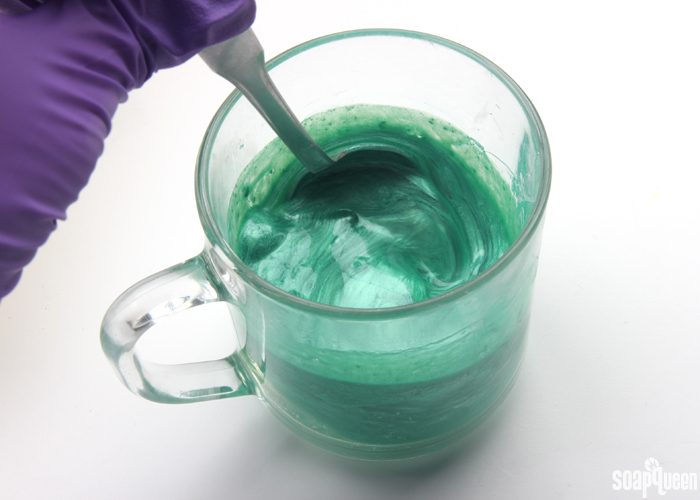
 THREE: While the first white layer cools, disperse 1/2 tsp. Kelly Green Mica into 1/2 Tbs. 99% isopropyl alcohol. Then, chop and melt 3 ounces of clear melt and pour in a small container using 5 second bursts. Then add all the dispersed mica into the melted soap, and stir to fully combine.
 FOUR: Test the white layer to make sure it’s firm and cool enough to support the green soap without melting. Make sure the green soap is no hotter than 125 ° F, or it could melt the white layer below. Spritz the white layer of soap with a thin layer of 99% isopropyl alcohol to ensure the green soap sticks. Pour the green soap onto the white to create a thin layer of green. Spritz with more alcohol to disperse any bubbles. Allow to fully cool and harden.
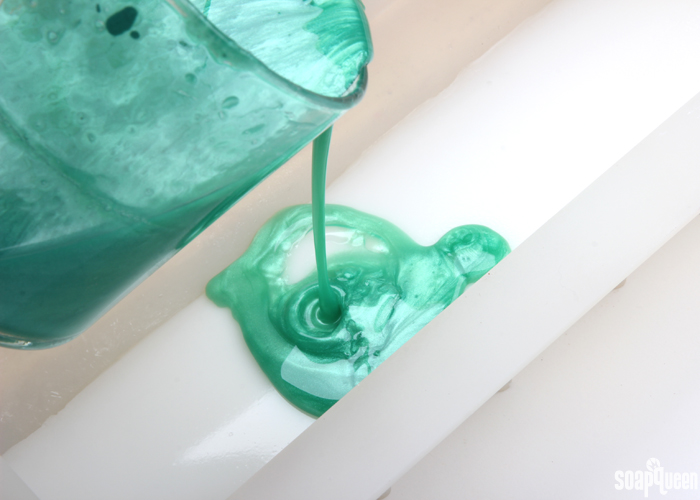
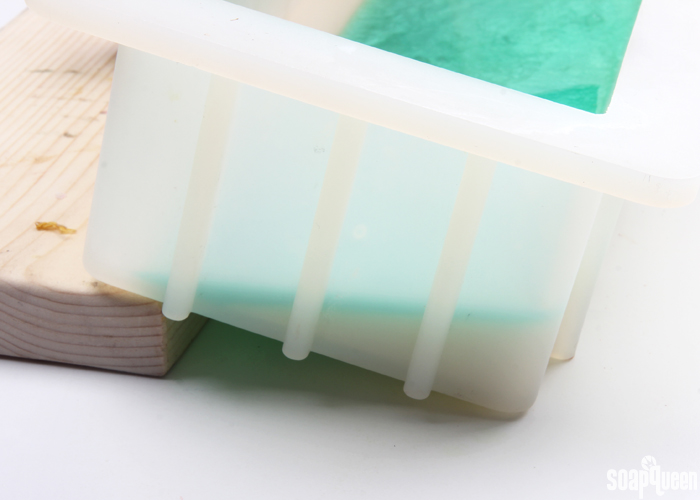 FIVE: Once the thin green layer is hard enough to support a layer on top, remelt the white soap if necessary using 20 second bursts. Pro Tip: if you cover the entire container with saran wrap during the waiting process, this helps the soap stay liquid and fluid for longer, which means less remelting! =) Make sure the white soap is no hotter than 125 ° F, then spritz the green soap with alcohol and pour a thin layer of white soap on top until covered. It helps to look at the side of the mold while pouring to see just how thick the white line will be once cut. Spritz the white soap with alcohol immediately after pouring to disperse bubbles.
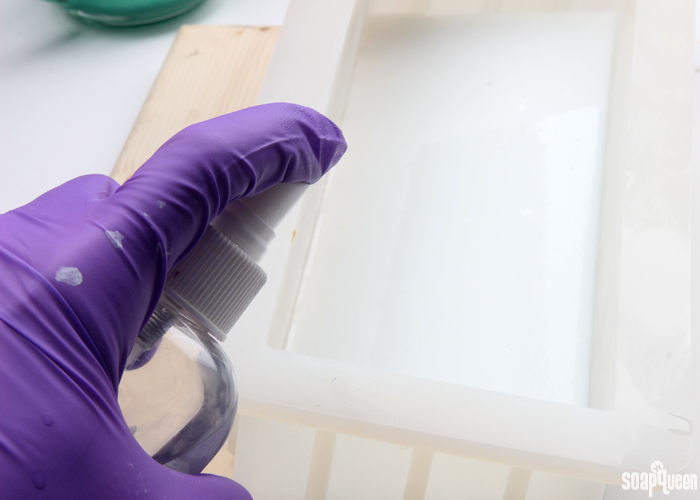 SIX: While the white layer cools, chop and melt 5 ounces of clear melt and pour soap using 5 second bursts. Once melted, add shavings of the Electric Bubble Gum Color Block until you achieve a bright and saturated pink color. Test the white layer to make sure it’s cool and firm enough to support the pink layer. If not, allow it to cool and harden longer. Patience is key for this project! Once the white soap is solid, tilt the mold up against the lid (or other tool) to angle the side of the mold in the opposite direction. You will now be pouring the pink soap into the corner of the mold and white layer. Once the pink soap is no hotter than 125 ° F, spritz the white layer with alcohol then pour all the pink soap into the corner and spritz with alcohol to disperse any bubbles.
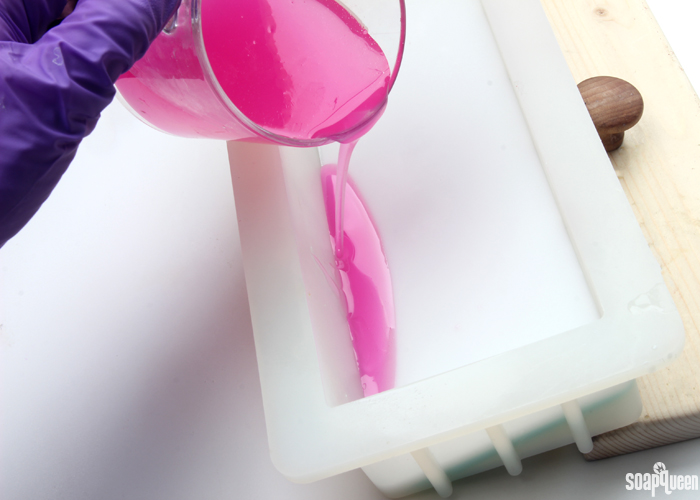 SEVEN: While the pink soap cools, remelt the big batch of white soap if necessary in the microwave using 20 second bursts. Make sure the pink soap is firm and cool enough to support a layer on top. Spritz the pink soap with a thin layer of isopropyl alcohol, then pour a thin layer of white soap on top of the pink. This layer should be big enough to cover the pink layer, but you should still be able to see a portion of the white soap below it. Spritz with alcohol immediately to disperse any bubbles. Allow to cool and harden.
EIGHT: Once the white soap is cooled and hardened, tilt the mold on the opposite side. Chop and melt 5 ounces of clear melt and pour soap in the microwave using 5 second bursts. Add shavings of the Radiant Purple Color Block until you achieve a saturated purple hue. Spritz the white soap with a thin layer of isopropyl alcohol, and pour the purple soap into the corner of the mold. Immediately spritz with isopropyl alcohol to disperse any bubbles and allow to cool and harden.
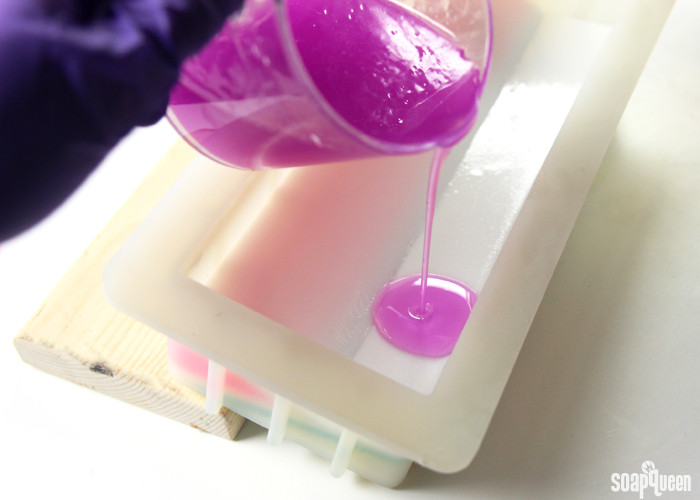 NINE: While the purple soap cools, remelt the big batch of white soap in the microwave using 20 second bursts. Make sure the purple soap is firm and cool enough to support a layer on top. Spritz the purple soap with a thin layer of isopropyl alcohol, then pour a thin layer of white soap on top of the purple. This layer should be big enough to cover the purple layer, but you should still be able to see a portion of the white soap below it. Spritz with alcohol immediately to disperse any bubbles. Allow to cool and harden.
TEN: Once the white soap is cooled and hardened, tilt the mold on the opposite side. Chop and melt 5 ounces of clear melt and pour soap in the microwave using 5 second bursts. Add shavings of the Fizzy Lemonade Color Block until you achieve a bright yellow hue. Spritz the mold with a thin layer of isopropyl alcohol, and pour the yellow soap into the corner of the mold. Immediately spritz with isopropyl alcohol to disperse any bubbles and allow to cool and harden.
ELEVEN: Remelt the big batch of white soap in the microwave using 20 second bursts. Make sure the yellow soap is firm and cool enough to support a layer on top. Spritz the yellow soap with a thin layer of isopropyl alcohol, then pour a thin layer of white soap on top of the purple. This layer should be big enough to cover the yellow layer, but you should still be able to see a portion of the white soap below it. Spritz with alcohol immediately to disperse any bubbles. Allow to cool and harden.
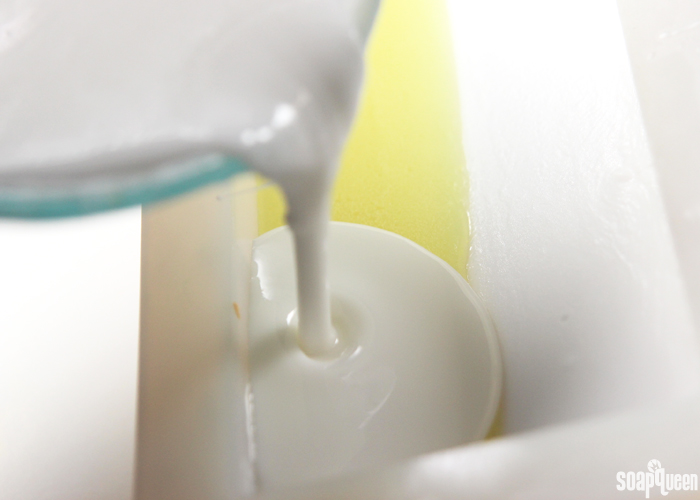 TWELVE: Once the white soap is cooled and hardened, tilt the mold on the opposite side. While the first white layer cools, disperse 1/2 tsp. Kelly Green Mica into 1/2 Tbs. 99% isopropyl alcohol. Chop and melt 5 ounces of clear melt and pour soap in the microwave using 5 second bursts. Add all the dispersed Kelly Green Mica into the melted soap and stir to combine. Spritz the white layer with a thin layer of isopropyl alcohol, and make sure the soap is no hotter than 125 ° F. Pour the green soap into the corner of the mold. Immediately spritz with isopropyl alcohol to disperse any bubbles and allow to cool and harden.
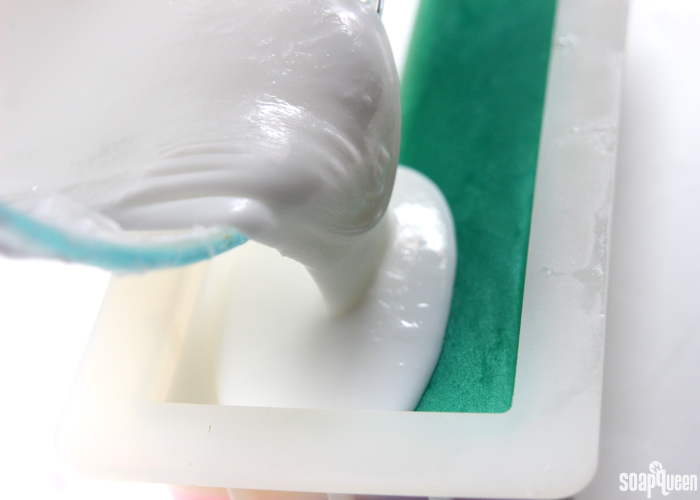
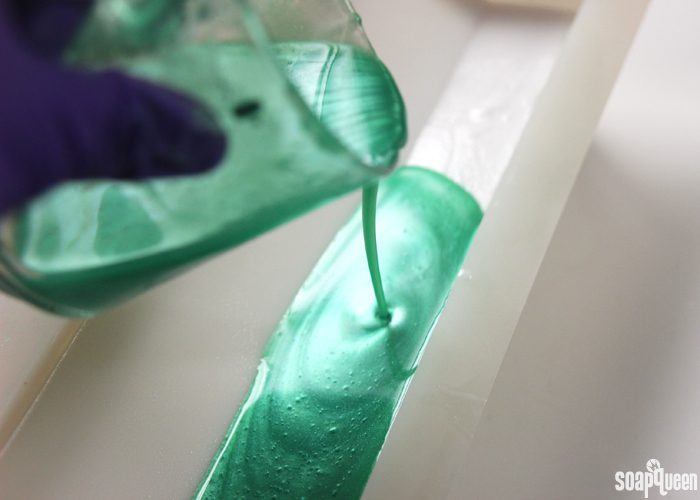 THIRTEEN: Once the green soap is completely cool and hardened, allow the mold to lay flat on the counter. Remelt the white soap in the microwave using 15 second bursts. Be careful to not burn the soap. Once completely melted and the white soap is no hotter than 125 ° F, spritz the layers below with a thin layer of isopropyl alcohol, then pour the melted soap on top. Spritz with isopropyl alcohol to disperse any bubbles. Allow to fully cool and harden for several hours.
Once the loaf is completely cool and hard, pull the sides of the mold away to release from the airlock. Then, push the soap out from the bottom. I found my layers stayed together the best when I laid the soap on its side and cut from the side rather than from the top down. Once cut into bars, wrap immediately in plastic wrap to prevent glycerin dew. Learn more about storing handmade products here.

