What You’ll Need:
6-8 Bath Bomb Mold & Packages
3 cups Baking Soda
1 1/2 cups Citric Acid
7 mL Champagne Fragrance Oil
7 mL Orange Grove Fragrance Oil
1.5 oz. Meadowfoam Oil
1 oz. Cocoa Butter
Coral Orange La Bomb Colorant
King’s Gold Mica
99% Isopropyl Alcohol
Optional: Witch Hazel
ONE: In a large bowl, add the baking soda and citric acid. Use your hands to break up any clumps. To help make the mixture extremely smooth, you can strain the mixture through a fine mesh strainer. Citric acid has a tendency to take off nail polish, so wear gloves to protect your manicure. =)
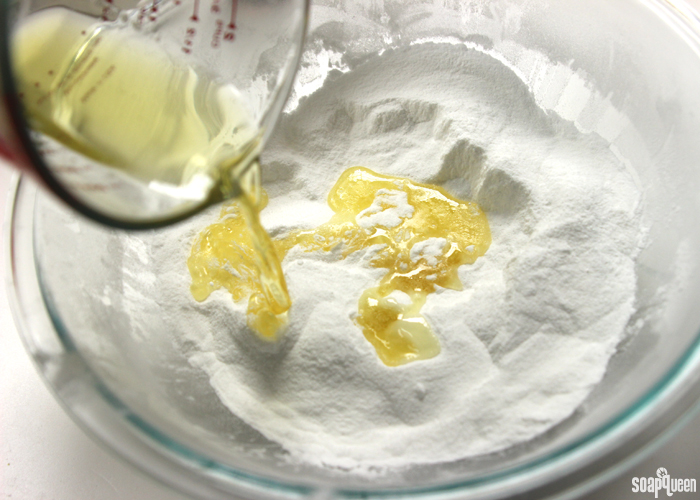
TWO: Pour the meadowfoam oil and cocoa butter in a heat safe container and place in the microwave using 30 second bursts until the cocoa butter is completely melted. You can melt the cocoa butter on its own, but I find it melts a little easier when mixed with a liquid oil. Add the mixture of melted oils into the dry ingredients. You may want to allow the oils to cool slightly, as you need they could burn your hands during the next step if they are extremely hot.
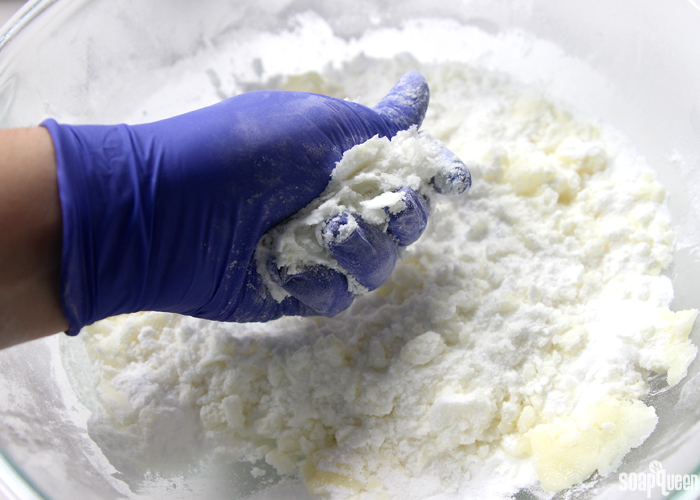
 THREE: Use your hands to work the oils throughout the dry ingredients. Be careful, as the oils may be very hot. Continue to mix until the oils and dry ingredients are completely combined. This may take several minutes.
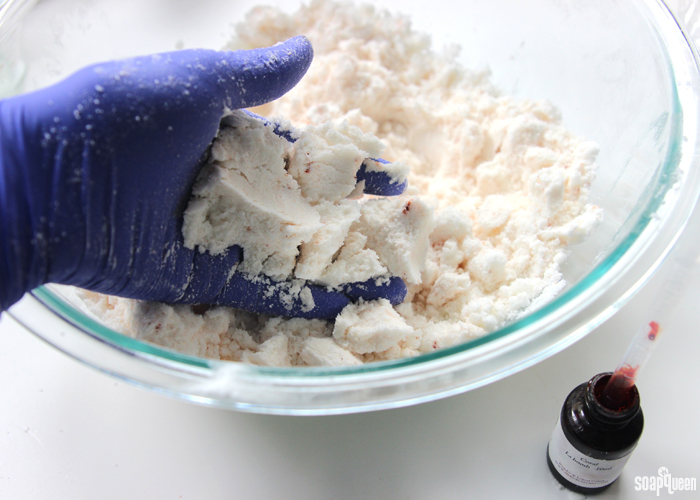
 FOUR: Add about 10-12 drops of the Coral Orange La Bomb into the mixture and begin working the colorant throughout the mixture. This can take a few minutes, just keep mixing! Add more colorant if you’d like the color to be a little more saturated.
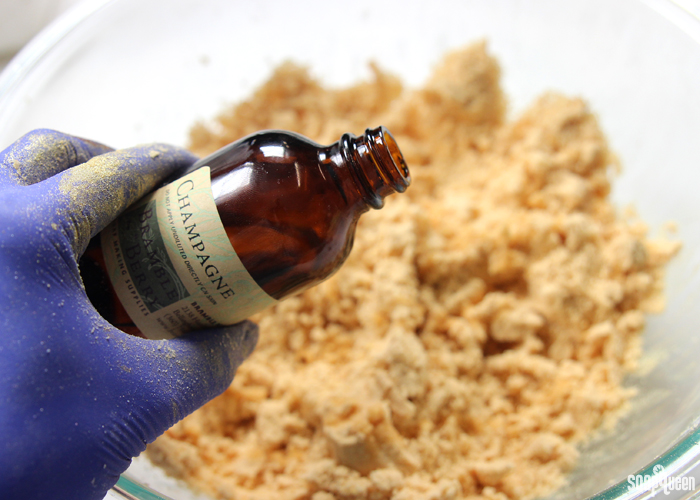
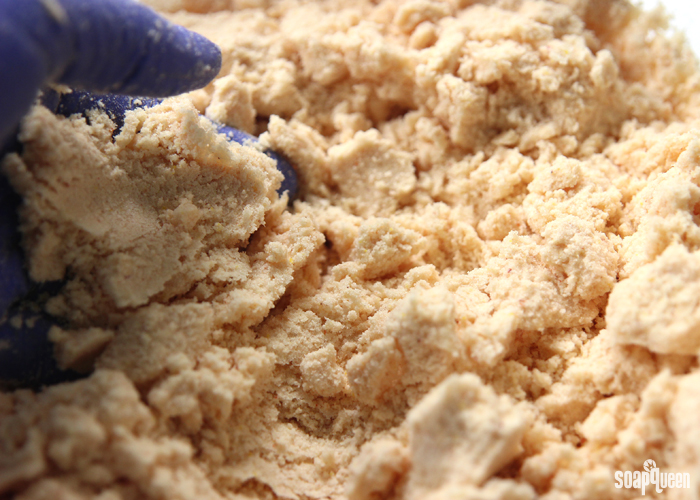 FIVE: Add the Champagne Fragrance Oil and Orange Grove Fragrance Oil to the mixture and use your hands to thoroughly mix in the fragrances.
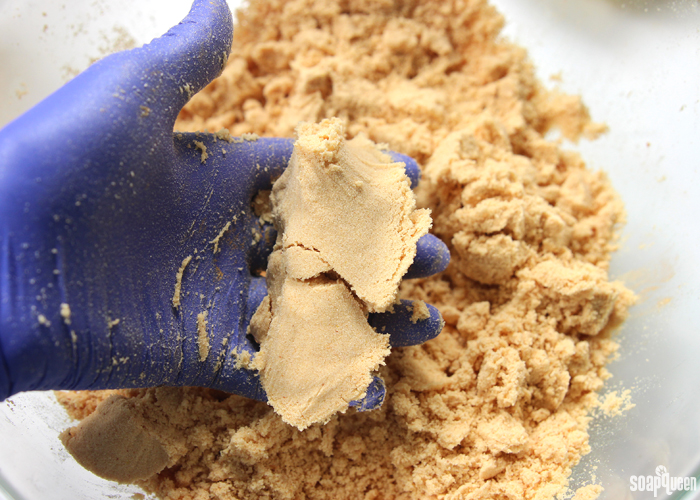
 SIX: Check the moisture of your fizzies. When squeezed with your hand, the mixture should hold its shape. If not, add spritzes of witch hazel into each container, mixing between every couple sprays, until each container has a texture similar to wet sand. Try to work as quickly as possible!
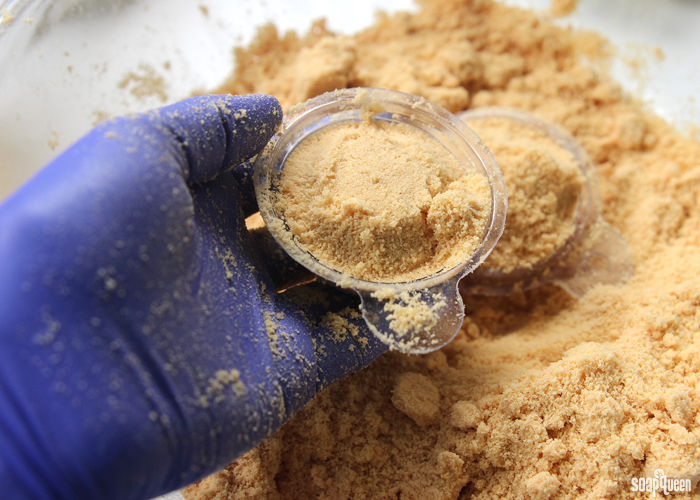
 SEVEN: Fill two halves of the bath bomb molds, gently pressing the bath bomb mixture in each to make sure they hold their shape. Mound a little extra mixture in the center of one half of the mold. Match the eyelets of each side up, and press together. To avoid any imperfections on your bath bomb, make sure to direct pressure to the edges of the mold rather than the center.
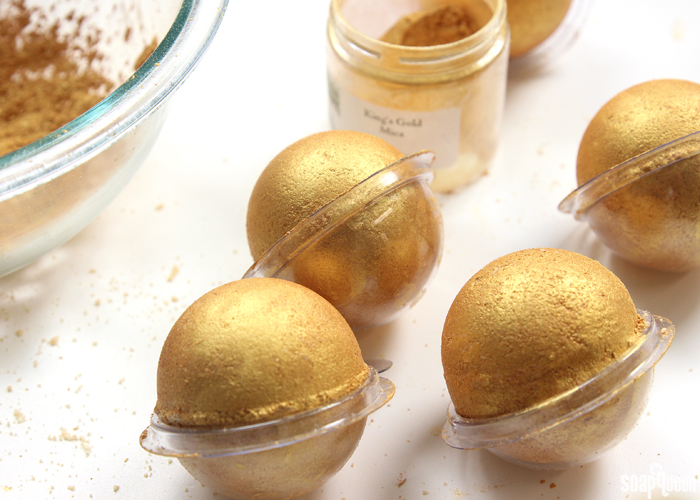
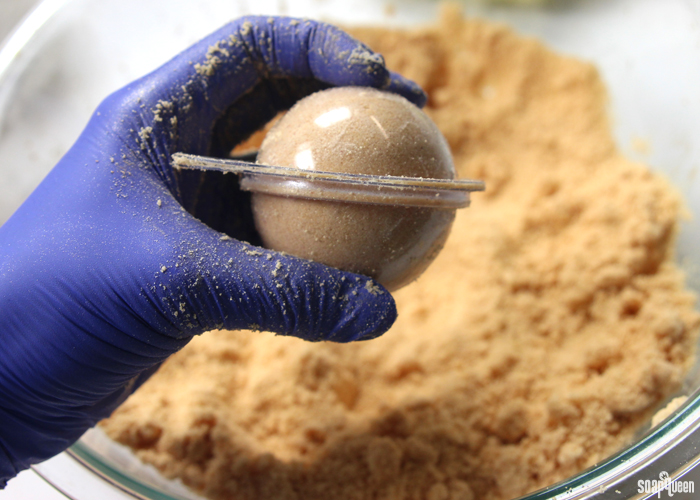 EIGHT: Allow the bath fizzies to harden in the mold for 24 hours. Then, carefully remove them from the package. Fill a bowl with a few tablespoons of King’s Gold Mica.
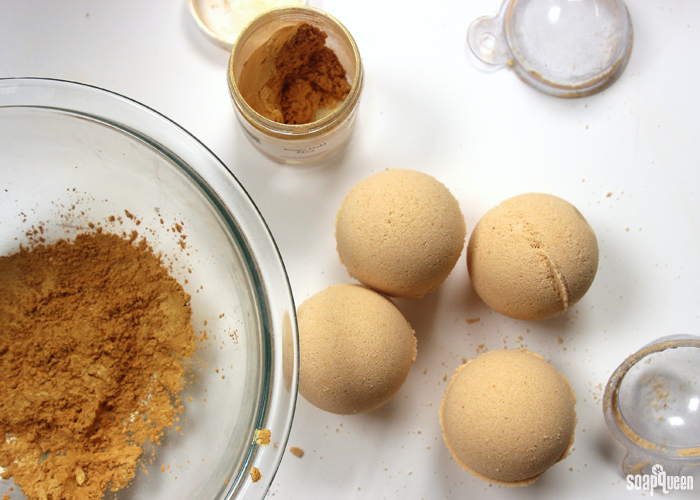 NINE: Spritz the outside of one bath bomb lightly with 99% isopropyl alcohol.
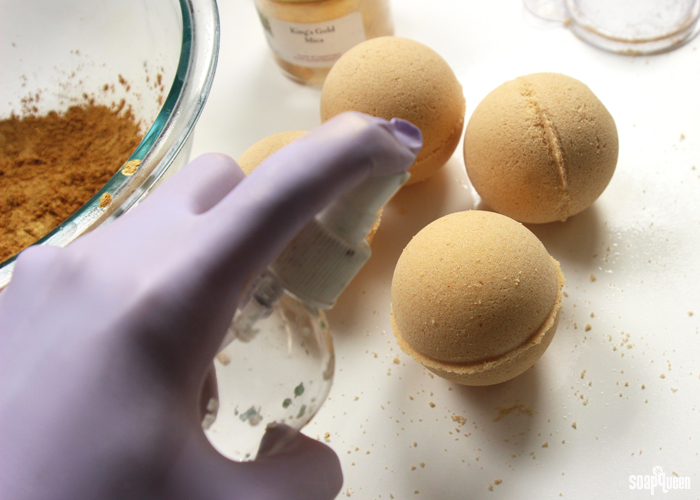 TEN: Gently roll the bath bomb into the King’s Gold Mica until completely covered. Use your fingers to carefully “brush” off any excess mica.
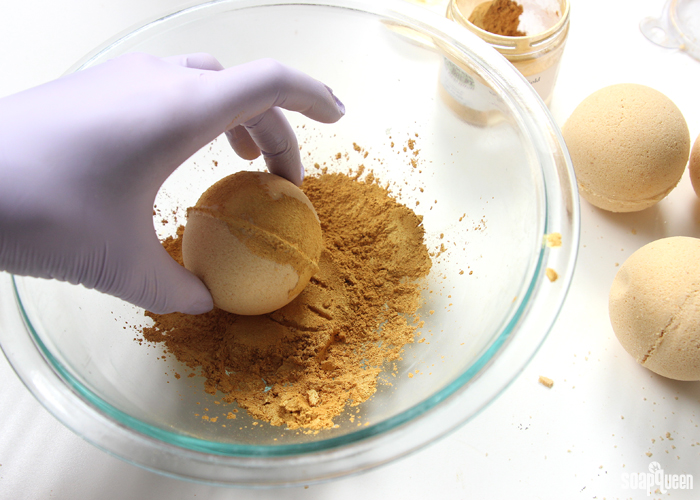
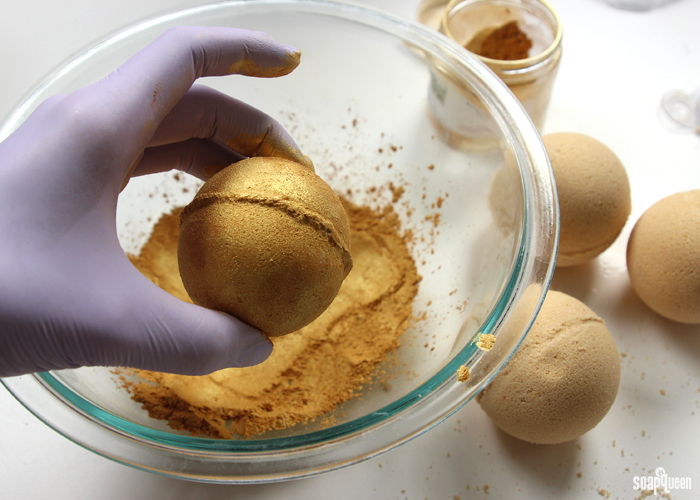 ELEVEN: Repeat this process for each bath bomb, until all are covered. Carefully place the bath bombs back into the mold and package until ready to use. Before placing them back into the package, you may want to wash the mold for a clean look. Just make sure they are completely dry before placing the fizzy back into the mold!
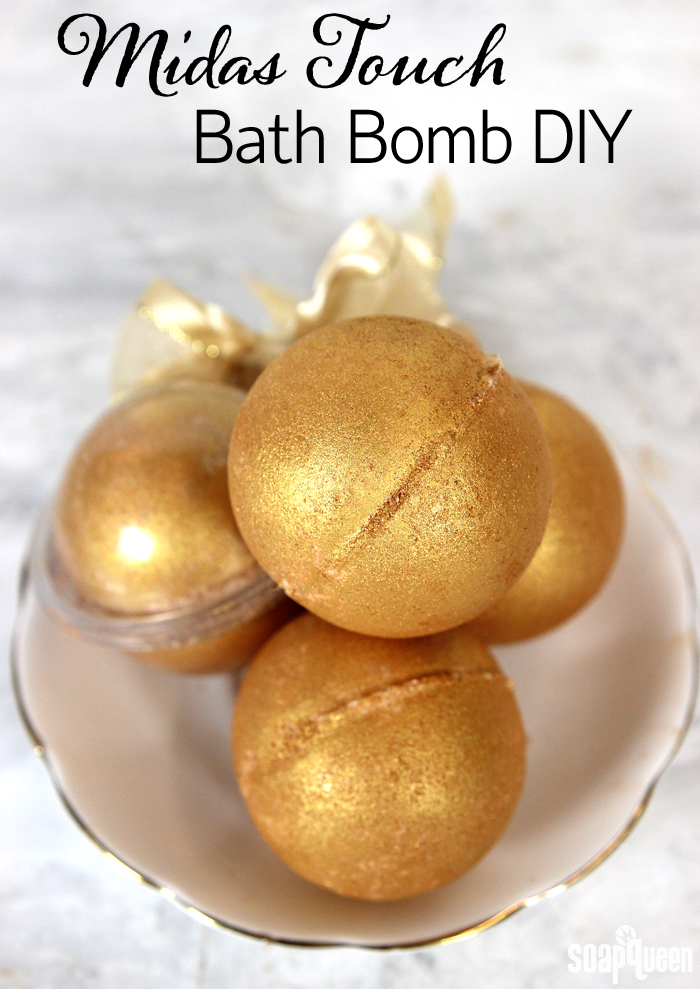
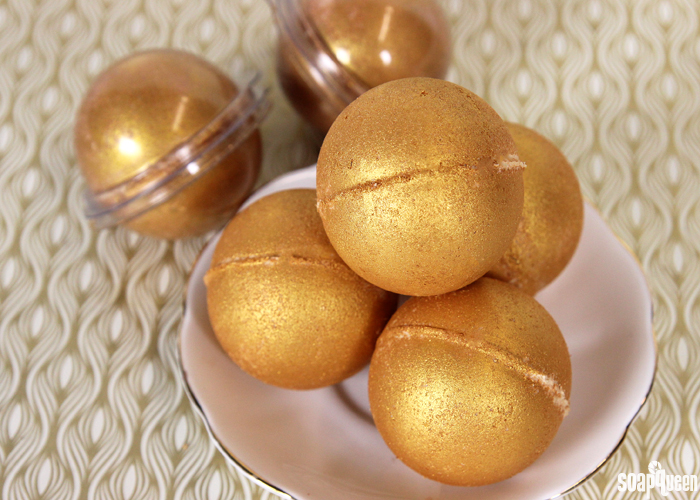
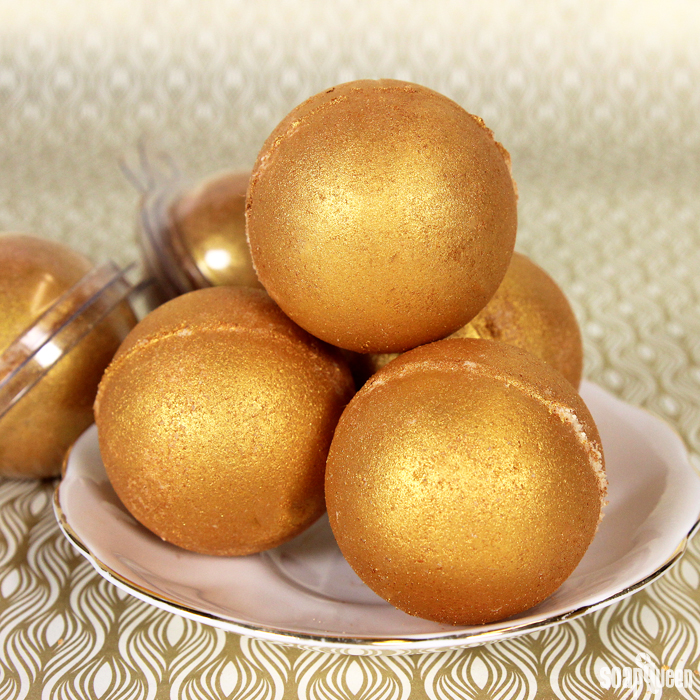
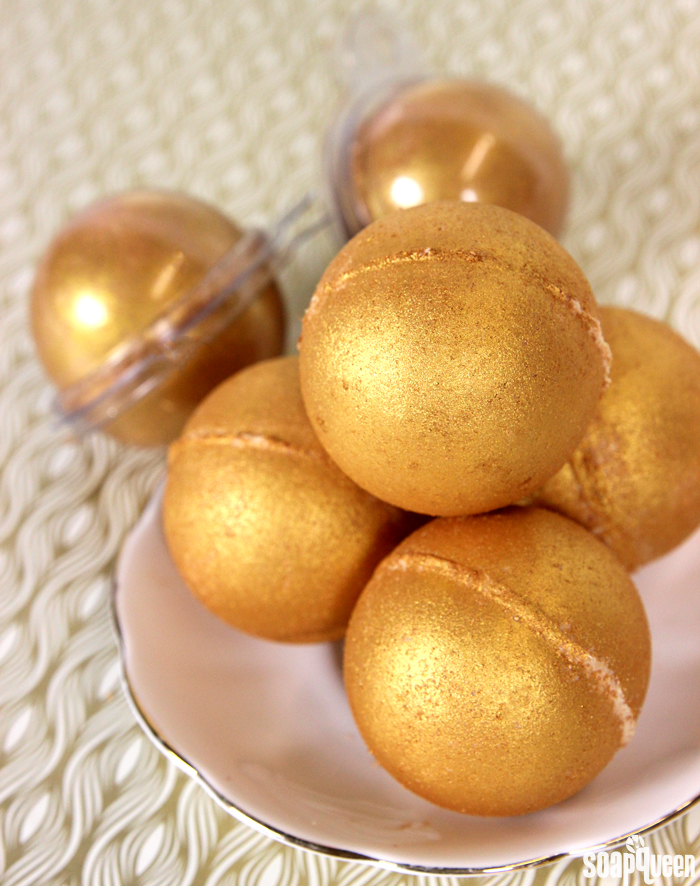
Unmold the fizzy when you are ready to use it (leaving your fizzies out in the air can often set off the fizzy reaction in humid climates). The bath bomb molds are intended for one time use, but if you are very careful when you unmold them you can re-use them. They are a mold & package all-in-one! This fizzy fills the tub with gold sparkle, and leaves the skin with shimmer. It also leaves oil and sparkle in the tub, so be very careful when exiting the tub as it may be slippery. I also quickly wiped down my tub to make sure that any oil that remained didn’t leave a mess to clean up later.
