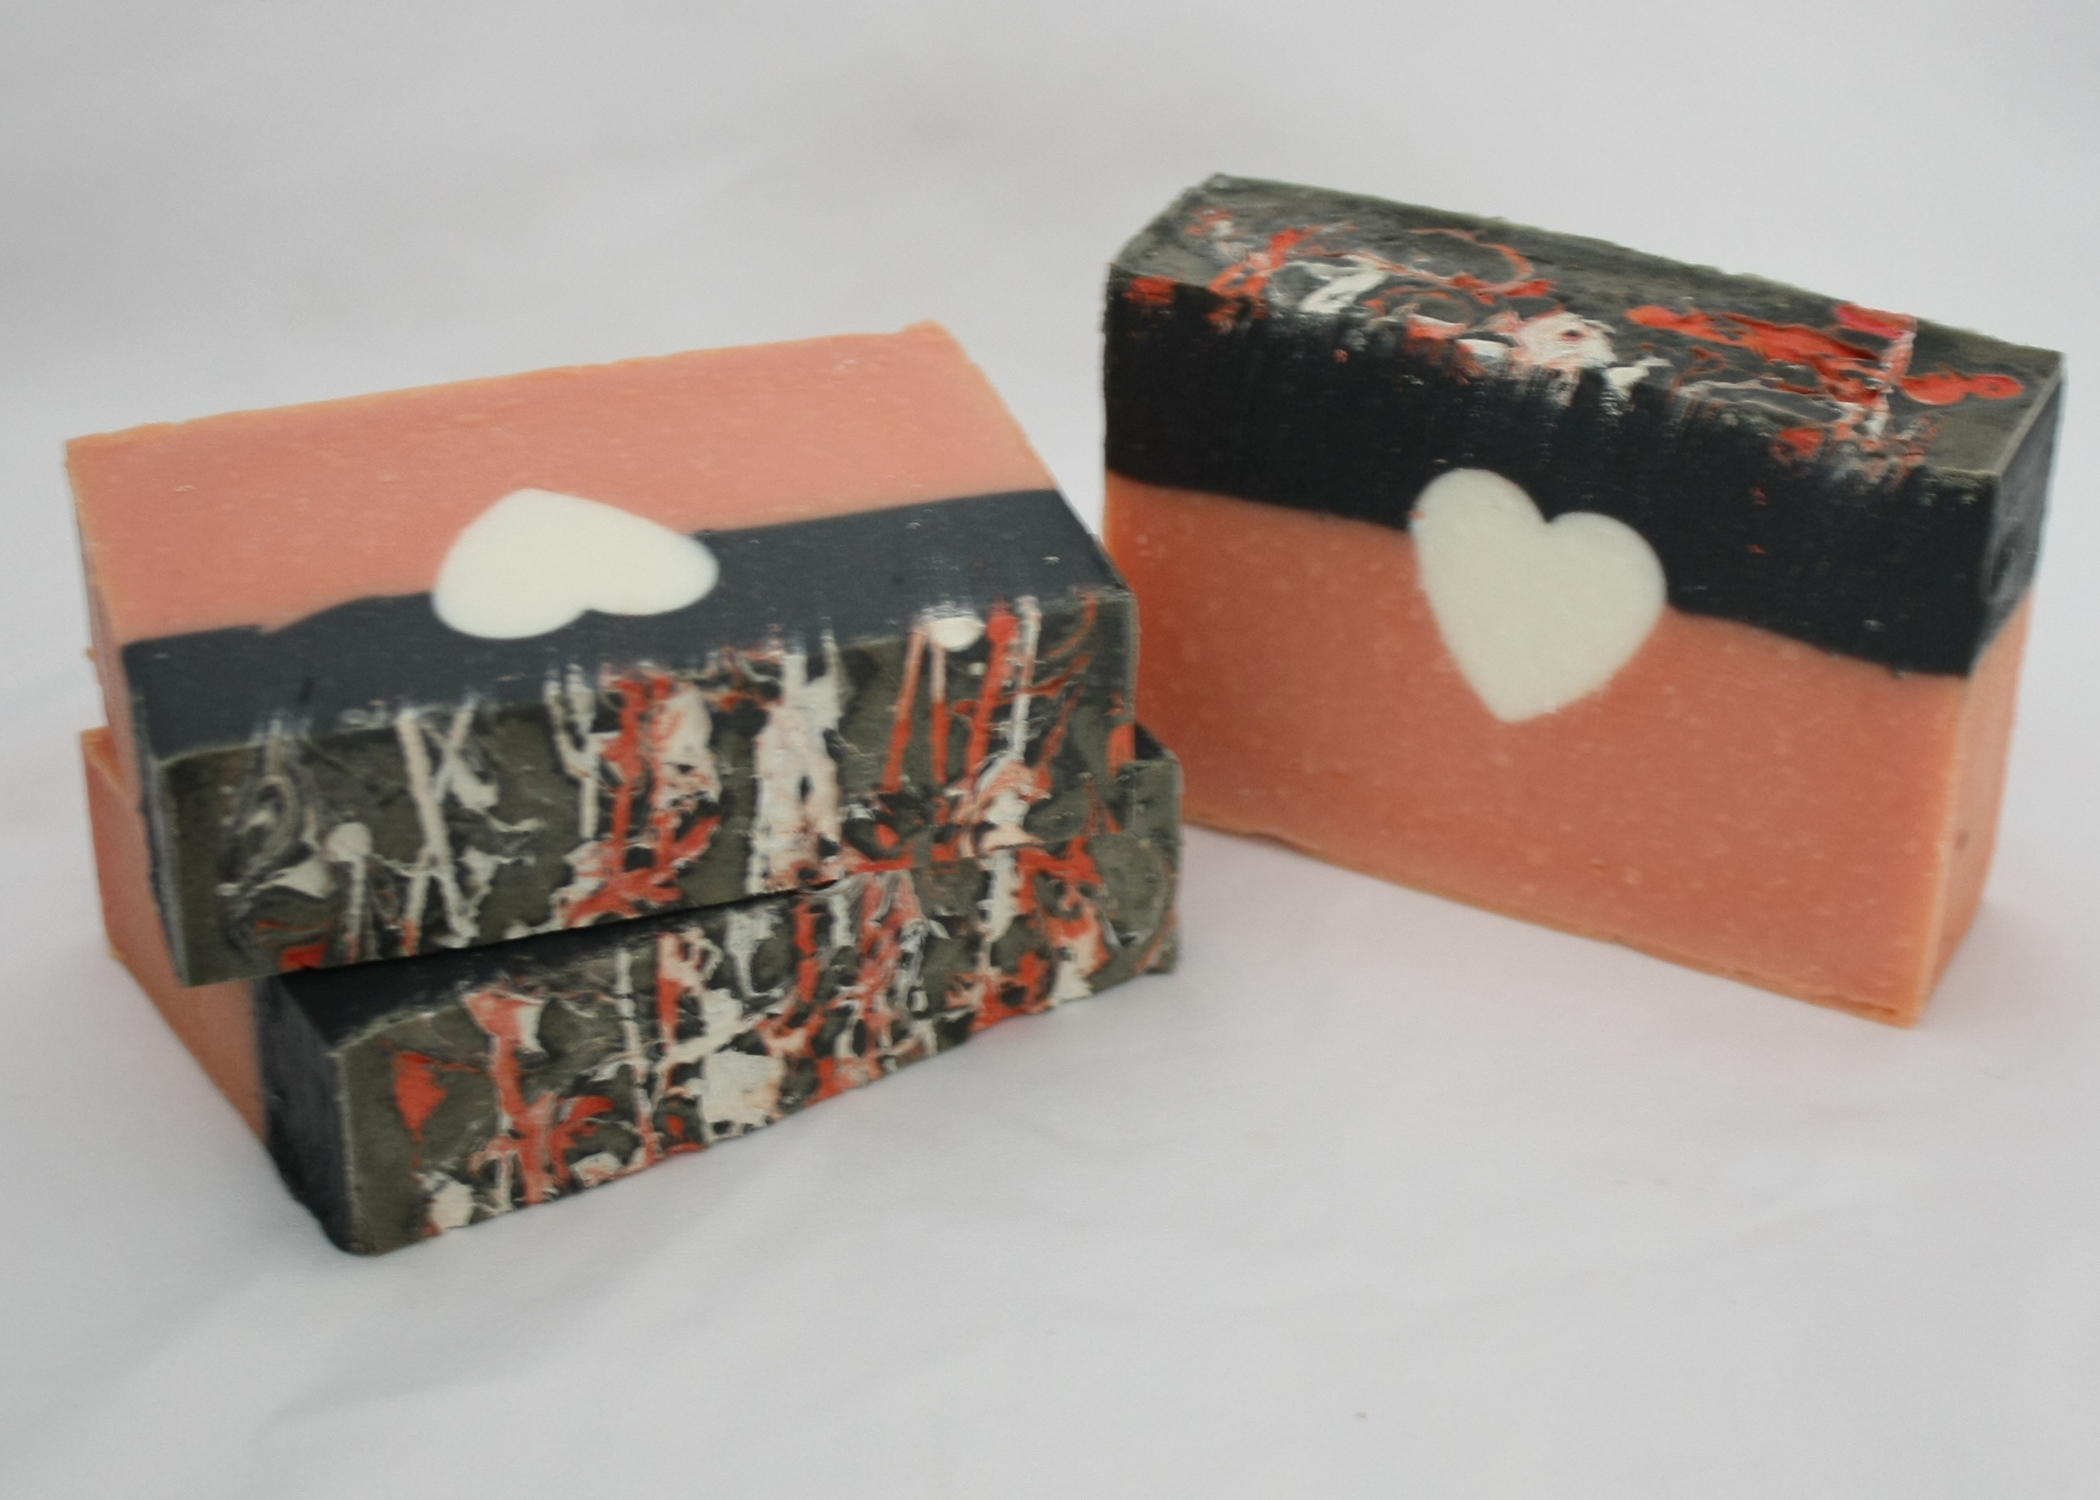
Part 1 (Heart Embeds)
2.25 oz Castor Oil
9 oz Shea Butter
6.75 oz Coconut Oil
9 oz Olive Oil
9 oz Palm Oil
4.9 oz Sodium Hydroxide (Lye)
11.88 oz Distilled Water
This really isn’t a hard soap to make, it just takes two days to do because of the little heart embeds. I love embeds and I have a patience for them that not everyone does. I plan out my soaps in advance and then make the “parts” I’ll need to create the whole.
ONE: The first step in this soap is making the heart embeds. Depending on which size mold you use, the small hearts can take about 12-14 ounces of soap. I have a recipe I love to use for embeds because the bulk of the recipe are solid oils and butters and it makes for harder embeds, which in turn makes it easier to unmold. This is a two pound recipe, but you can shrink it to a one pound batch if you’re just going to do heart embeds. I am always making embeds so I use the two pound batch and I use the leftover soap to create embeds for another project. It just saves me time in the long run.
I don’t add a fragrance to these hearts and I used Titanium Dioxide to color them. Not adding fragrance doesn’t affect the overall batch, and by not adding it, you ensure that you don’t get any discoloration in your nice white hearts. Feel free though to add fragrance or a different color if you want to change the look of your soap!
TWO: Unmold hearts!
PART 2 (Loaf):
Ingredients:
5.4 oz Avocado Oil
1.35 oz Meadowfoam Oil
10.75 oz Coconut Oil
21.50 oz Olive Oil
10.75 oz Palm Oil
5.4 oz Shea Butter
7.5 oz Sodium Hydroxide (Lye)
18.15 oz Distilled Water
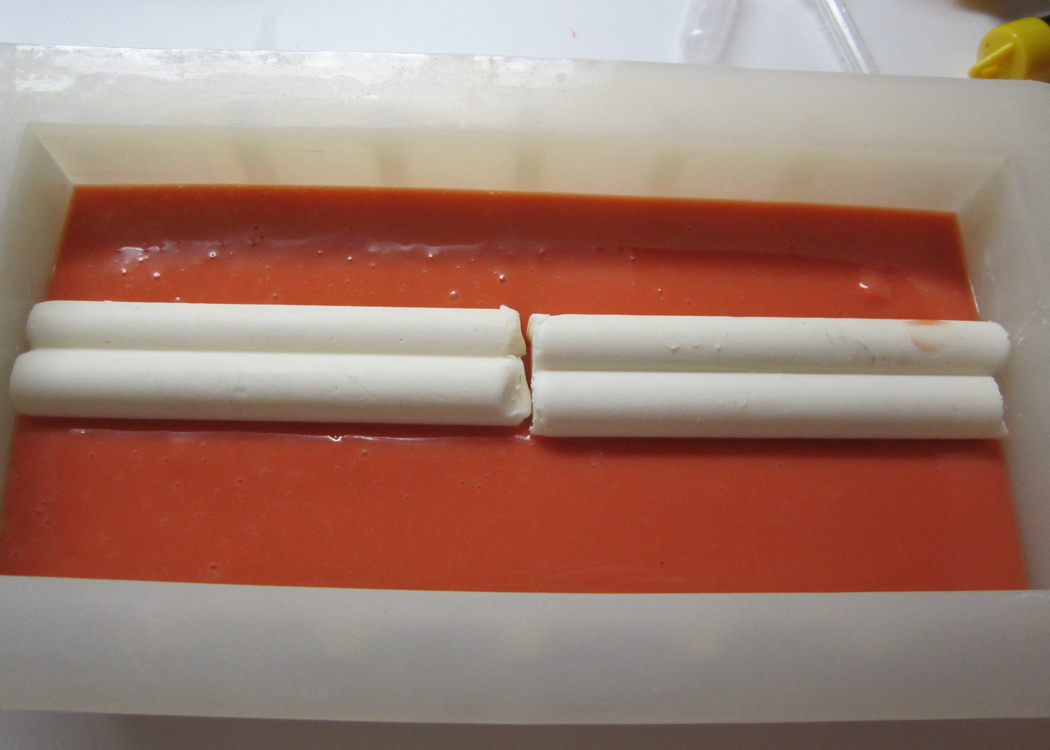
STEP 3: After I’ve made and unmolded these soaps I’m ready to make the actual loaf. I use a five pound mold and I need four and a half hearts to get them to go the entire length.
I use this recipe for the loaf. It’s one of my favorite moisturizing recipes, but you can use any recipe you want. This recipe is for a five pound batch of soap (you’ll need 4 and half hearts to fill the loaf).
TIP: Unless I know I’m working with a slow moving fragrance I do not add it to the soap before I split the batch. I’ve found by not adding the fragrance to the part I set aside it gives me more time to work with it and it makes for a more fluid soap which in return makes it easier to create nice crisp and clean lines between the two layers.
FOUR: Once you’ve mixed the oils and lye together and after the batch has reached a very light trace it’s time to split the batch up. I split about a quarter of the batter out and set it aside for the top.
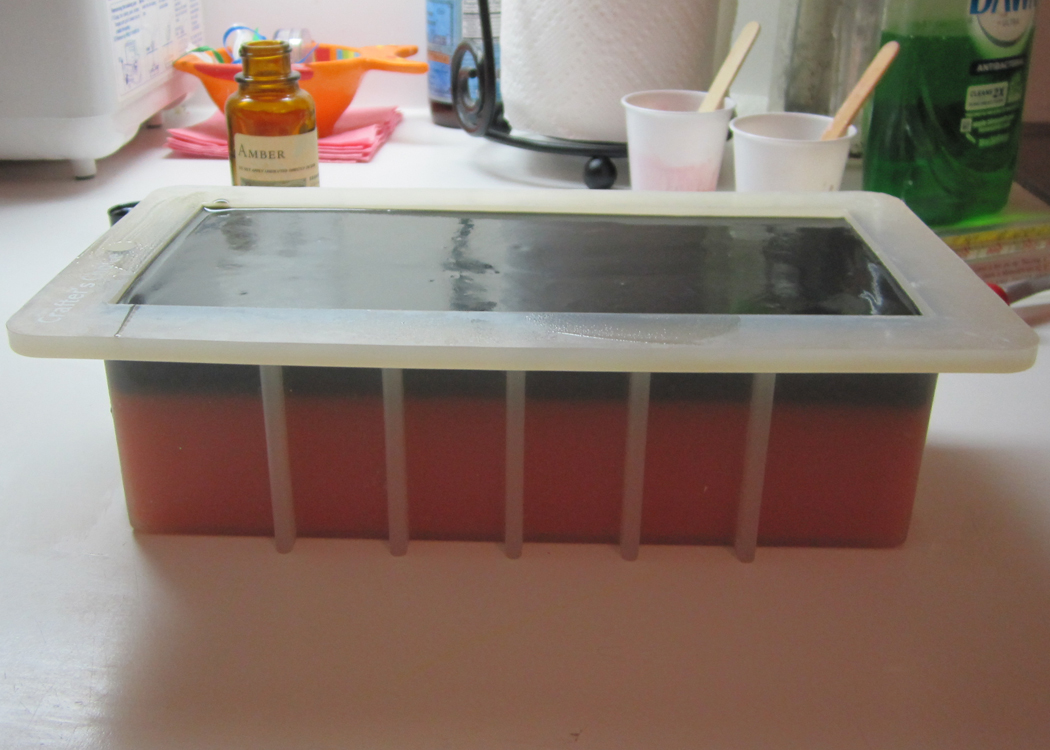
FIVE: In the bottom layer (which should be about three-quarters of your soap) mix your color and fragrance together and pour it into your mold.
(I did a side view, instead of a top view) so you could see that you’ll fill approximately 3/4 of the mold.)
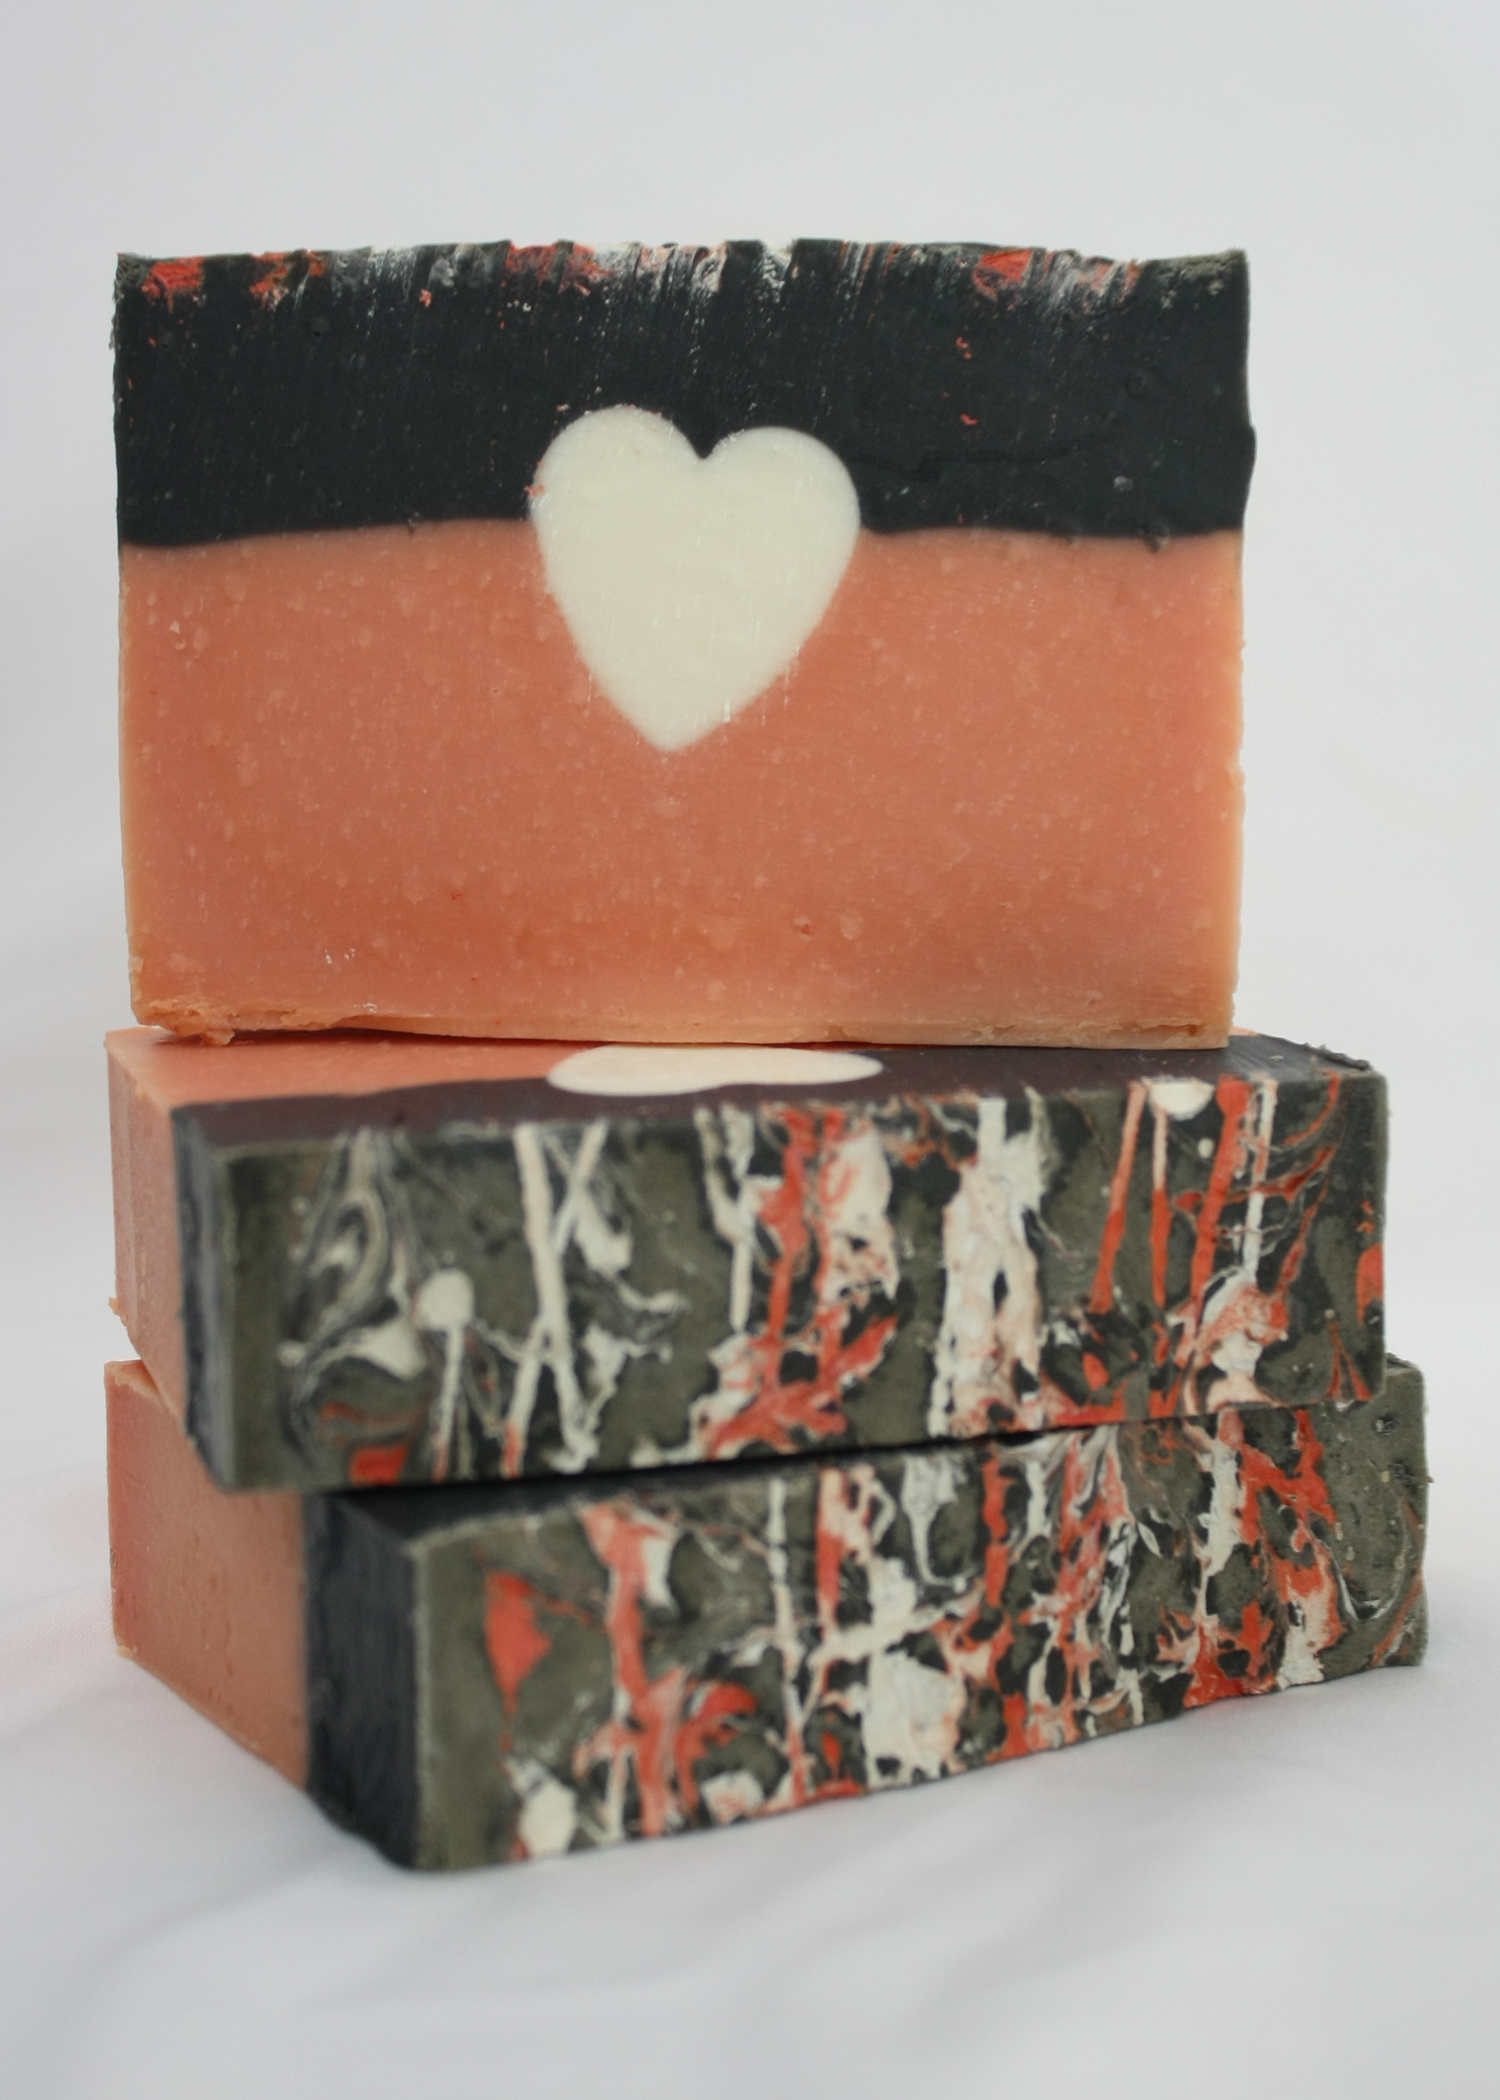
You can use any color you want! The first batch I did I used a teal and gray and I just love all the color possibilities with this soap. I didn’t have any more Blackberry Sage Fragrance Oil on hand though so the batch you’re seeing pictures of is 10x Orange Essential Oil & Amber Fragrance Oil.
SIX: I let this set up a bit before I add my hearts in (unless it’s setting up fast then I put them in right away). Next I go back to my top layer and add my fragrance and color. Once it’s mixed together I go back to the base and add the hearts and then pour the second layer over them.
I used Orange Peel Cybilla Fragrance Oil in this batch, and it was the first time I’ve used it. If you want a slow-moving fragrance then this one is for you. I had to wait and wait and wait (despite a lot of stick blending) for this soap to set up enough to hold the heart embeds on top!
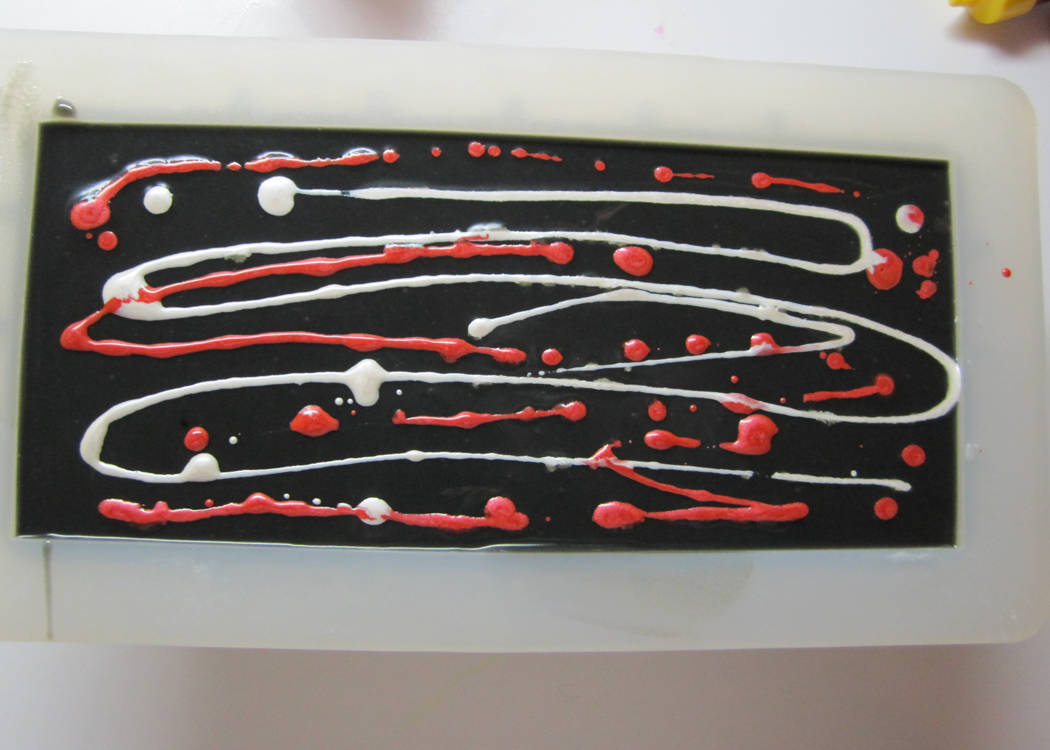
SEVEN: If you want to add some extra pizzazz to your soap, I’d suggest adding a nice mica top design.
EIGHT: I insulate my soaps as I do like them to go through gel phase, but you don’t have to gel yours. After 24 hours, I unmolded my soap and cut it — it was so much fun to sit and the pretty bars!

