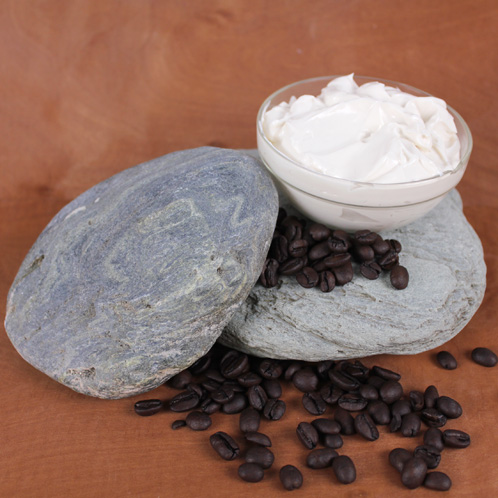
Gather your ingredients:
0.7 oz White Beeswax
3.1 oz Coffee Butter
2.4 oz Sunflower Oil
1.2 oz Stearic Acid
1 oz Emulsifying Wax
15.6 oz Distilled Water
5 mL Dark Rich Chocolate Fragrance Oil
5 mL Peppermint 2nd Distillation Essential Oil
0.2 oz Optiphen
6-4 oz Jars or other containers
ONE: Start by disinfecting all of your tools (including mixing containers) by dipping them in a 5% bleach water solution and then drying them with fresh paper towels. TIP: Set business ends of certain tools (stick blender, spoons) on a paper towel to maintain the integrity of the disinfection while they’re waiting to be used.
TWO: In heat-safe container, combine and melt the E-Wax, Stearic Acid, Beeswax, Coffee Butter and Sunflower Oil. The waxes have high melting point, so be sure your container is appropriately sized for the amount of material it contains, and use caution when removing your container from the microwave. Glass containers can get pretty hot!
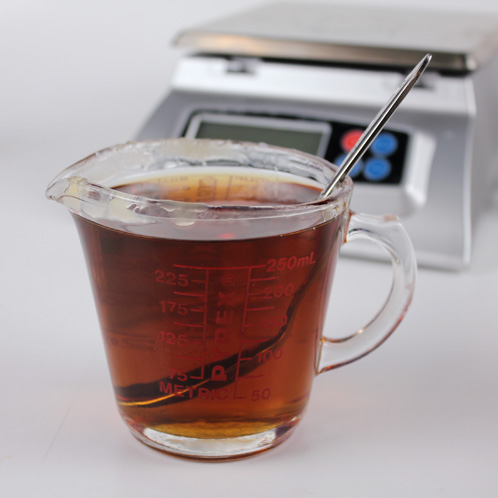
THREE: In a separate heat-safe container, heat up the distilled water. You’ll want to get the temperature pretty high in order to keep the Beeswax in the oil mixture melted as it emulsifies, so shoot for about 150-155 degrees.
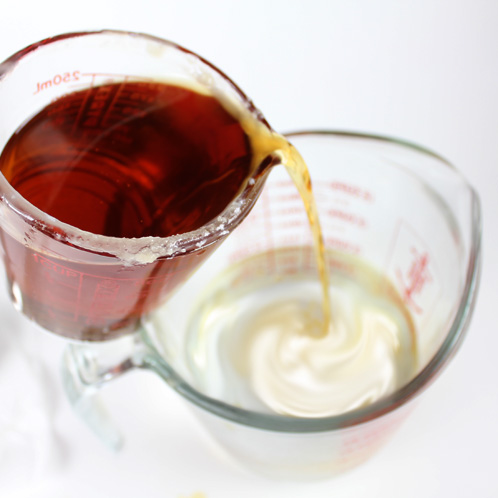
FOUR: Check the temperature of the oil mixture. Stick it in the microwave for a few more seconds if it’s not within 5-10 degrees of your water. Add the oils to the water and stick blend continuously for about 2-3 minutes.
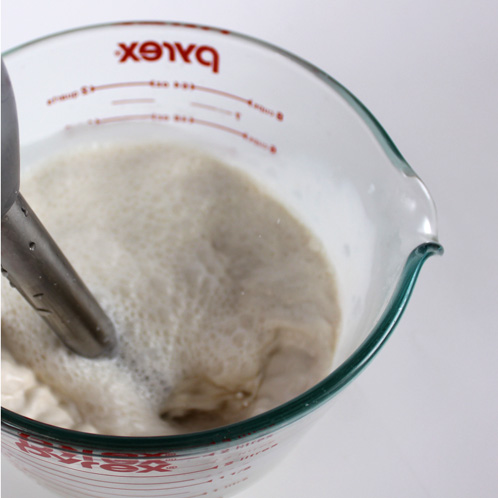
FIVE: You don’t want to add the preservative Optiphen to anything that is over 176 degrees or it will be rendered ineffective (if you’re using another preservative, check the maximum temperature that it can withstand). Once you’ve ensured that the temperature is good to go, add the Optiphen, Dark Rich Chocolate fragrance oil and Peppermint 2nd essential oil and stick blend for another minute or so.
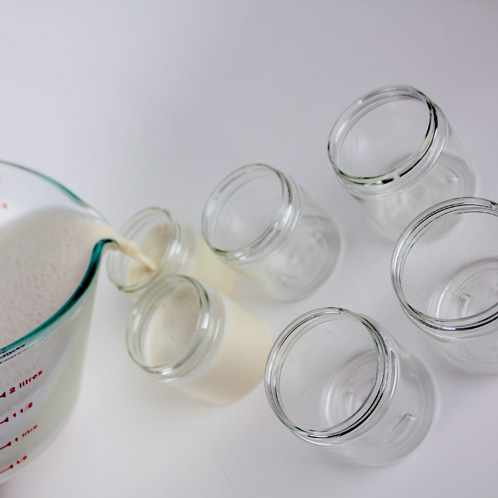
SIX: While it’s still warm, pour the mixture into the jars. Allow it to sit in the jars for about 24 hours before putting the lids on so it has plenty of time to cool (and no condensation forms on the inside of the containers). Enjoy!
Note: I had some bubbles on top of the warm creme when I poured it into the containers. Once the creme had cooled in the containers, I took a disinfected spoon and mixed it up a bit and wound up with the nice, fluffy texture pictured below on top instead of the bubbles.
