 |
Ingredients
9 Bar Baltic Birch Mold, lined with plastic
River Rocks
Vinyl Gloves
Mixing bowls and spoons
Rubbing alcohol
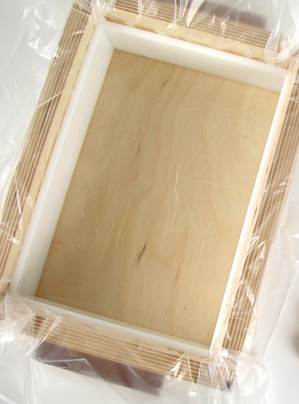
PREP: Line your 9 bar Baltic Birch Mold with plastic. Your soap won’t actually be touching the plastic so it doesn’t have to be perfect but we want it covered just in case. Place the border pieces in the mold to secure the plastic.
PLAN: I like to plan ahead when possible. Place the dividers into the mold and start adding your rocks into the separate cavities. Figure out what will fit and look best. Carefully take out the rocks and try to keep them in the same order so you can work quickly when it’s time to mold the rocks.

ONE: Put on your vinyl gloves and mix up enough Flexy Fast to cover the entire bottom of the 9 bar soap mold with at least an inch of thickness. I mixed a large grapefruit size of the white and a kumquat size of the pink. Mix well with your hands just like taffy until you have a bubble gum pink color.

TWO: It’s time to work fast. Spread out the Flexy Fast on the bottom of your mold making sure to get it the corners. Place the dividers right into the putty. Then quickly press your river rocks into the putty in each individual cavity. Let the putty sit for 30 minutes to set up.
THREE: Once the putty has hardened, release the river rocks from the putty. I found it easier to take out the dividers too, just put them back in when you’re done.
FOUR: To make the rocks, melt down three different containers of melt and pour soap base so you have three different colors for your soap. I didn’t fragrance the rocks, but you can if you want to.
Container one: 2 oz. of Aloe Melt and Pour with Liquid Green and Liquid Black
Container two: 2 oz. of Aloe Melt and Pour mixed with Liquid Blue and Liquid Black
Container three: 2 oz. of Shea Melt and Pour mixed with Liquid Black
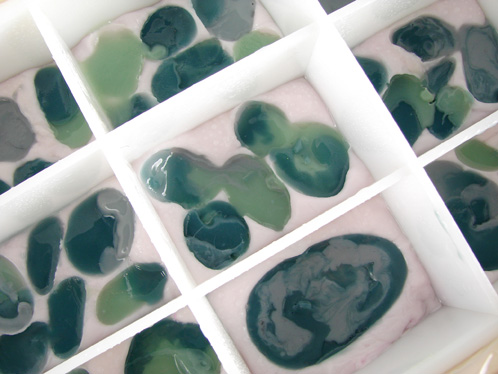
Then use droppers to fill up the rocky imprints in the Flexy Fast. Notice I did several colors per rock. If you’re doing layers, remember to spritz with rubbing alcohol so the layers adhere. Have fun with it and remember they don’t have to be perfect. They’re supposed to be rocks!
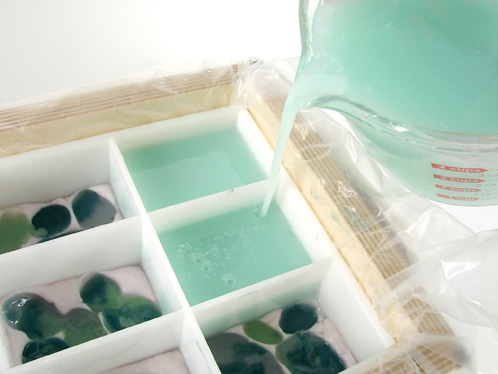
FIVE: While your rocks are cooling it’s time to get started on the base. I love how my color turned out. I melted 36 oz. of Aloe Melt and Pour with 2 oz of Shea Melt and Pour. This gives a unique cloudy effect without being totally opaque. Then I added a couple of drops of diluted Brilliant Blue LabColor. Finally, add 1 ounce of Kentish Rain Fragrance Oil and mix well. Once the soap has cooled to 125 degrees, spritz the rocks with rubbing alcohol and pour the final layer.
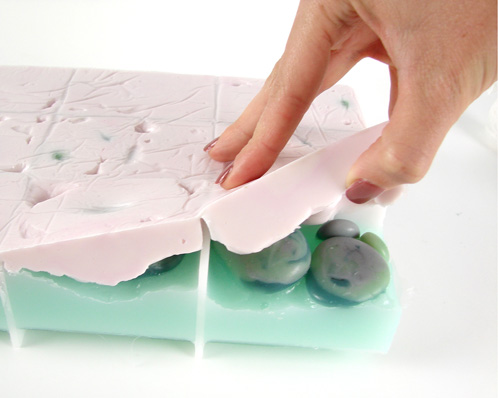
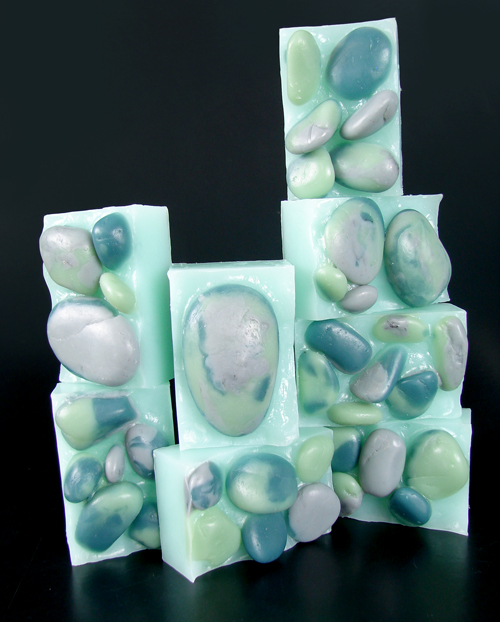
SIX: To unmold the soap, gently turn the mold upside down. Lift the mold off of the soap and remove the plastic. Then carefully lift the Flexy Fast from the soap and pull the sides of the mold away from the soap. Then admit it…these soaps ROCK!