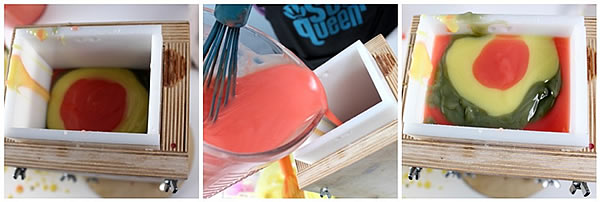
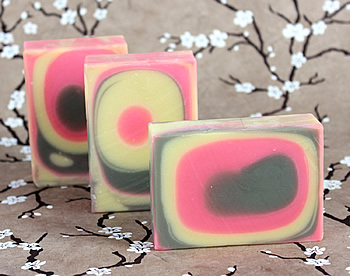
What better way to celebrate the start of spring with this uniquely abstract floral soap? Scented with Cherry Blossom Fragrance Oil, they are made using the Faux Funnel Technique, but with a twist: a vertical mold!
Gather your materials:
1.5 oz. Castor Oil
10.0 oz.Coconut Oil
33.5 oz. Olive Oil
5.0 oz. Palm Oil
6.7 oz. Sodium Hydroxide Lye
16.5 oz. Distilled Water
3.0 oz Cherry Blossom Fragrance Oil
3 teaspoons Super Pearly White mica
⅛ teaspoon Activated Charcoal
¾ teaspoon Electric Bubble Gum colorant
2 teaspoons Sweet Almond Oil
Vertical Mold
First time making Cold Process Soap? If you have never made cold process soap before, we strongly suggest getting a couple of basic recipes under your belt before diving in, as this is a relatively advanced technique that requires you to move quickly. Check out Soap Queen TV on Cold Process if you want to get started with cold process. It’s a 4 part series that will take you through the basics (and be sure to watch the episode on Lye Safety). Bramble Berry also has some helpful reading tools for you bookworms out there.
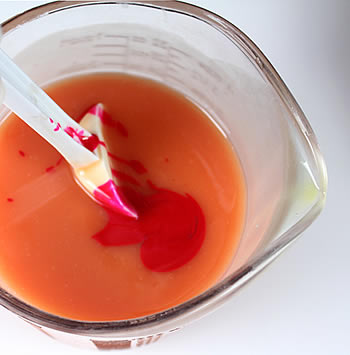
Color Prep: Disperse 3/4 teaspoon Electric Bubble Gum colorant in 2 teaspoons Sweet Almond oil using your mini mixer to really get them mixed together well. Saturate your powdered colorant in the oil a bit before turning on the mixer so you don’t create a messy colorant cloud!
Mold Prep (optional): Line the vertical mold with freezer paper, shiny side up. I didn’t line the mold for this project but you certainly can. The dividers fit pretty snug so lining is not completely necessary.
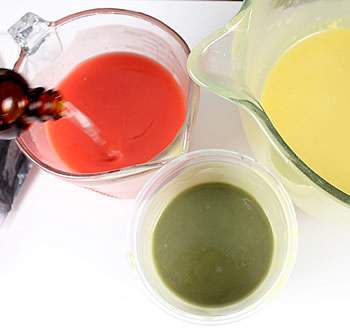
FIVE: Split your batch into 3 equal parts. No need for precision here; you can totally eyeball it.
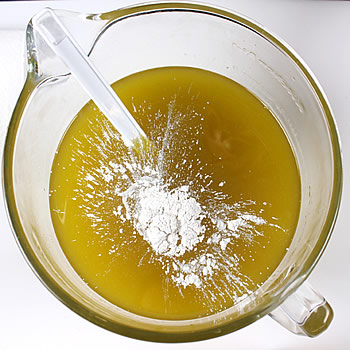
SIX: Color each of your split batches; one with the remaining Super Pearly White, one with 2 teaspoons of dispersed Electric Bubble Gum, and one with 1/8 teaspoon Activated Charcoal. Switch to a whisk for this part, you want the soap to be at about medium trace!
SEVEN: Add 1 ounce of Cherry Blossom fragrance to each of your split batches. You’ll want to use a whisk for this step as well, and again try not to let the soap go past a medium trace.
EIGHT: Decide on a color order you like and line up your containers. Starting with your first color, pour a little bit into the mold, then try to hit the center of that soap with your second color, and again with the third.
TIP: In order to get a uniform pour, I counted to three while pouring each color. But you can also try varying the amount of soap you pour each time for a totally different look.
NINE: Repeat step eight alternating your pours until the mold is full. As you can see, this part can get a little messy!
TEN: Let soap sit in mold for 3-4 days before unmolding.
ELEVEN: Unmold soap and cut. Check out the cool looking effect. I’m excited about how trendy it looks (color blocking anyone?) Allow to cure for 4-6 weeks and enjoy!

